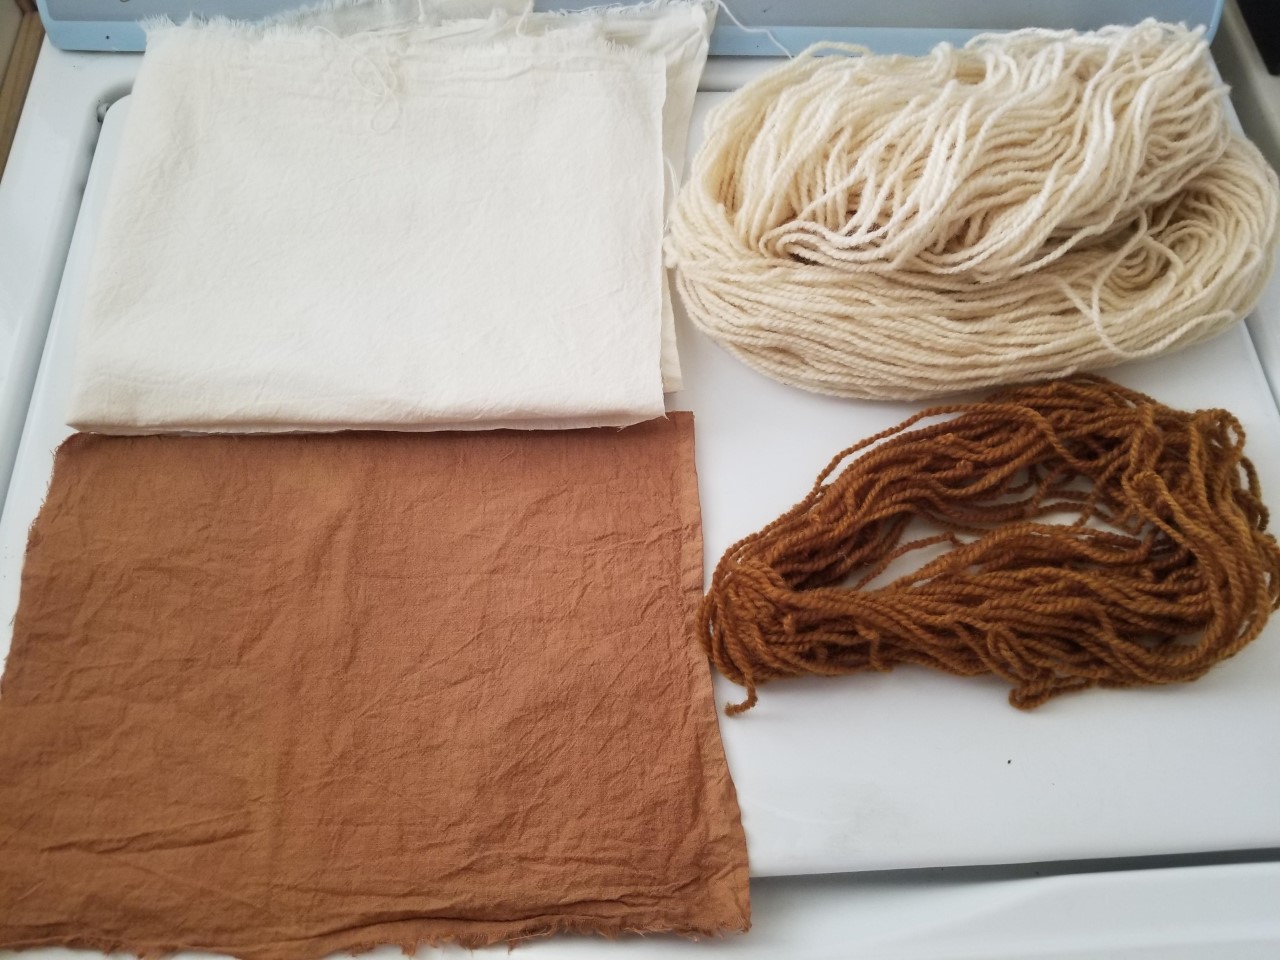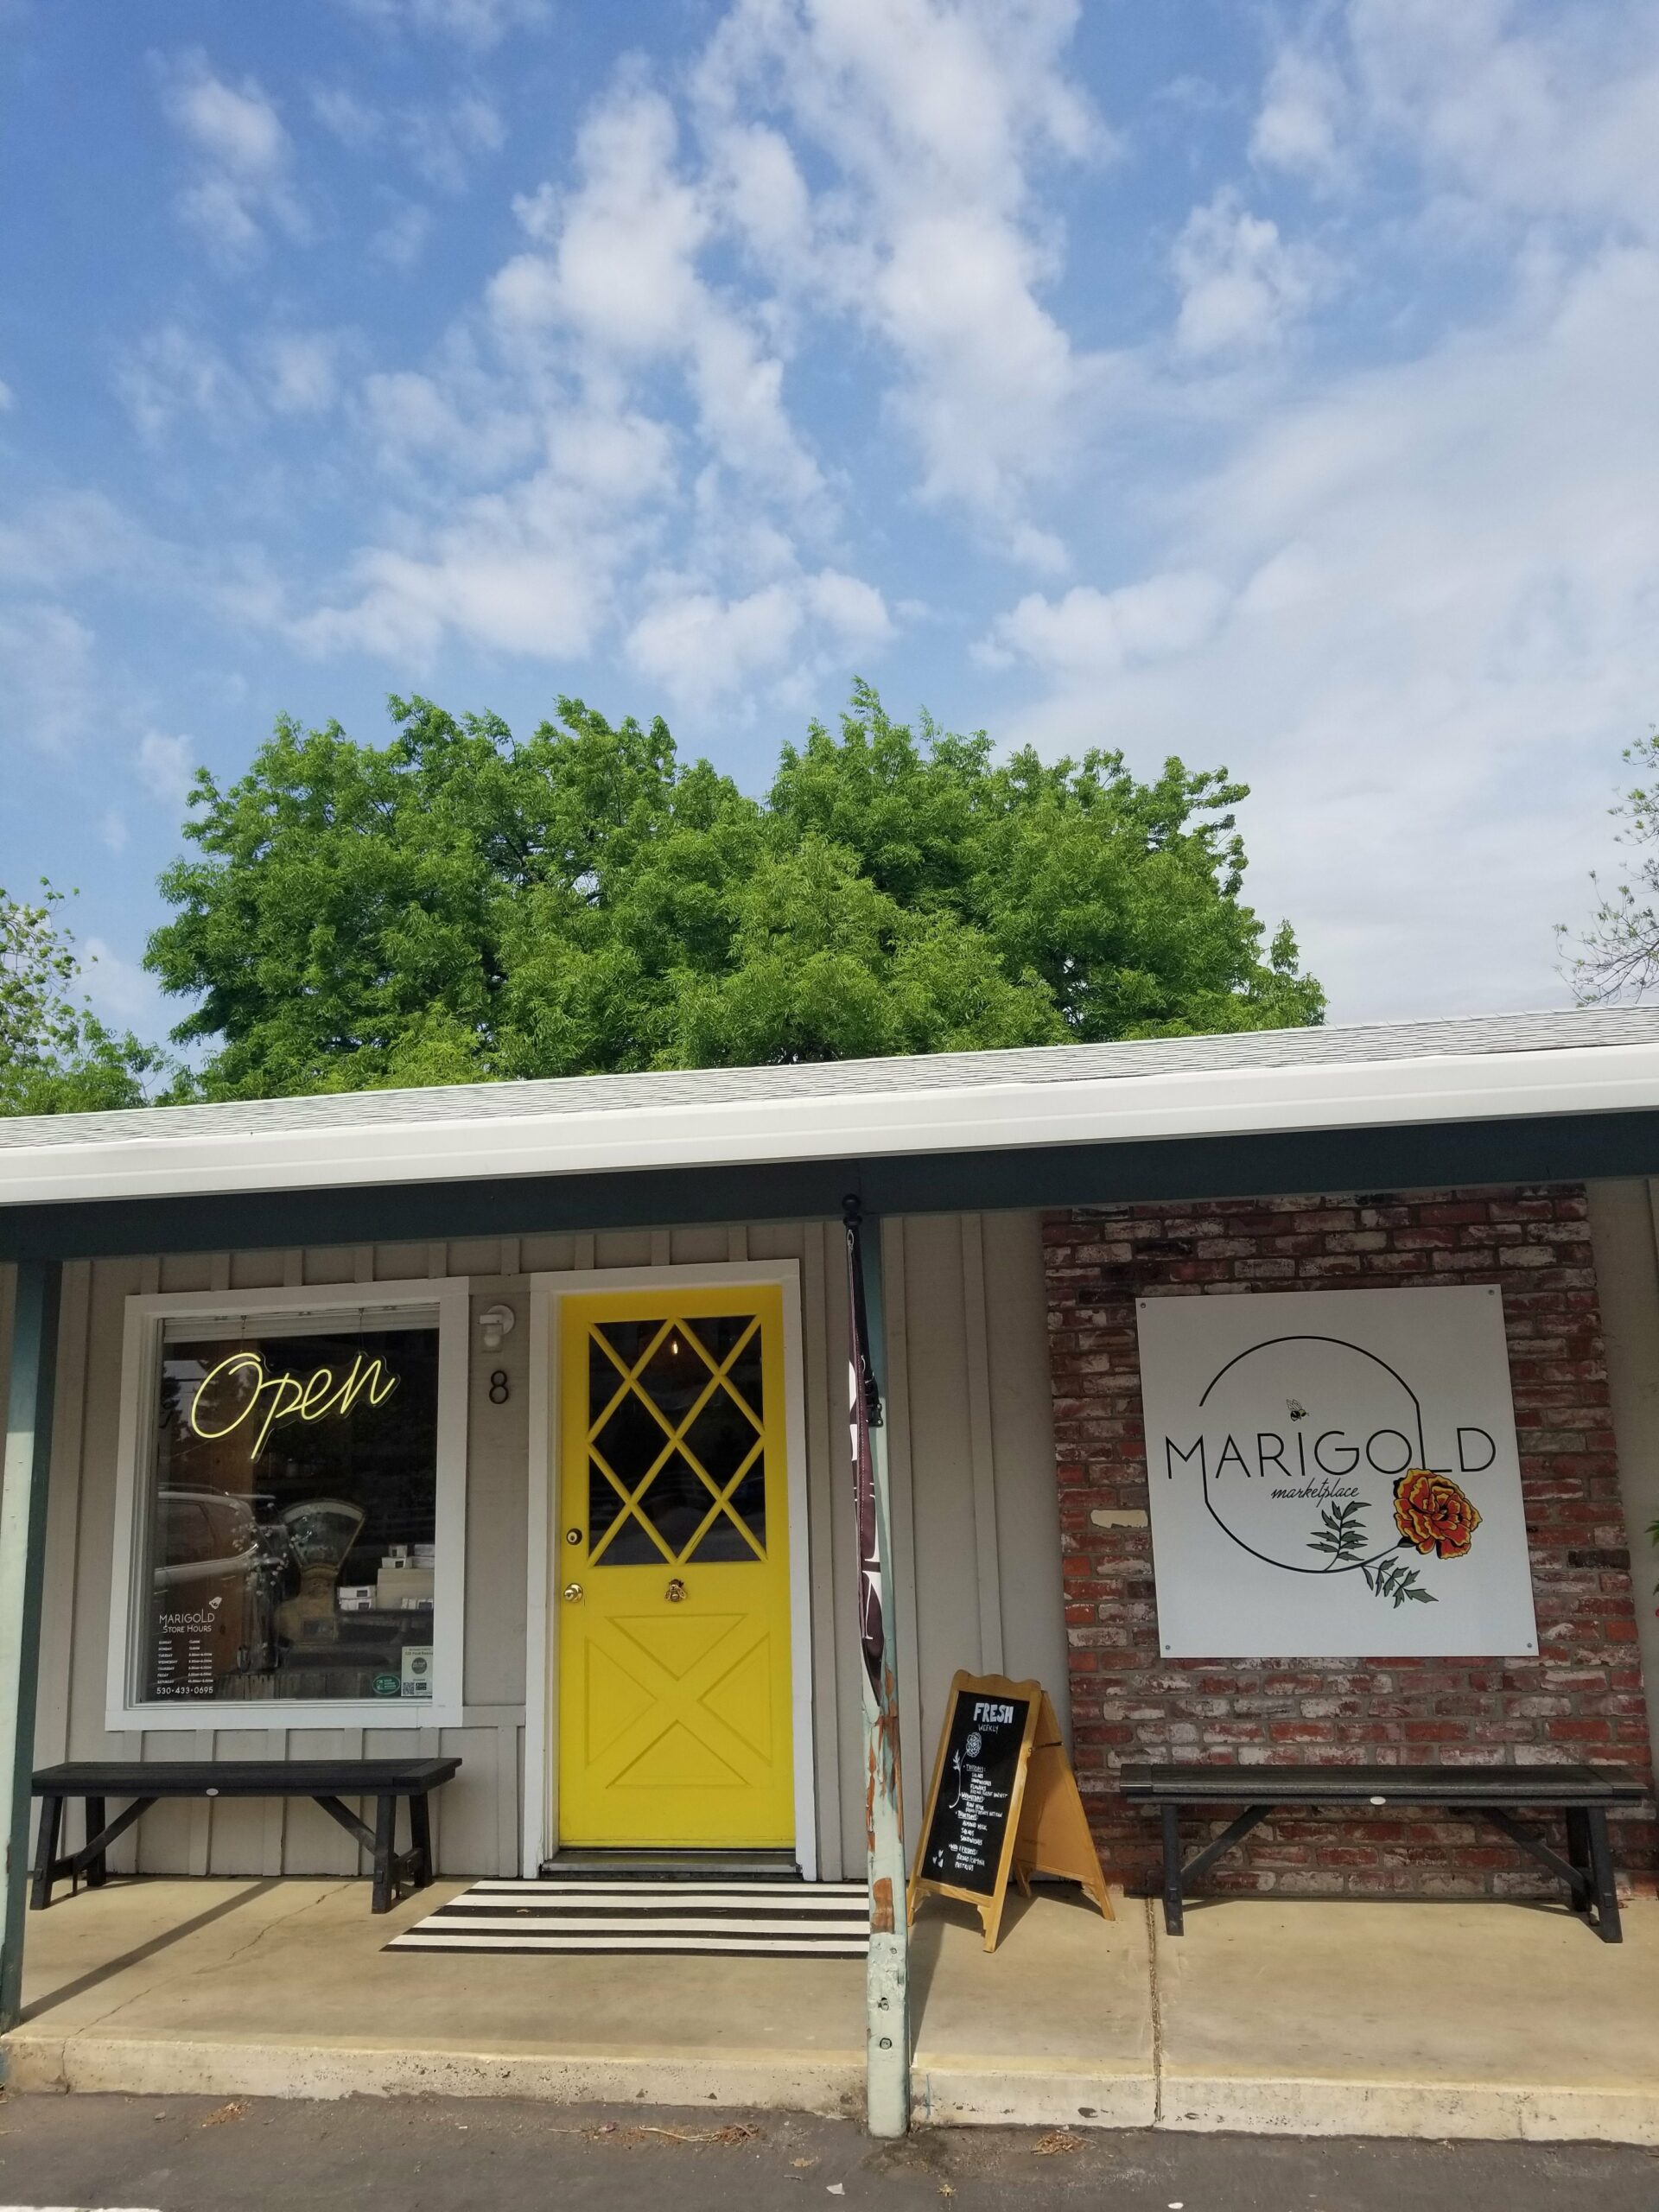
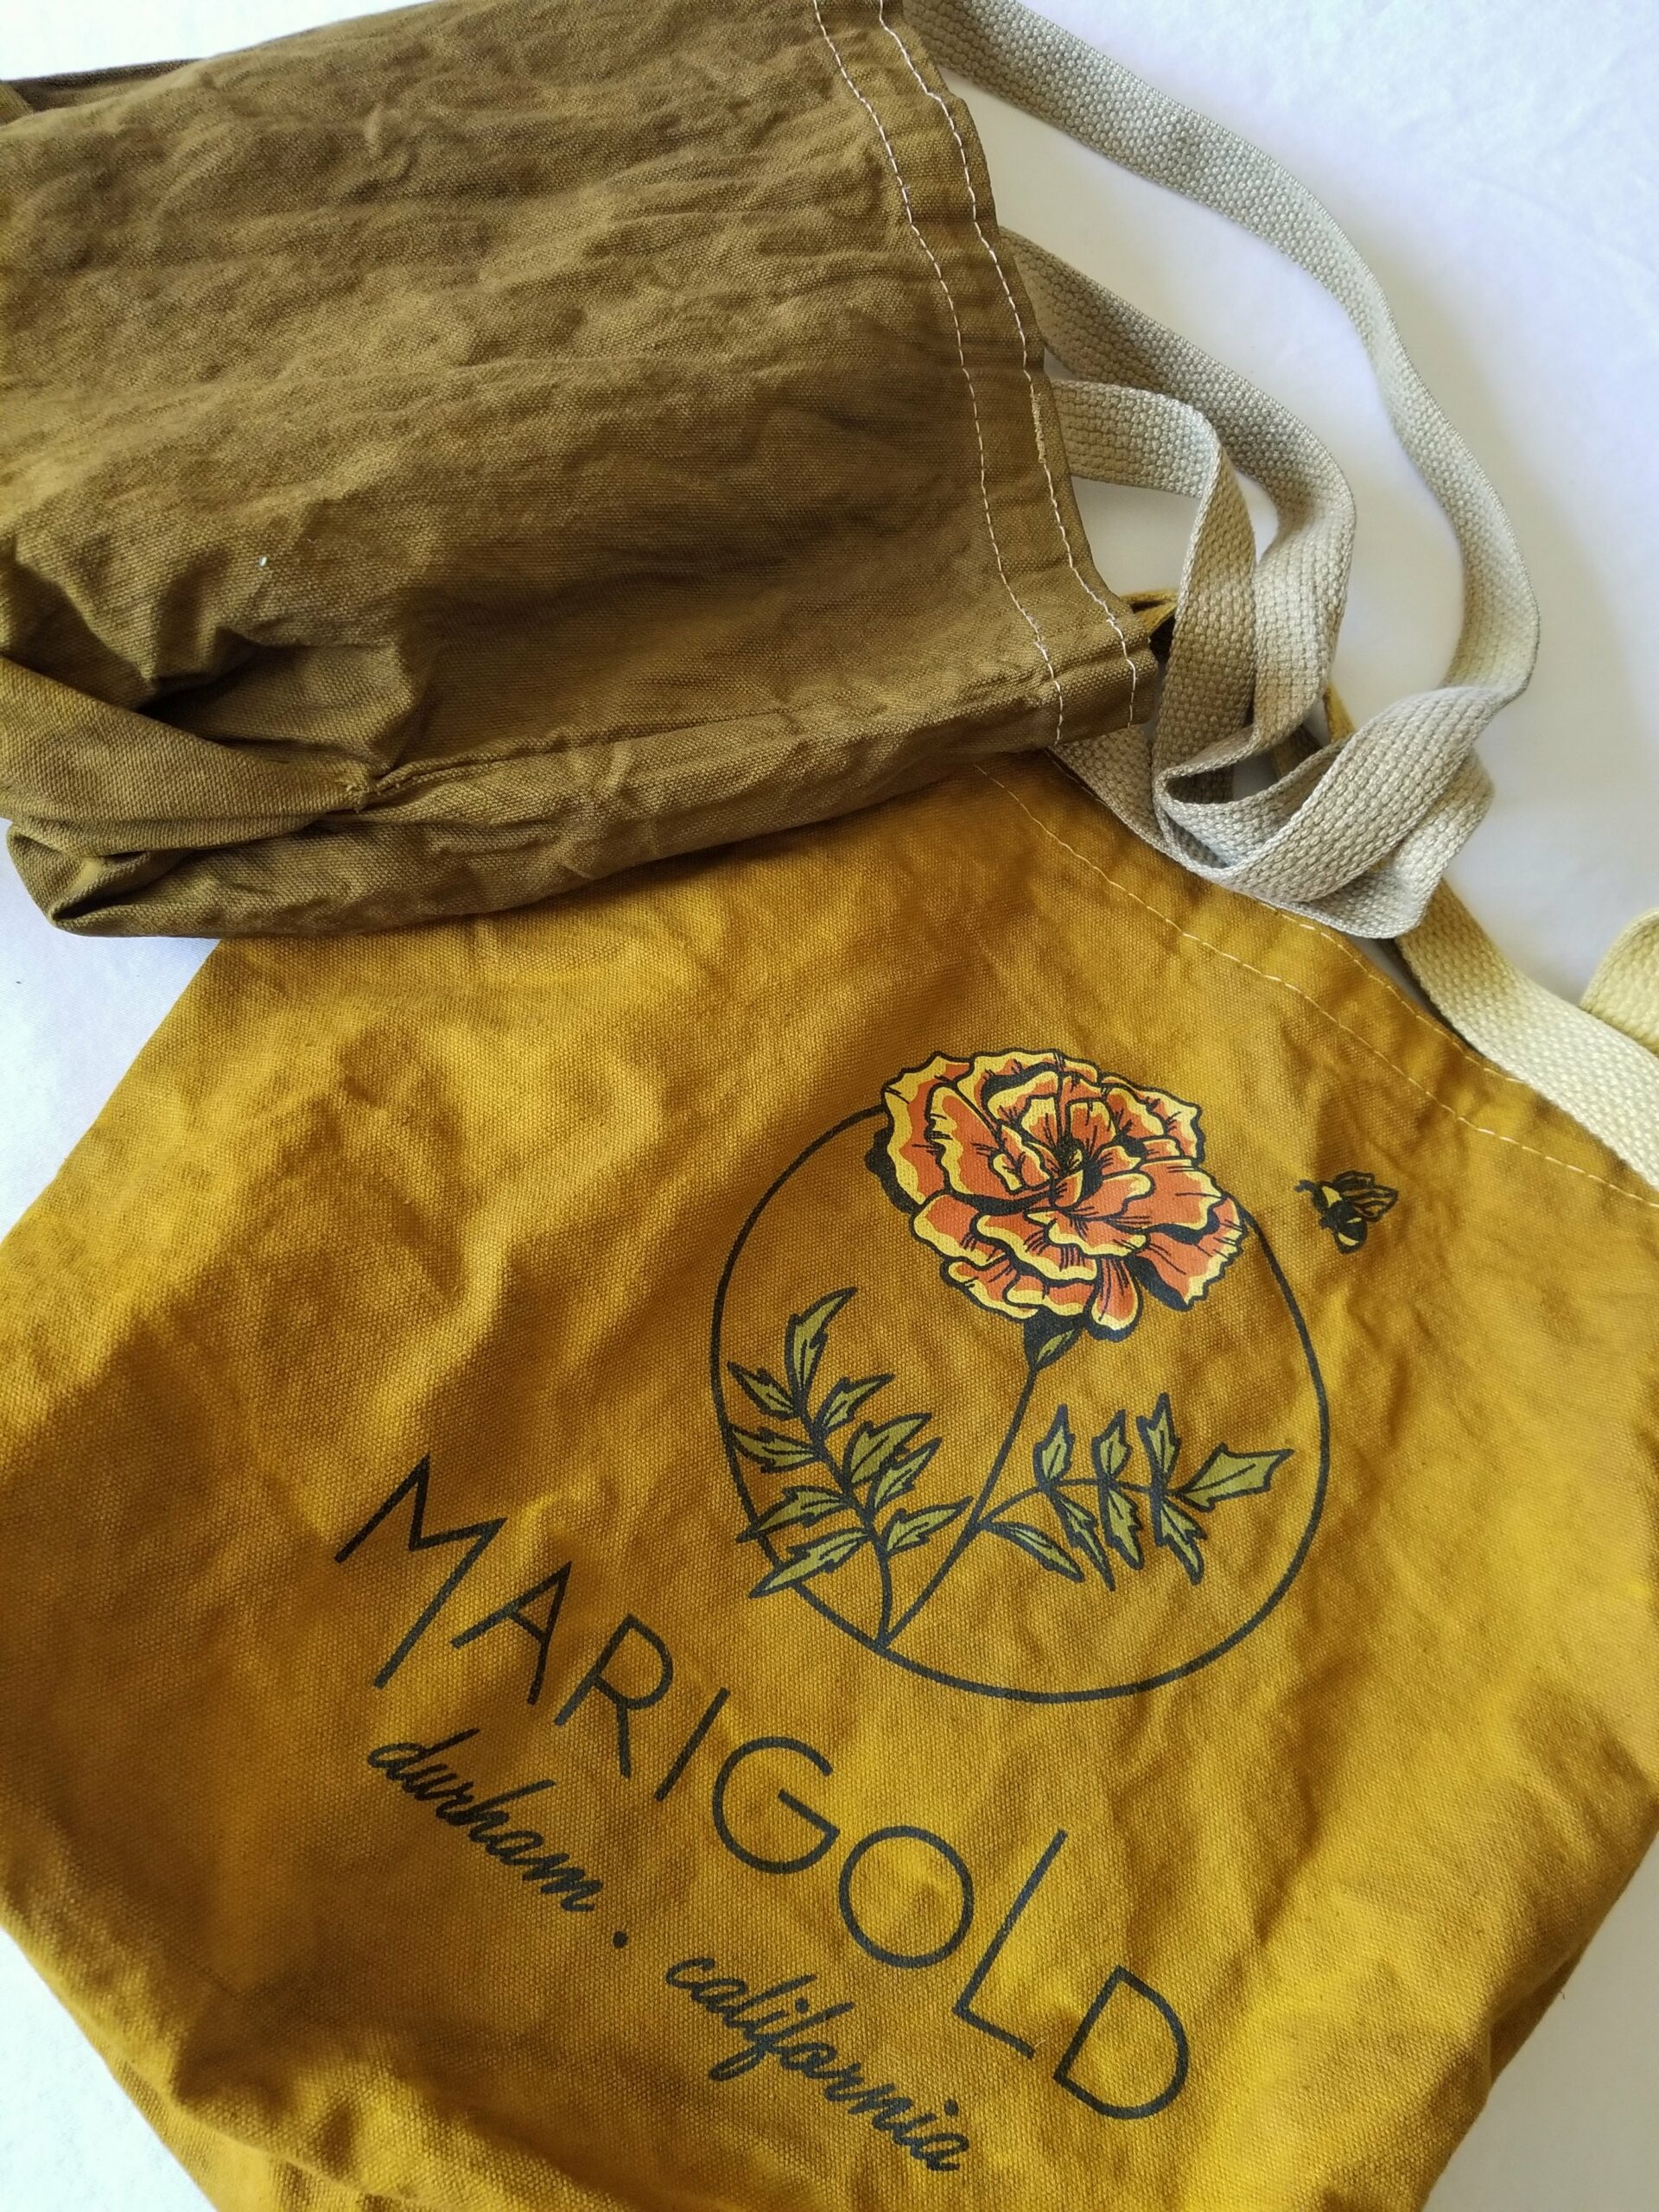
I was immediately inspired to want to dye the bag with marigold flowers. So I went to one of my favorite resources for learning about and supplying materials for natural dying – Botanical Colors. Their free articles and tutorials are in depth and valuable for learning the step-by-step processes. And it is indeed a process – complex, time-consuming, layered, pricey – BUT so satisfying and fun.
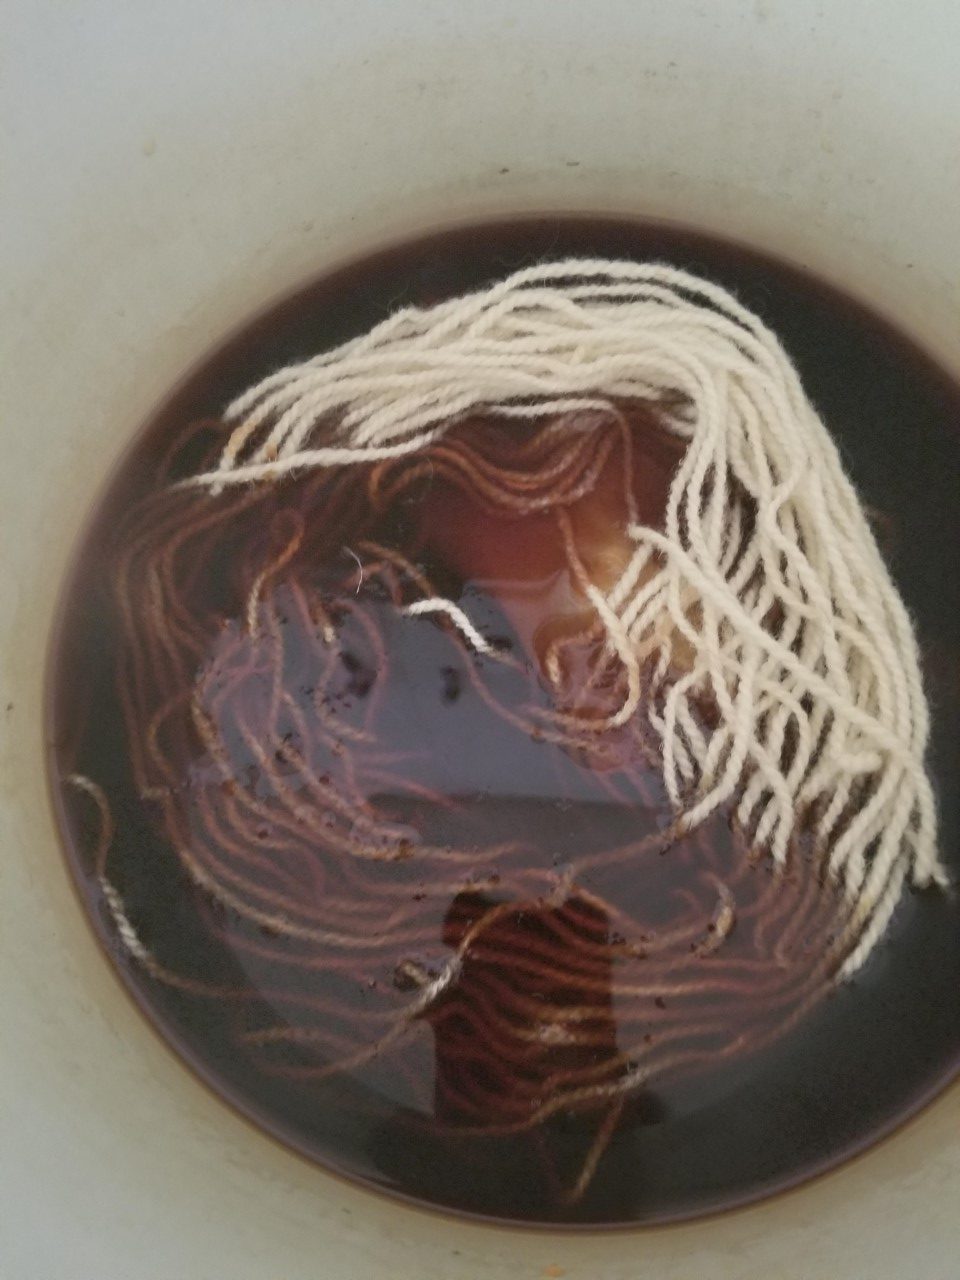
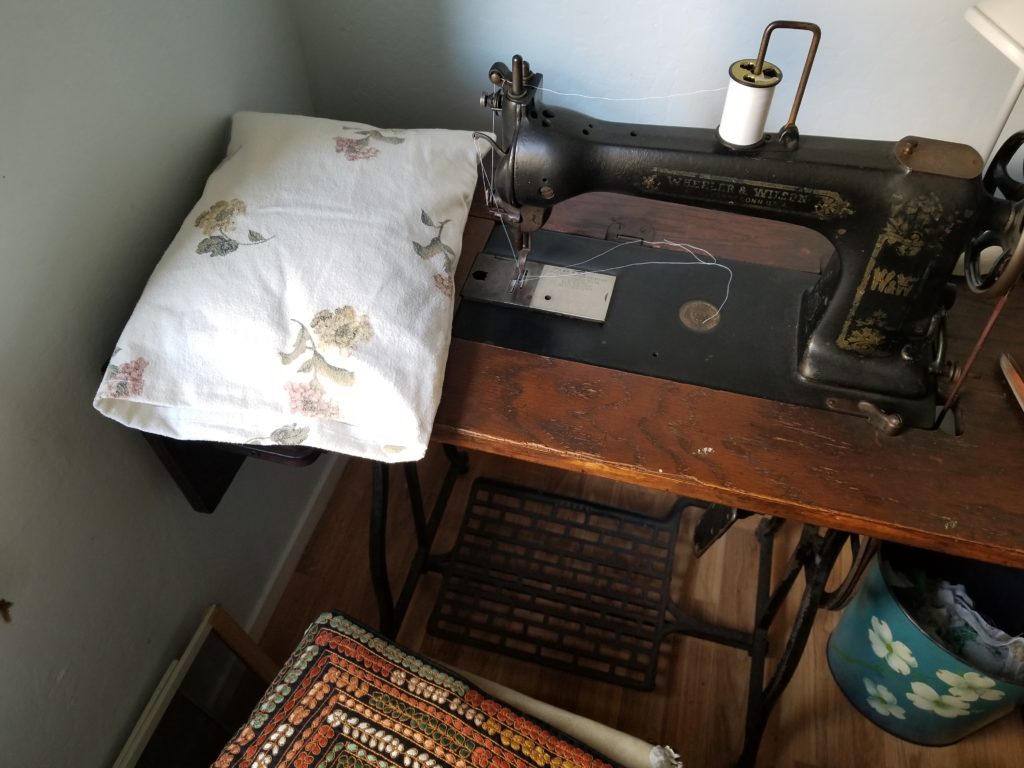
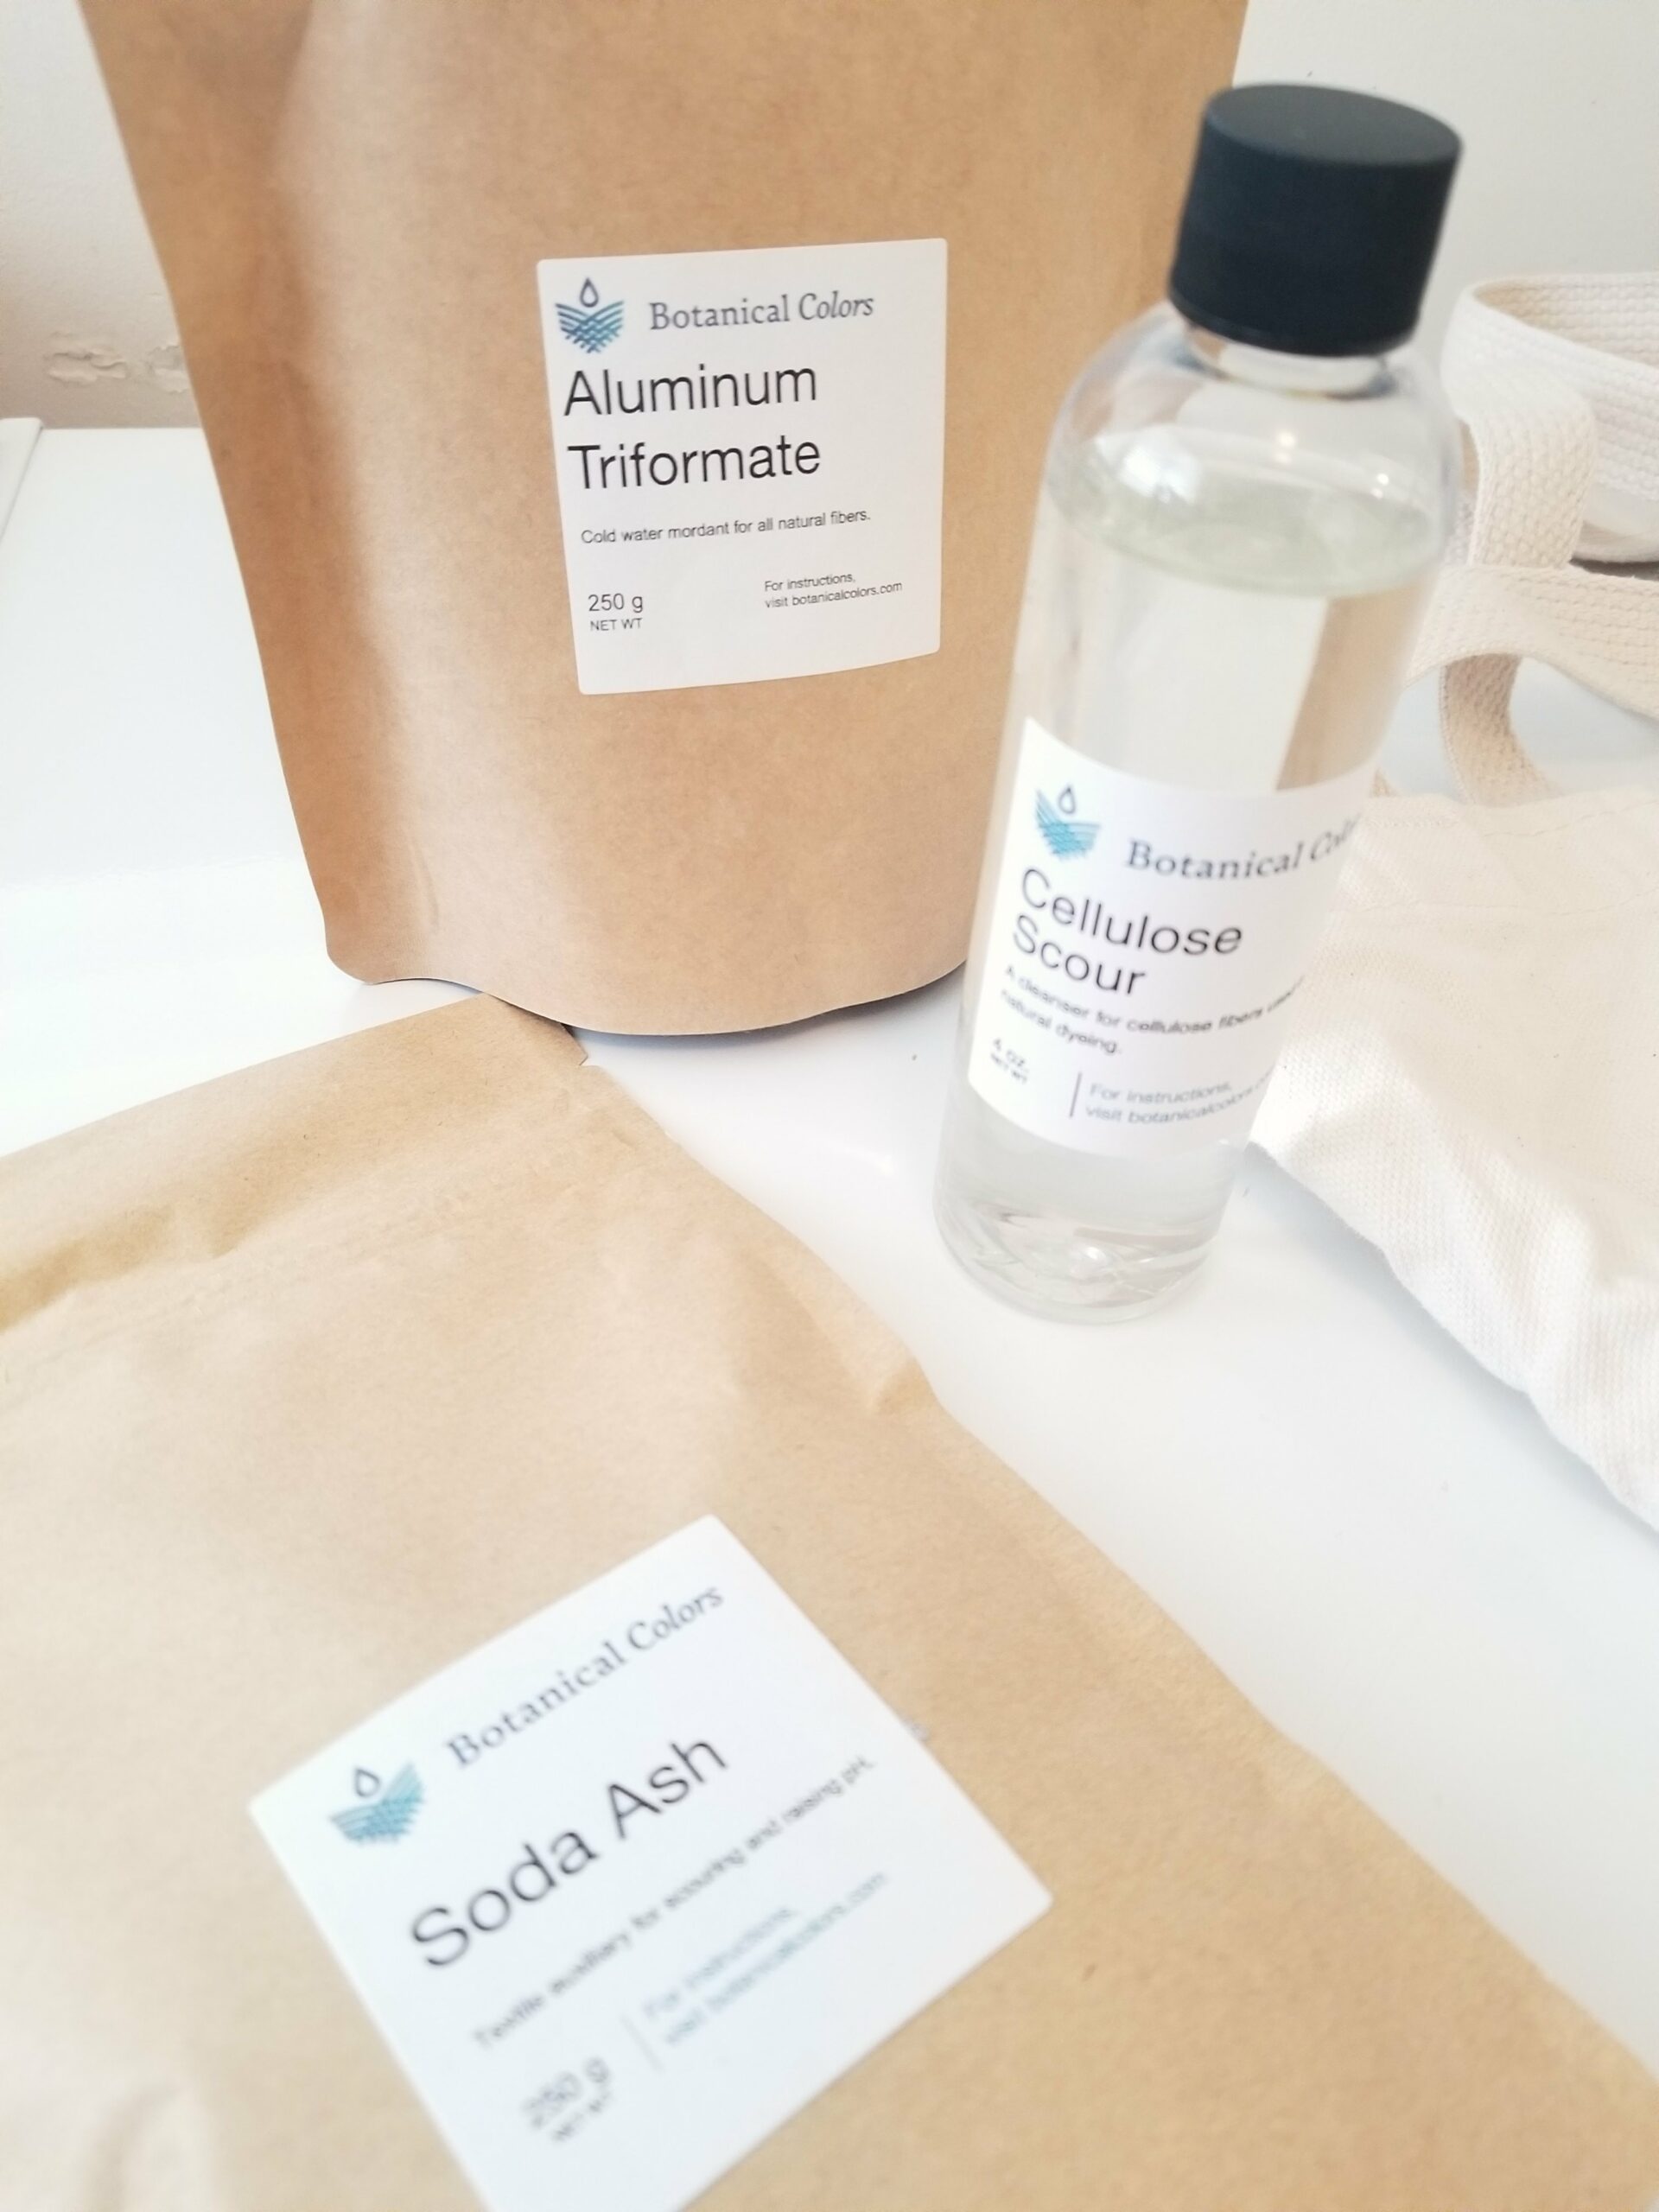
There are steps involved in preparing the fiber for the dye – scouring & mordanting.
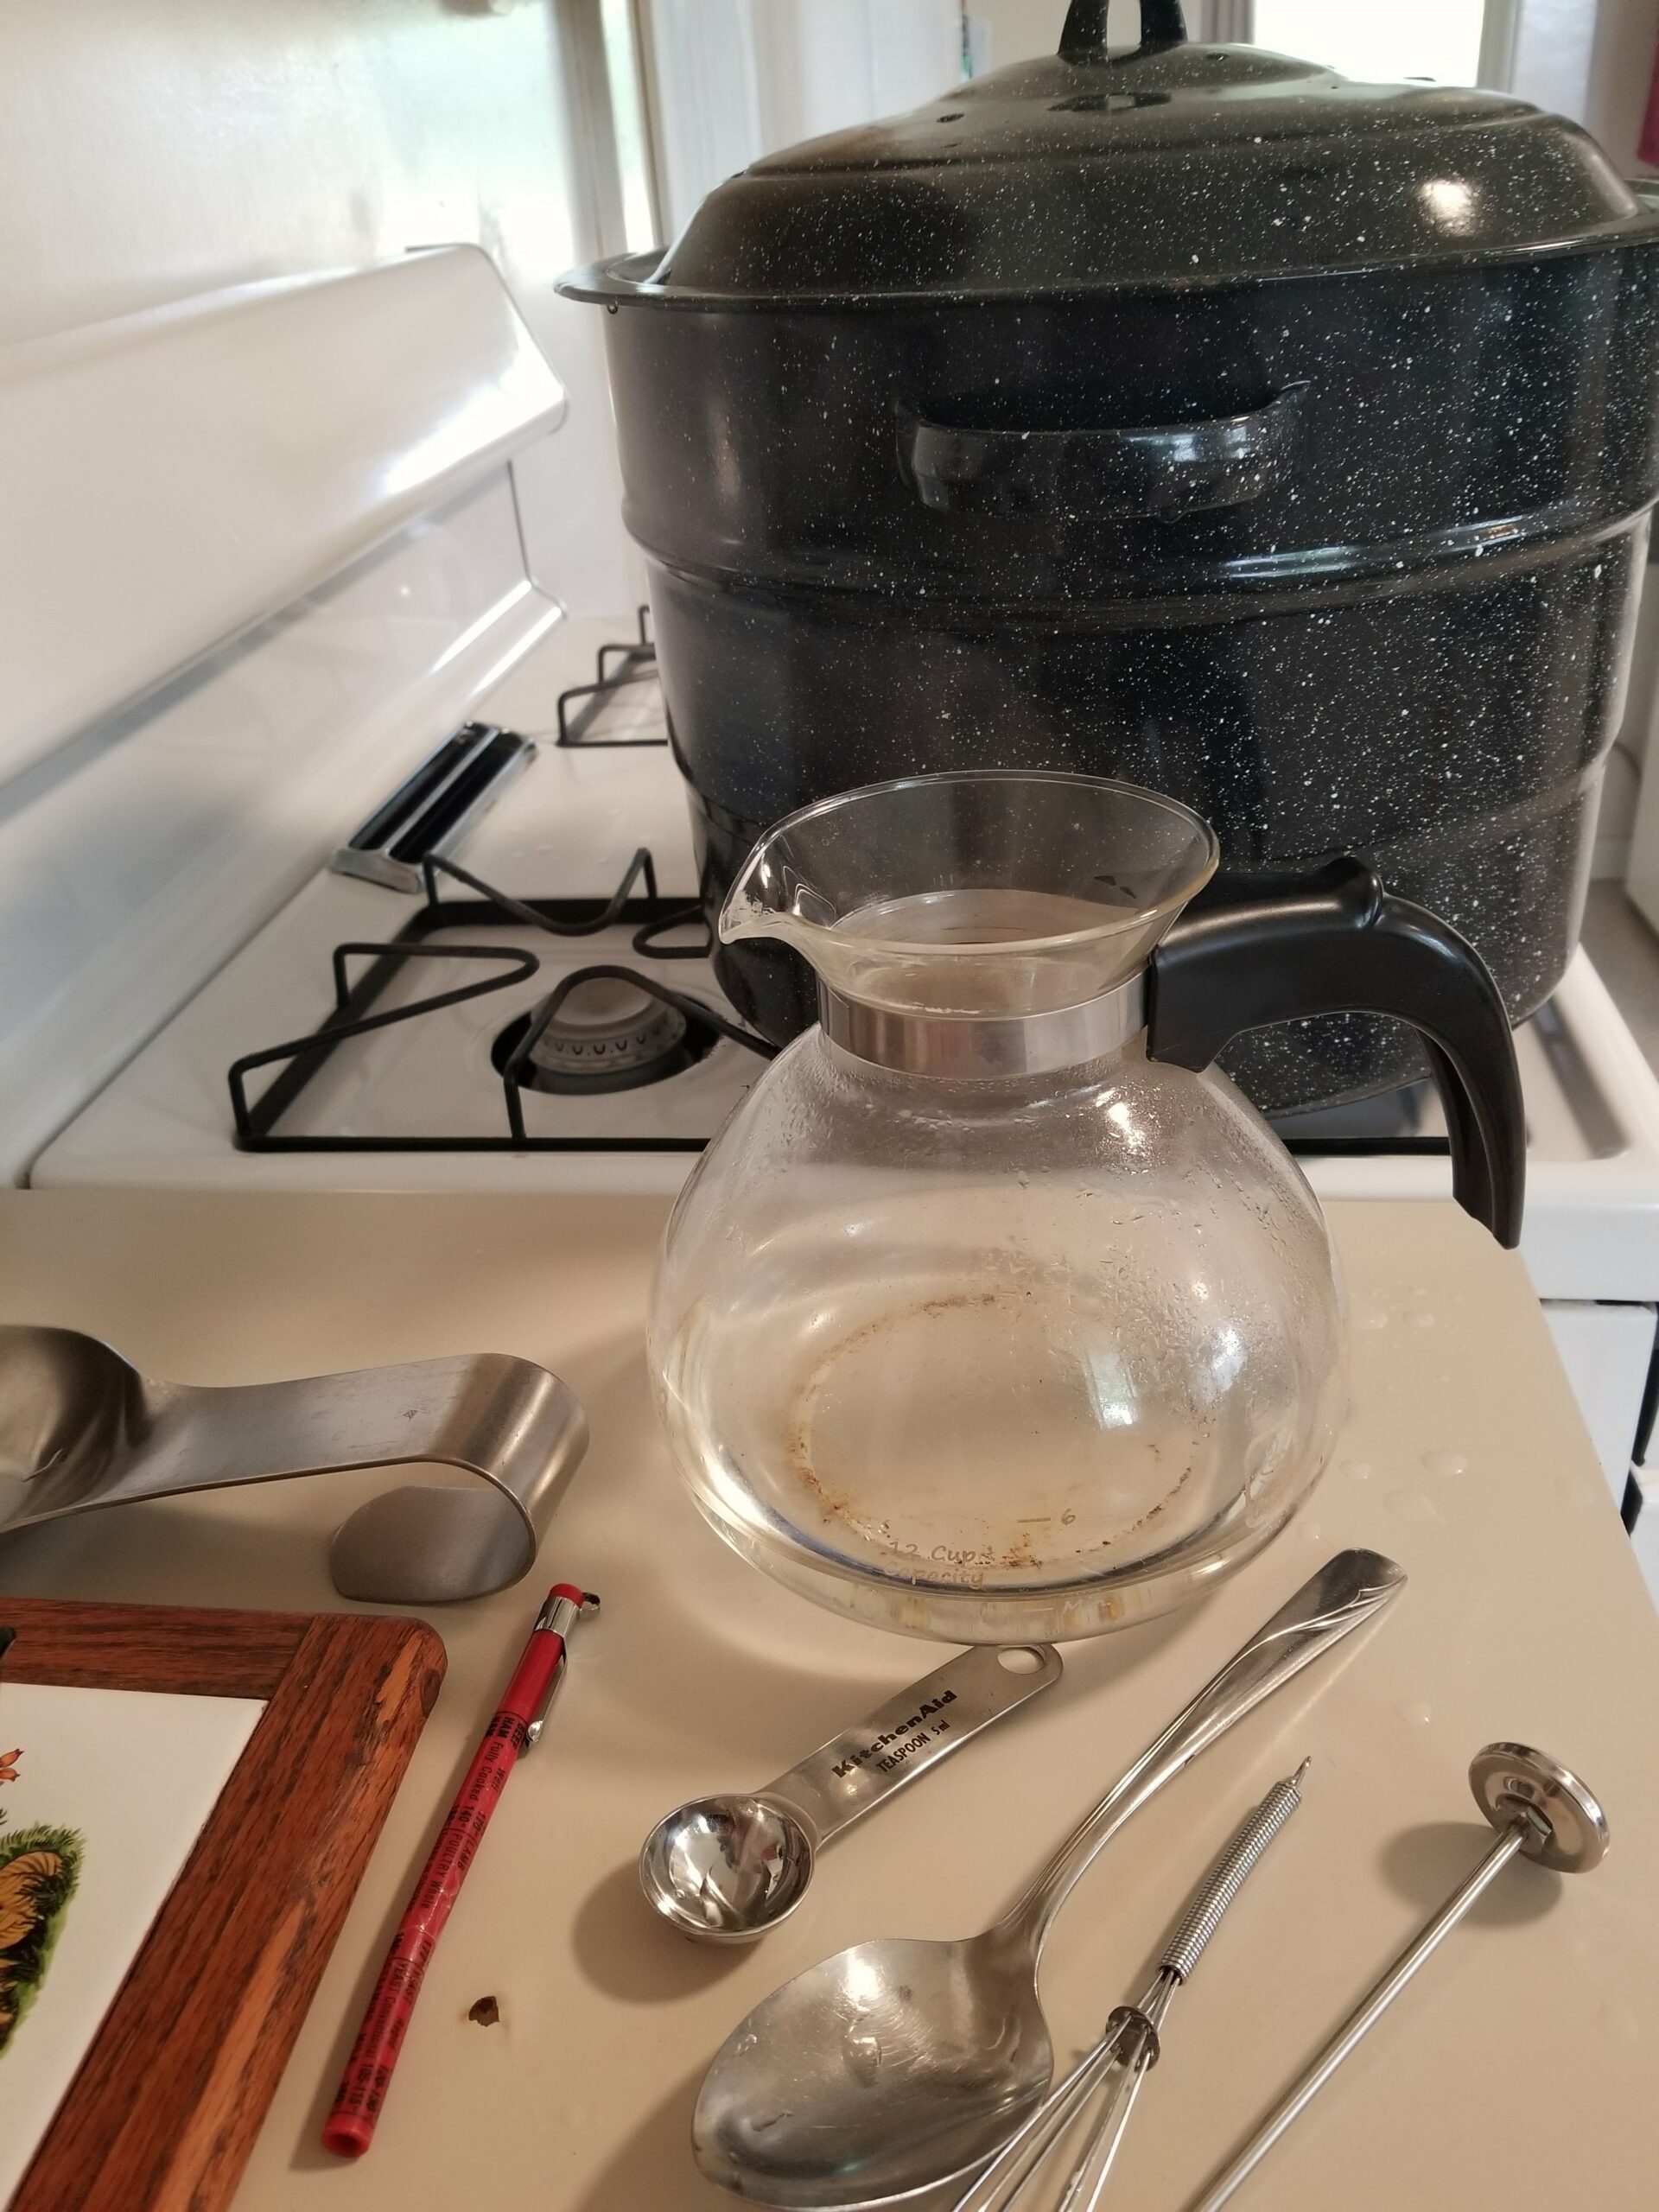
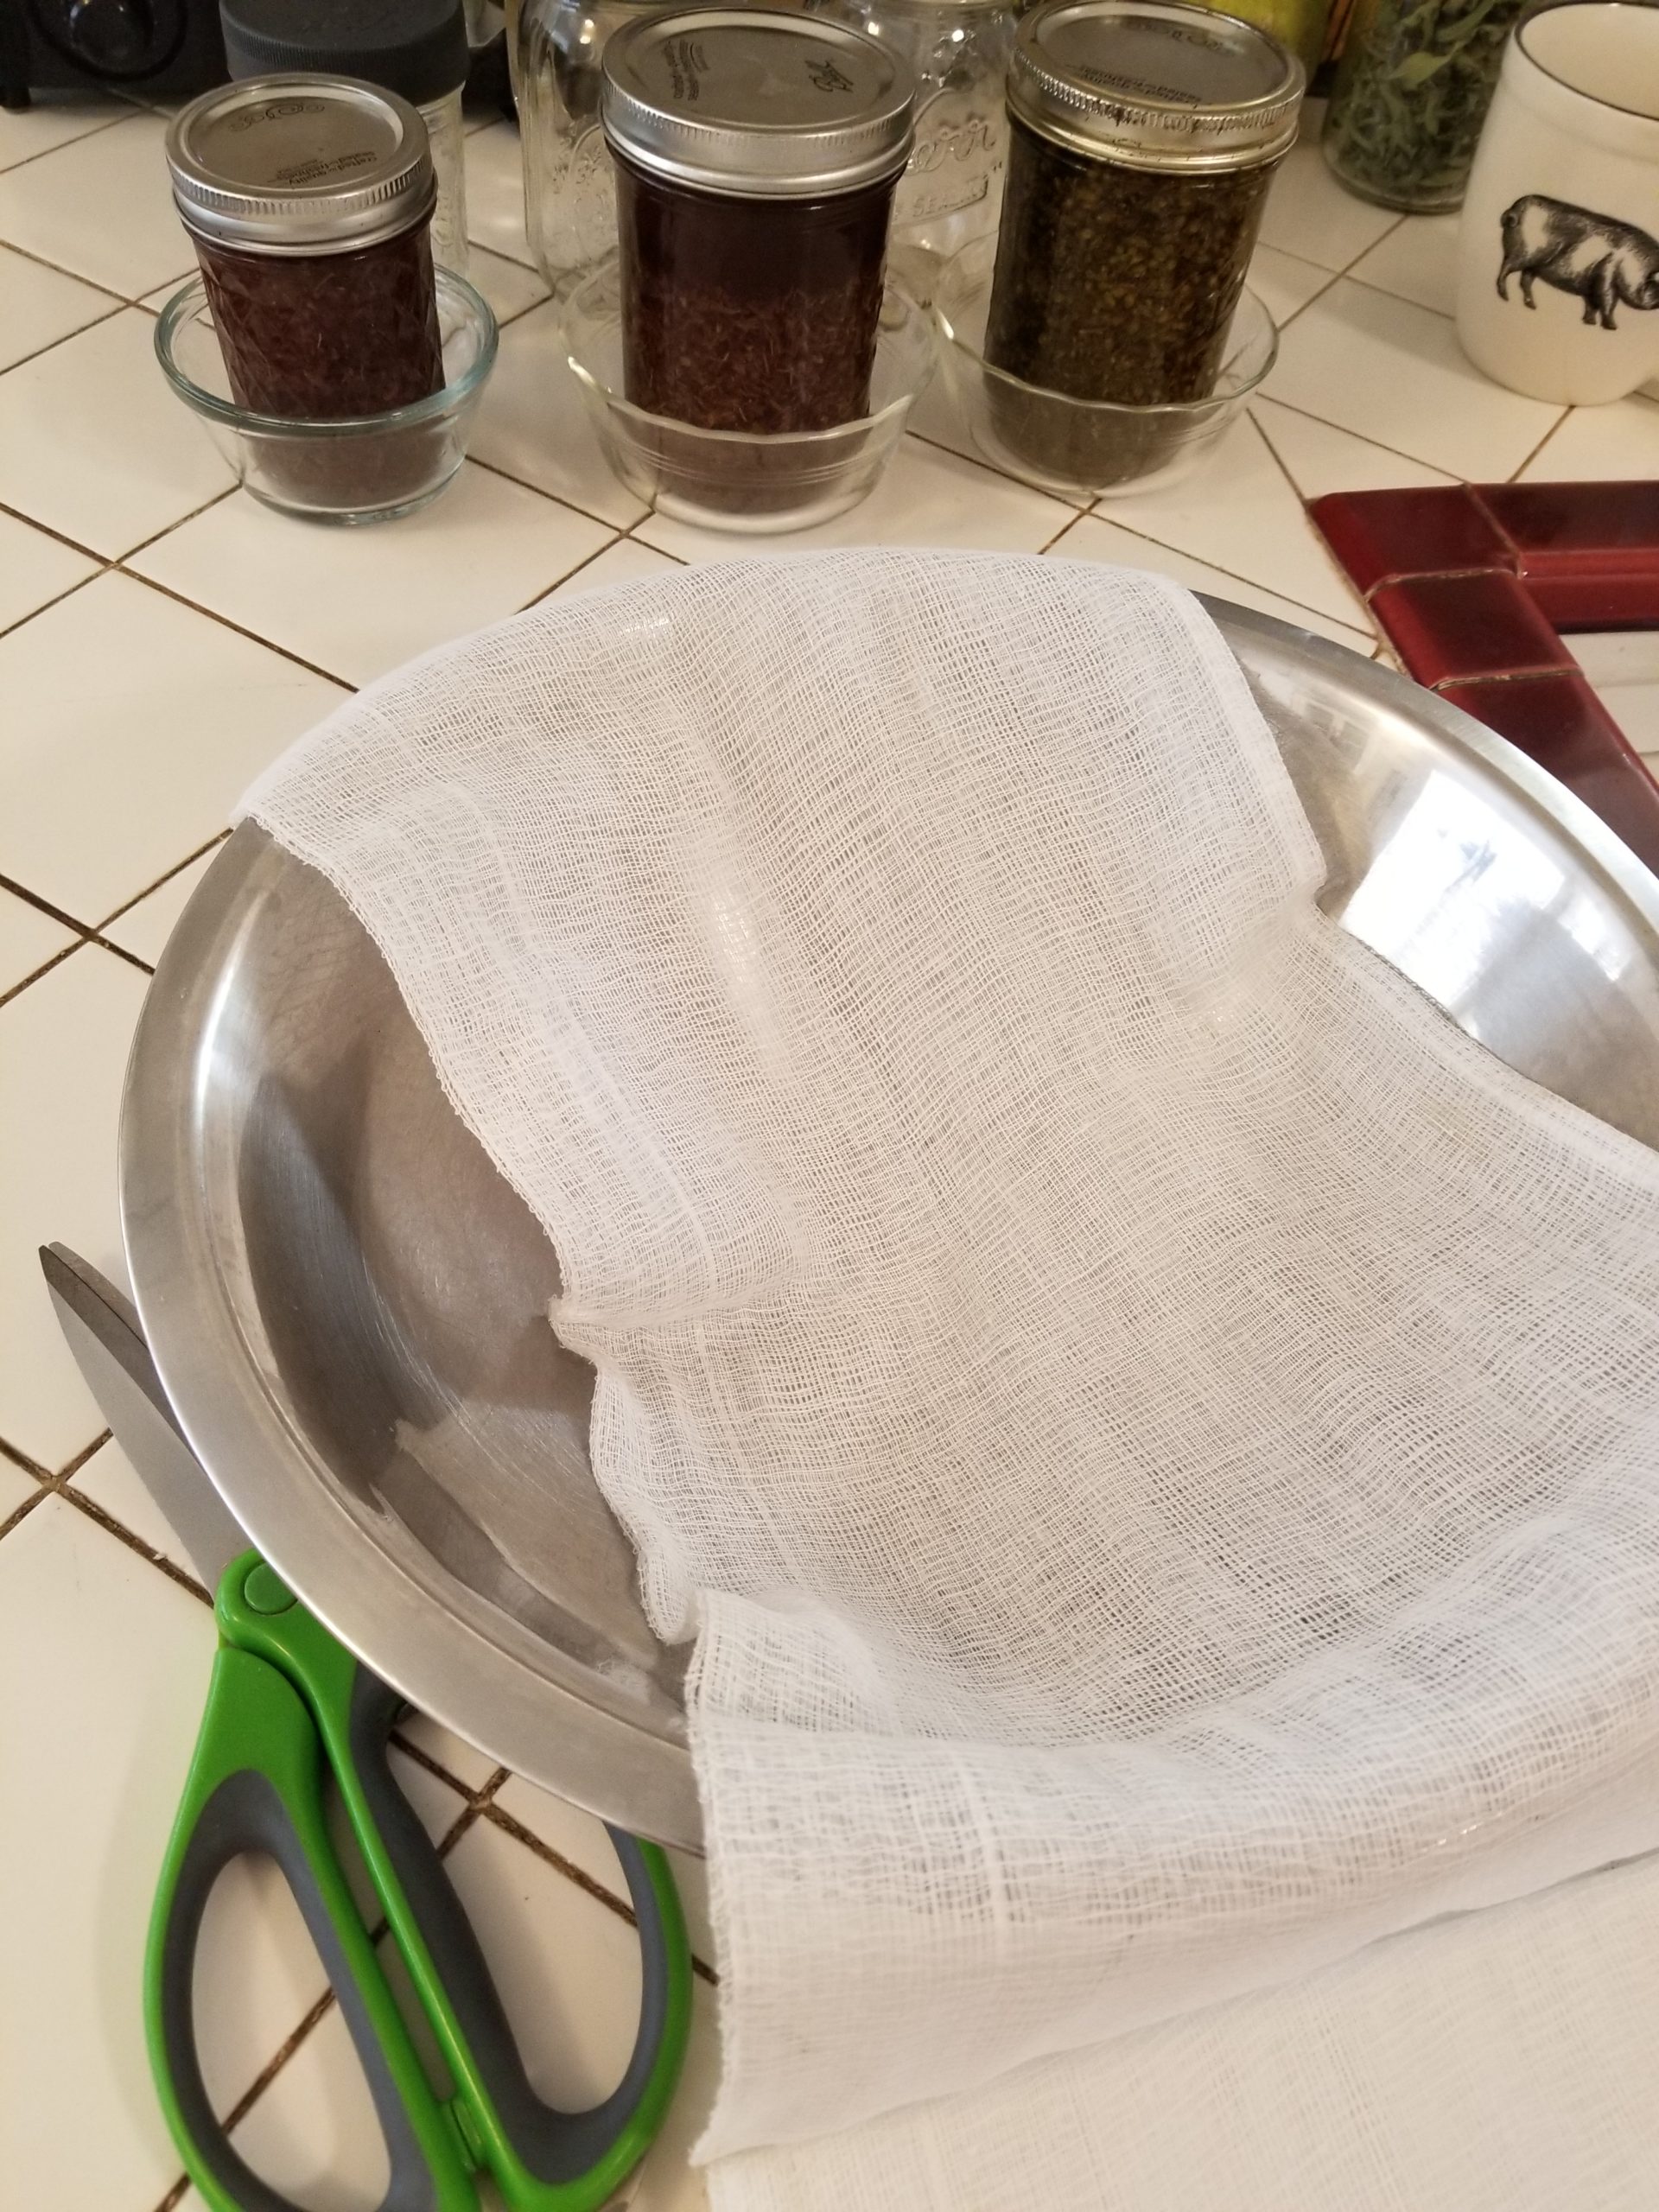
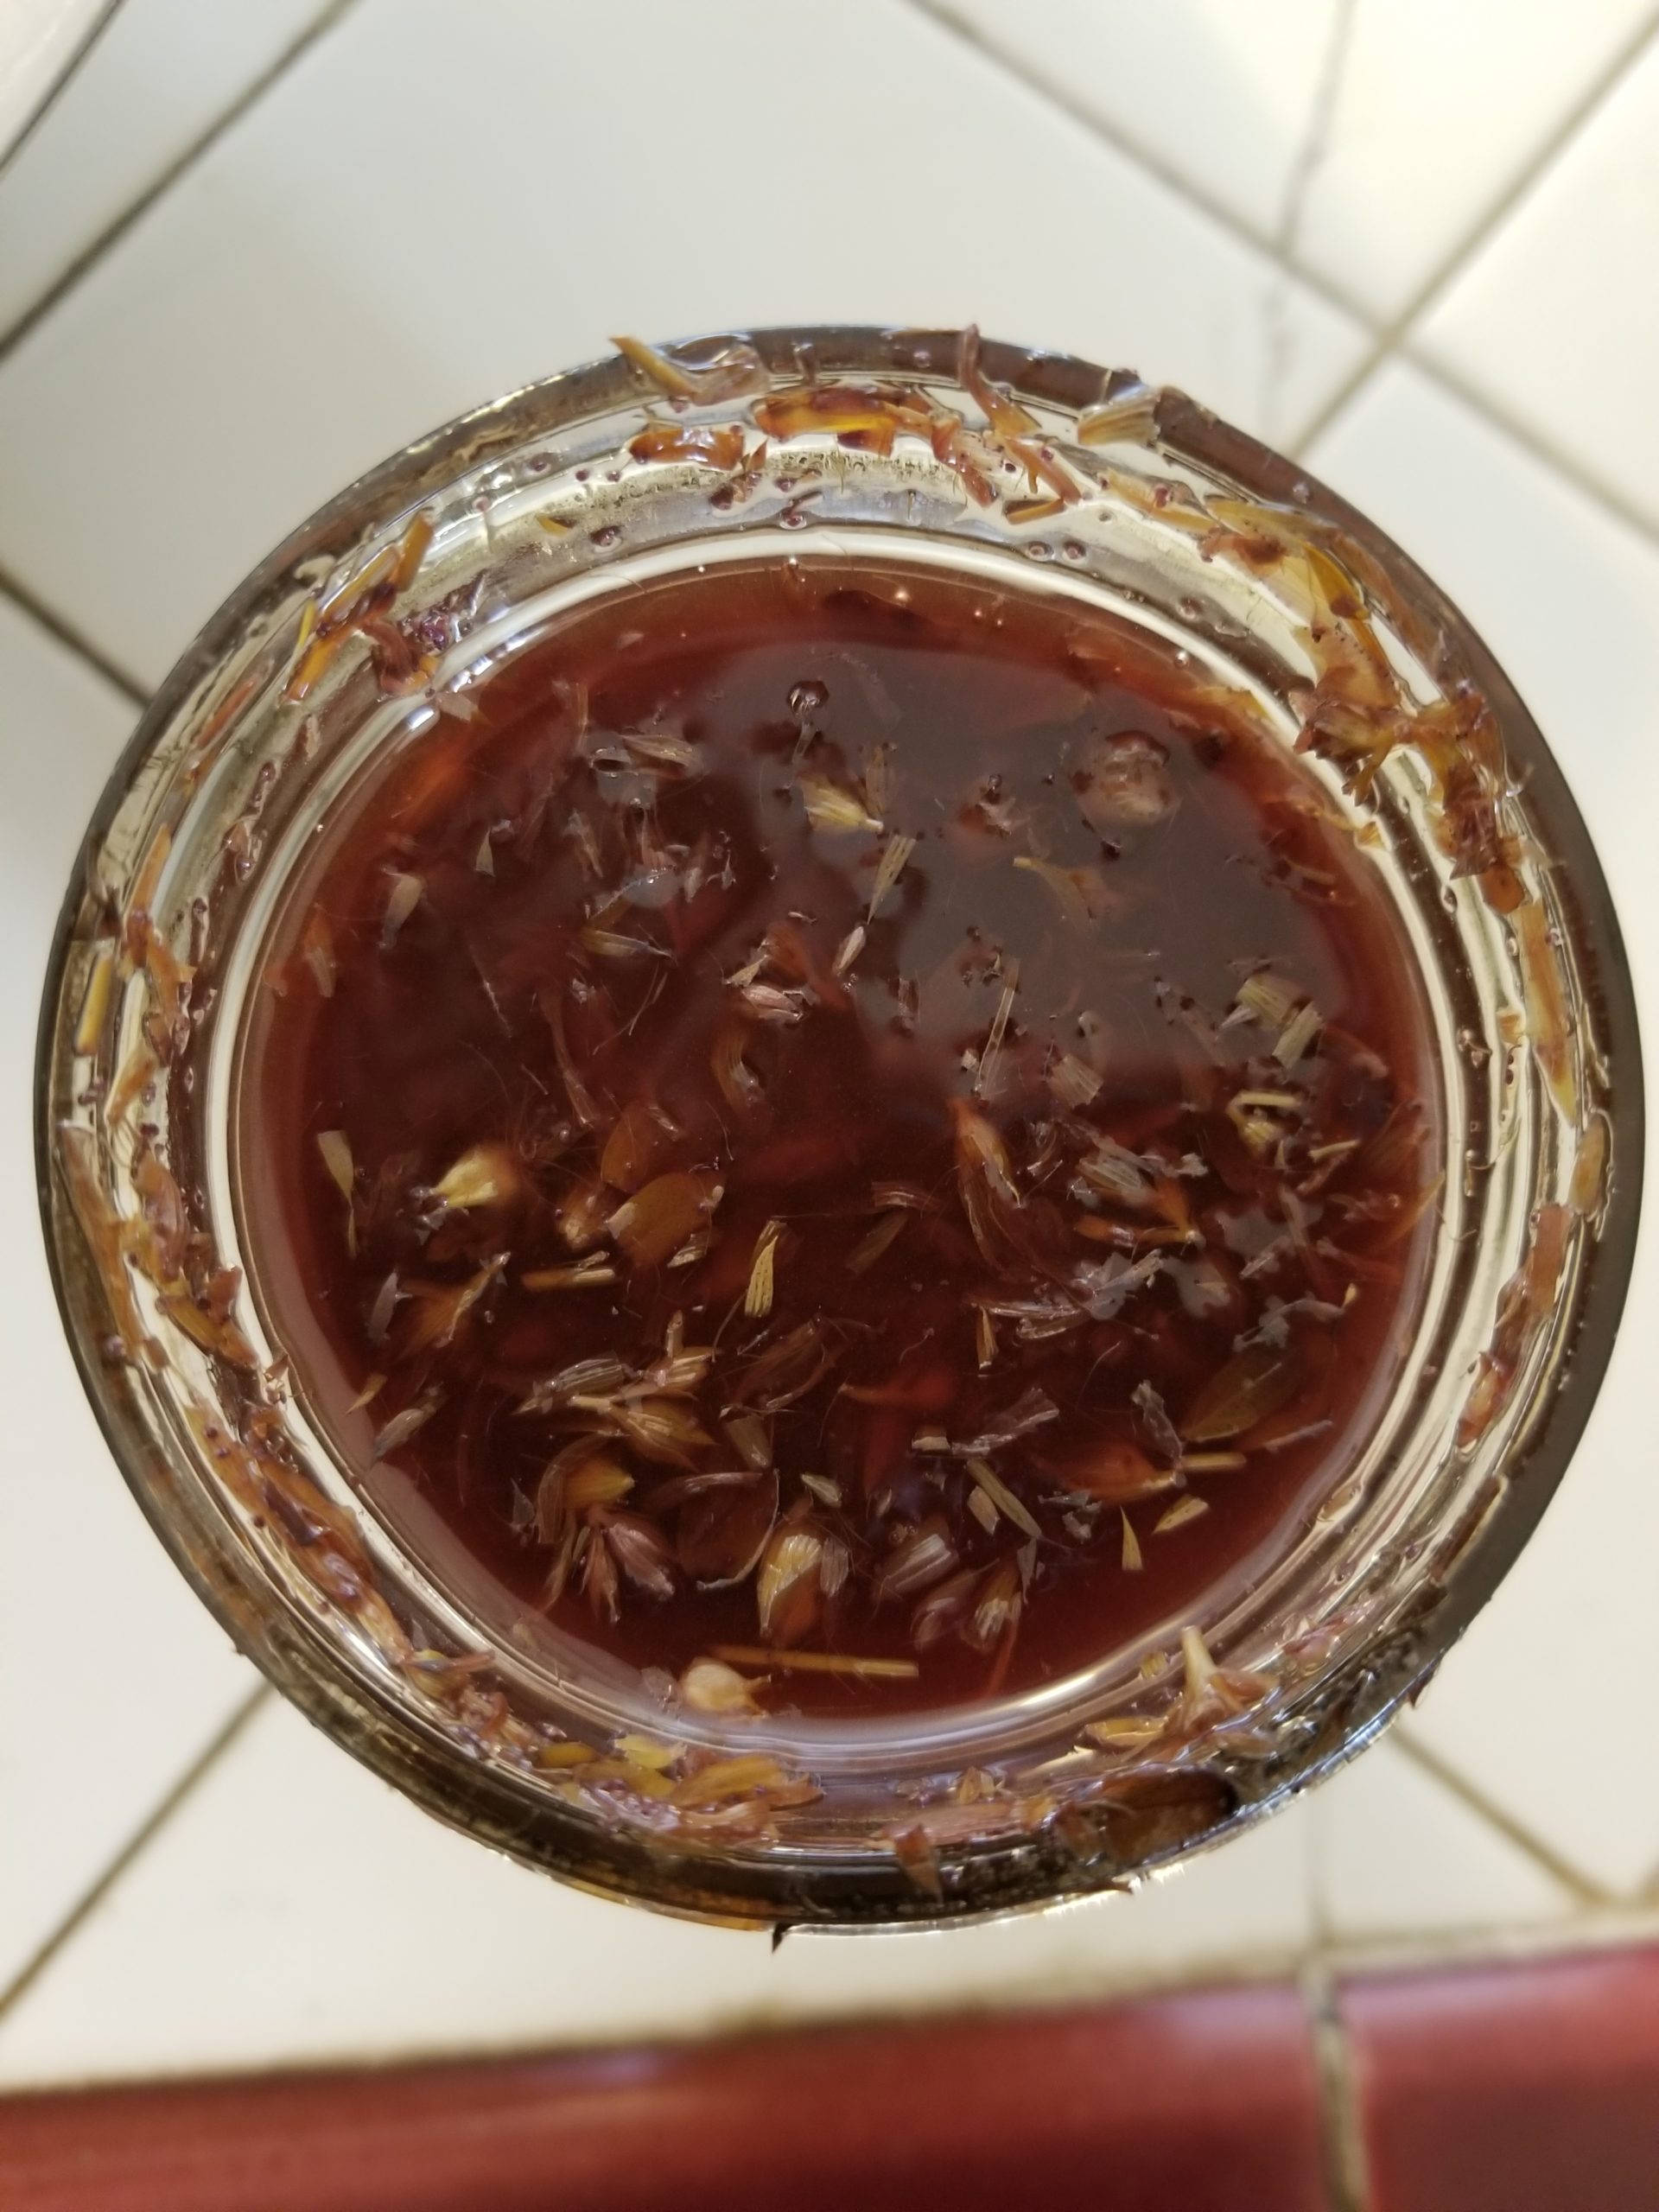
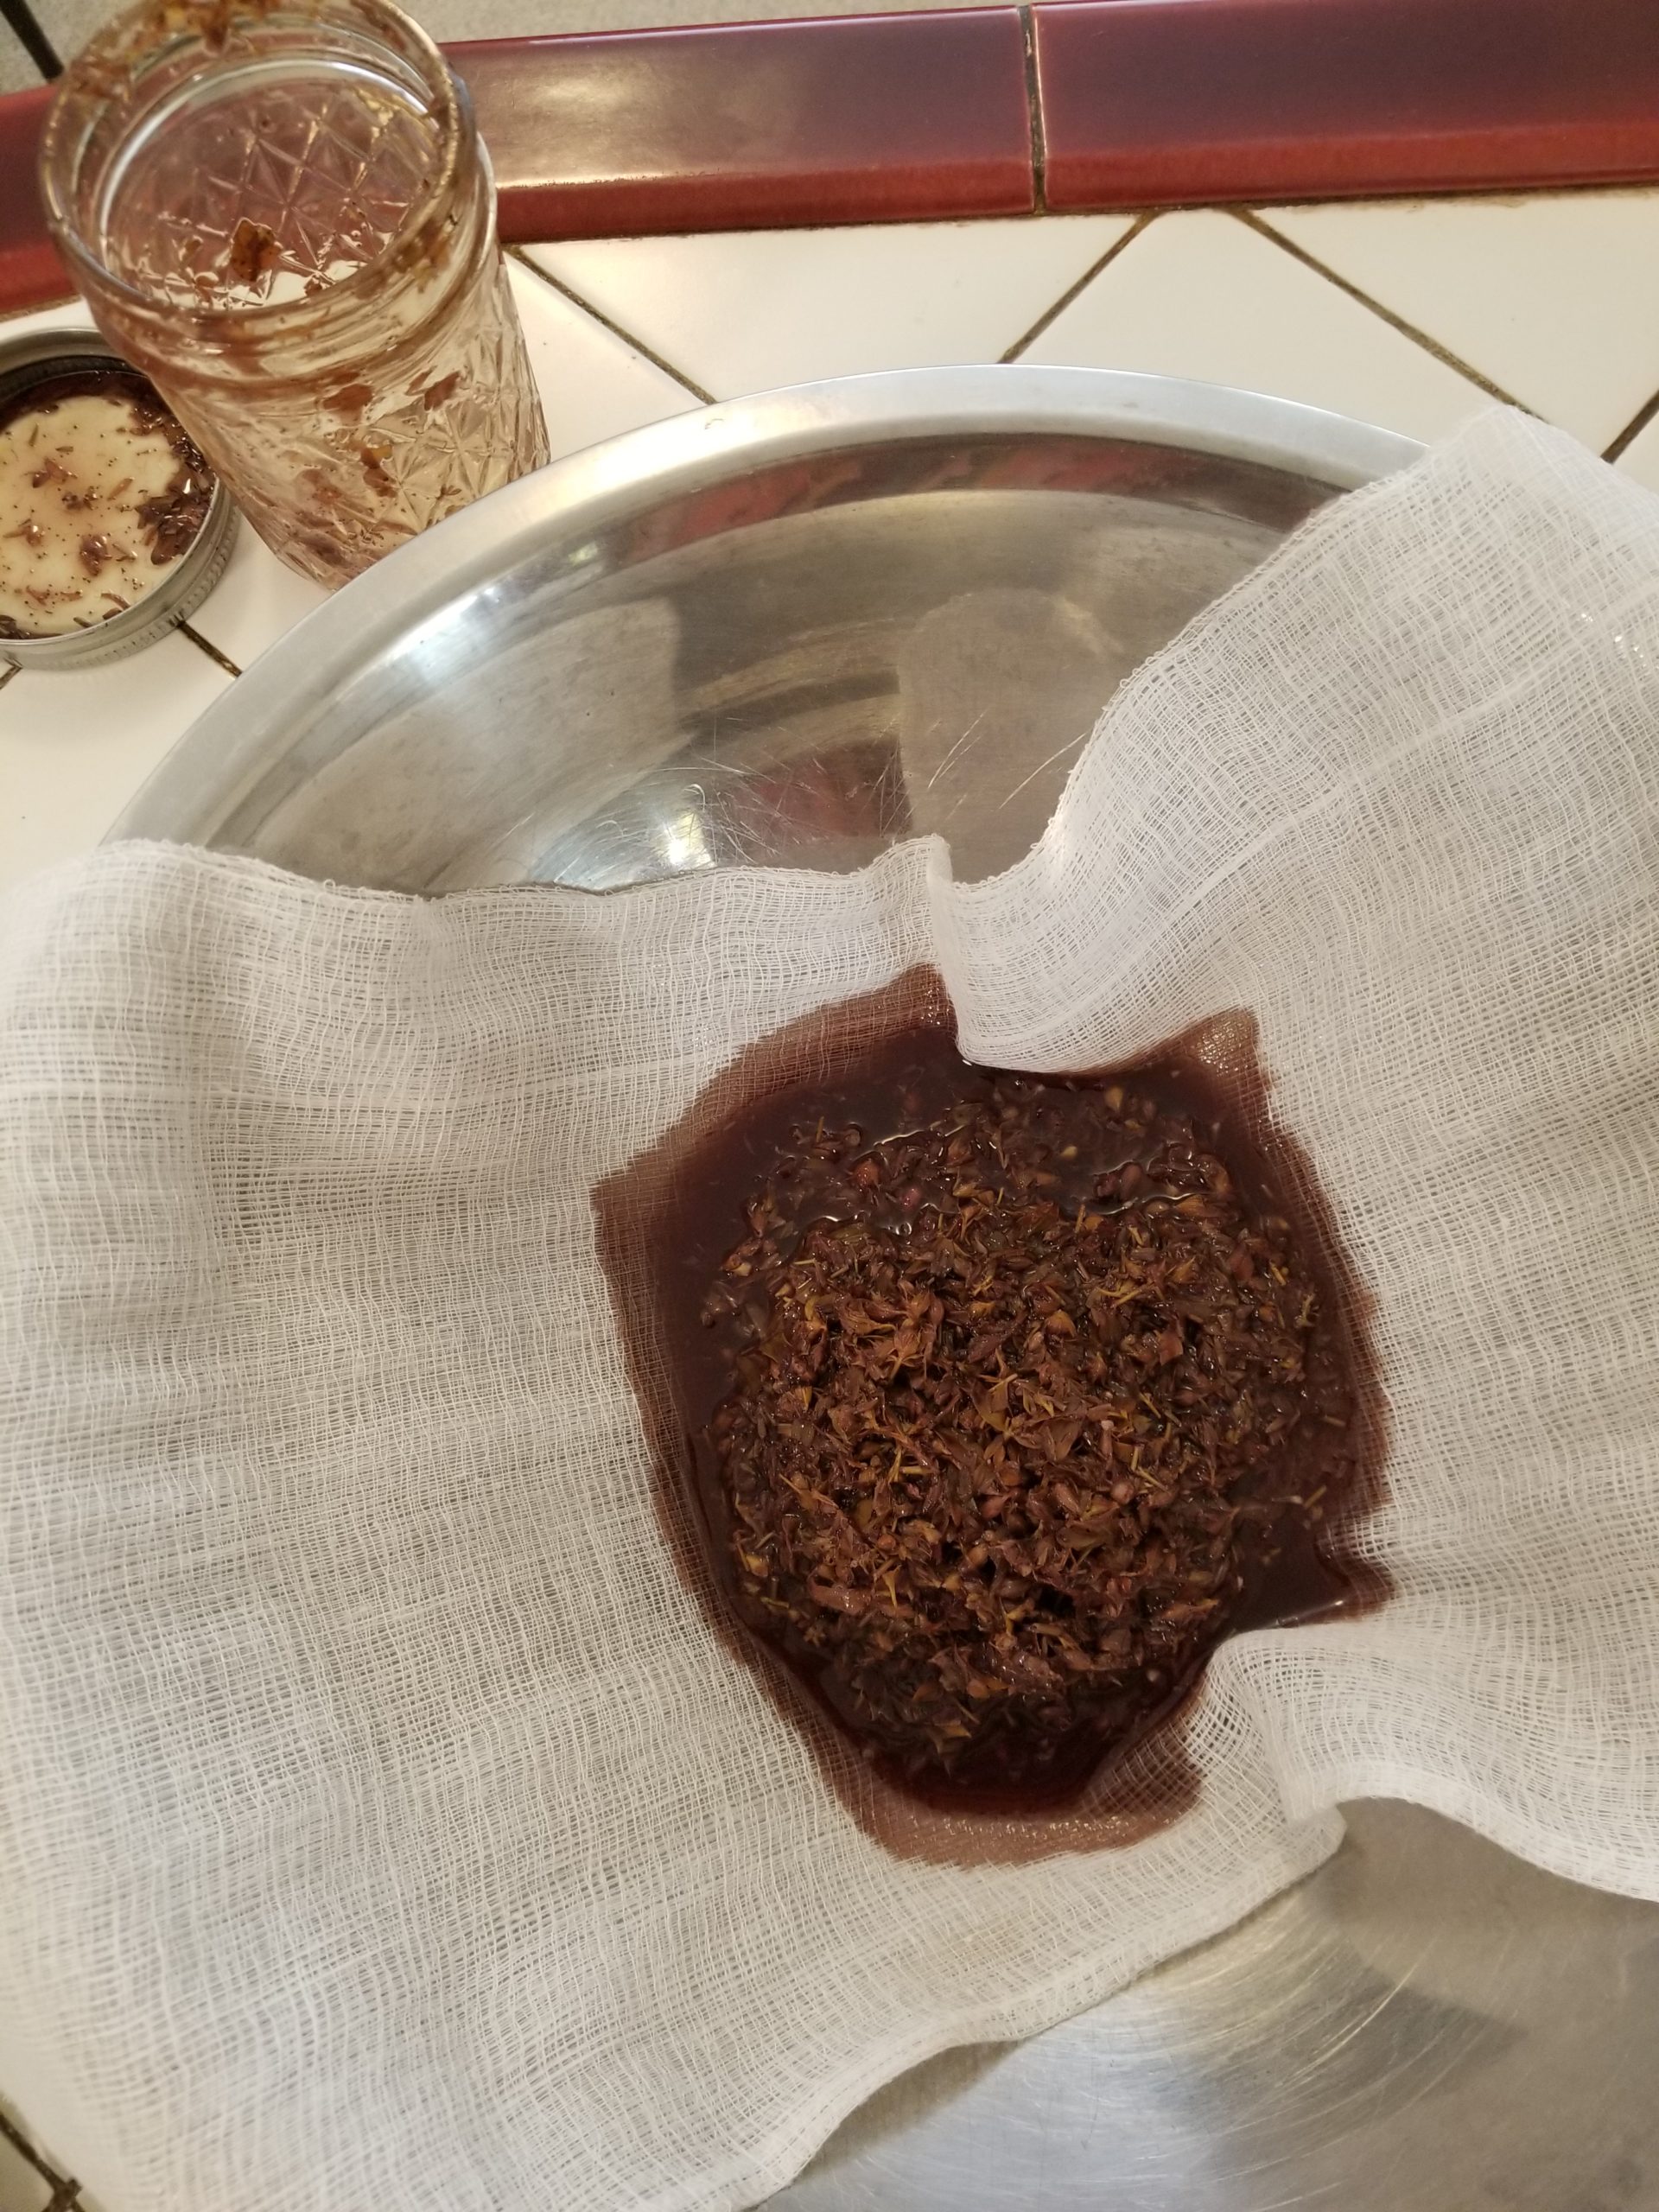
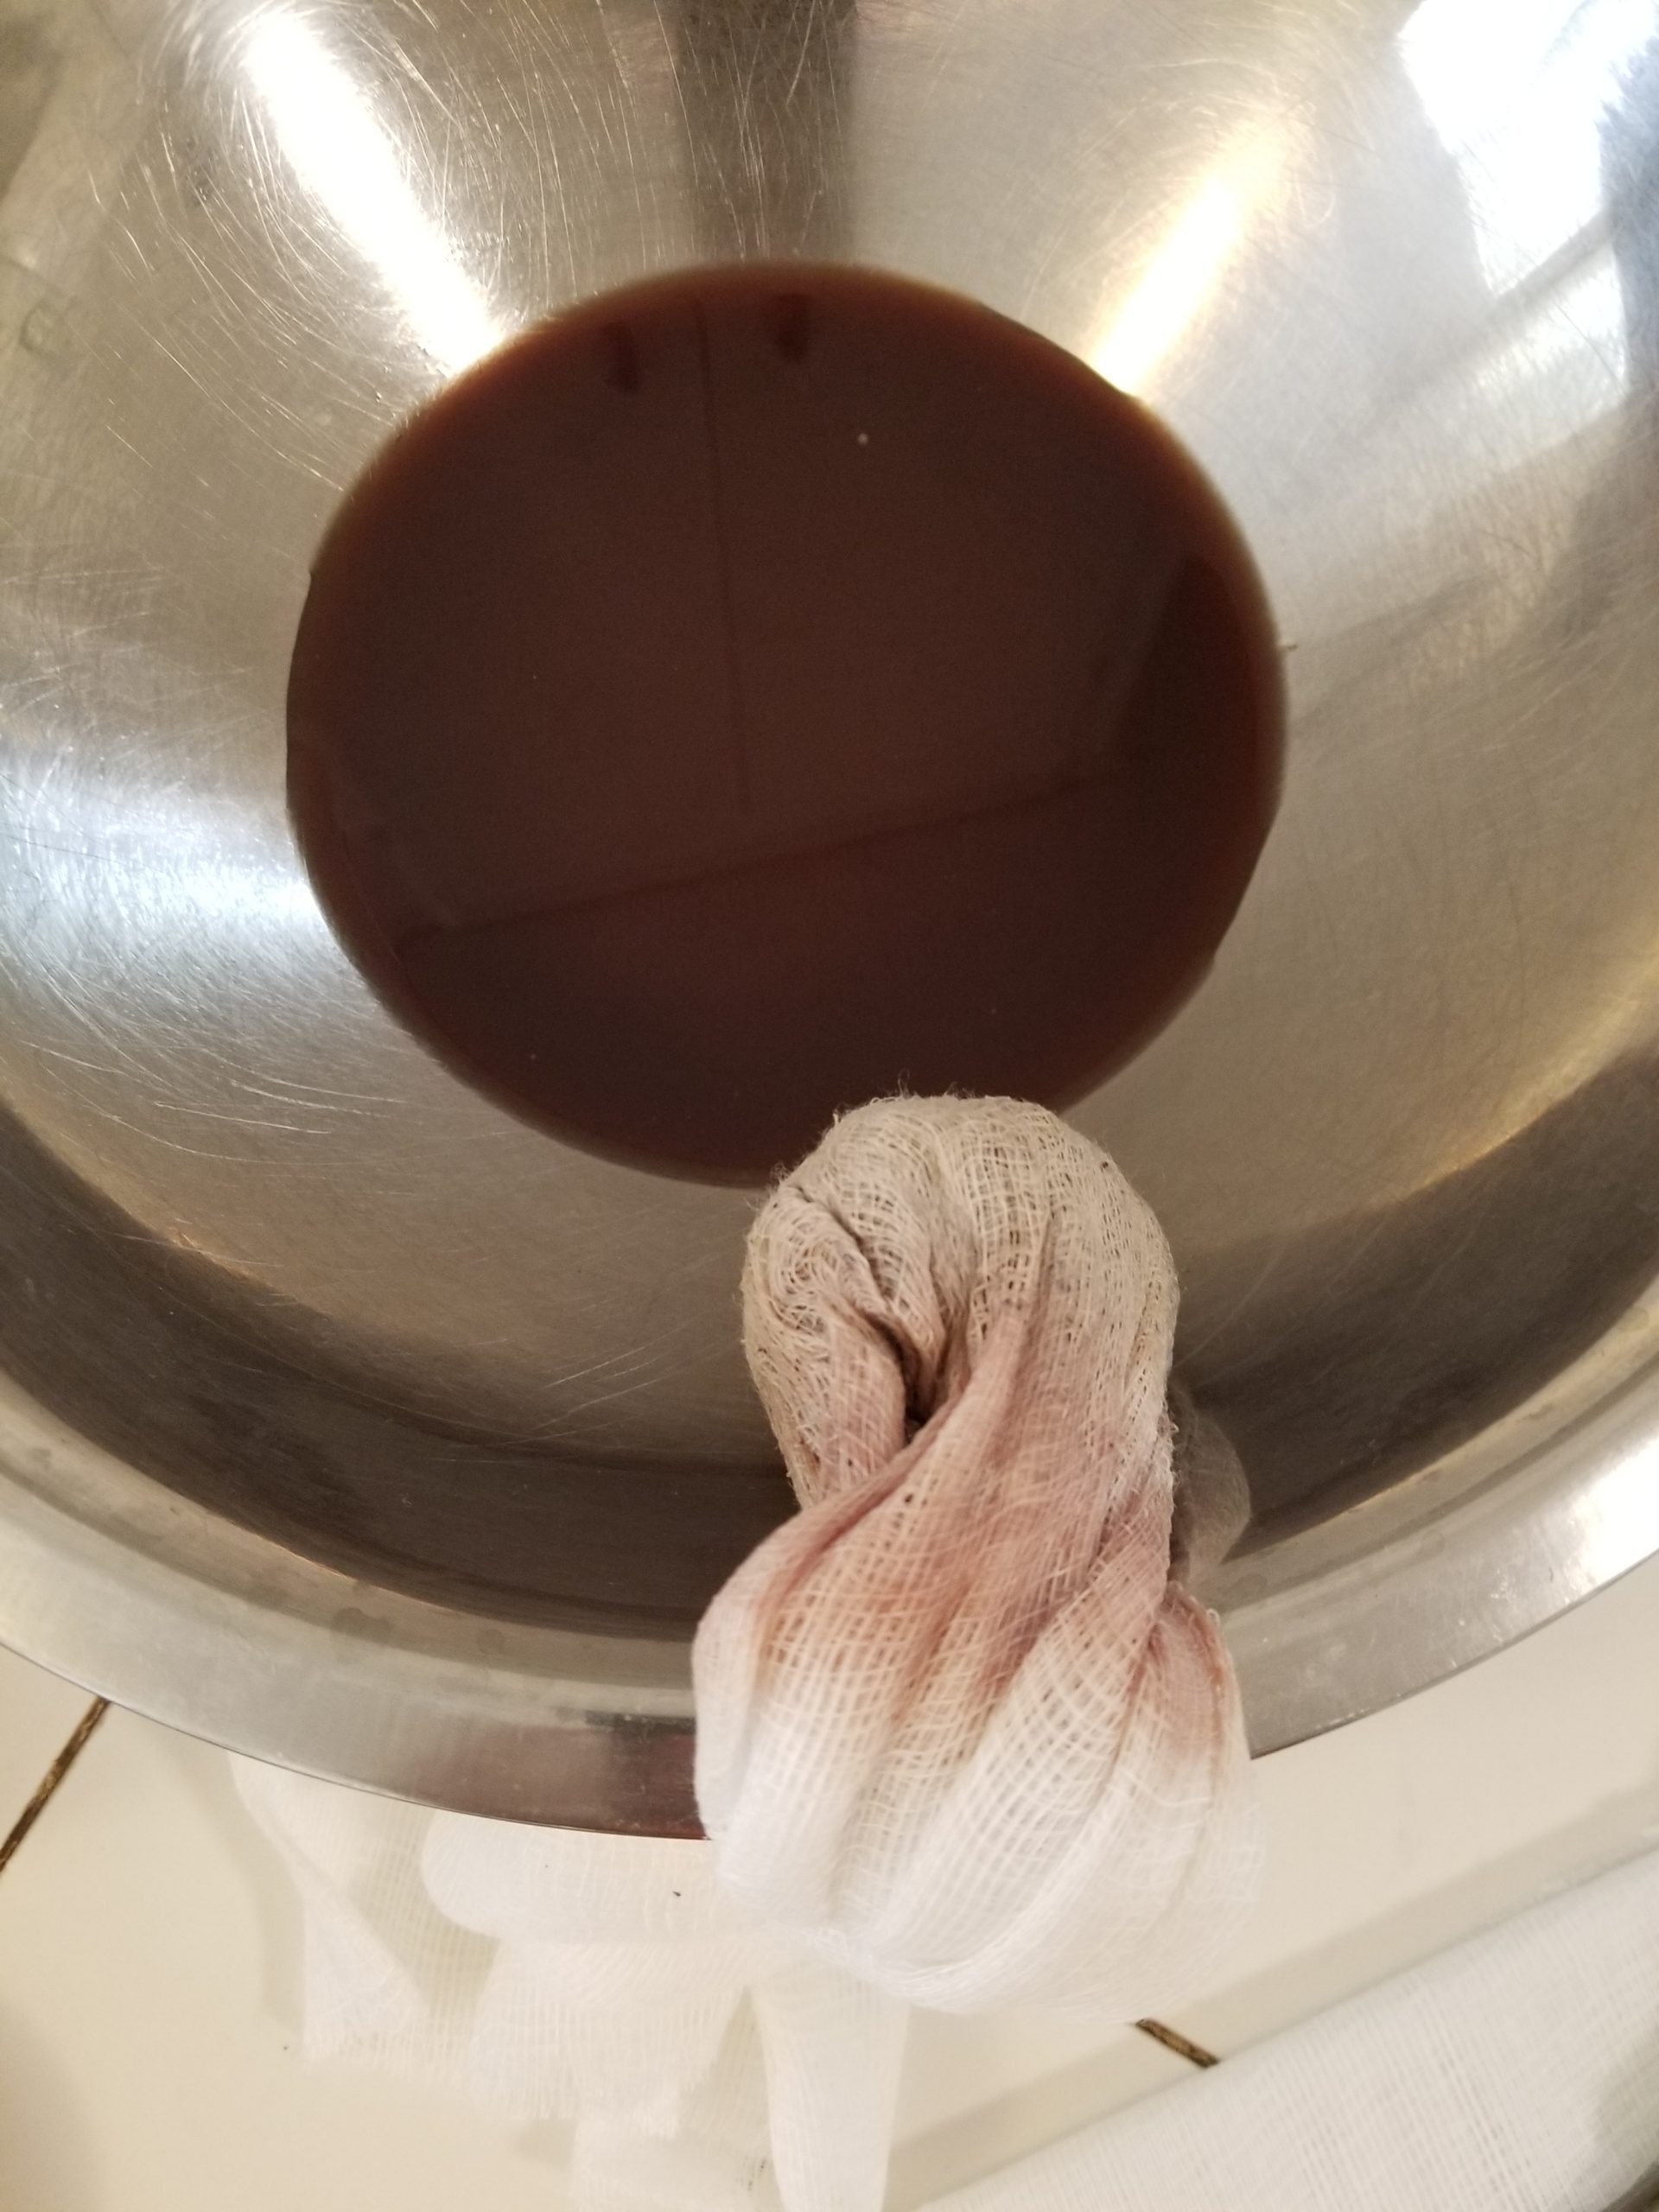
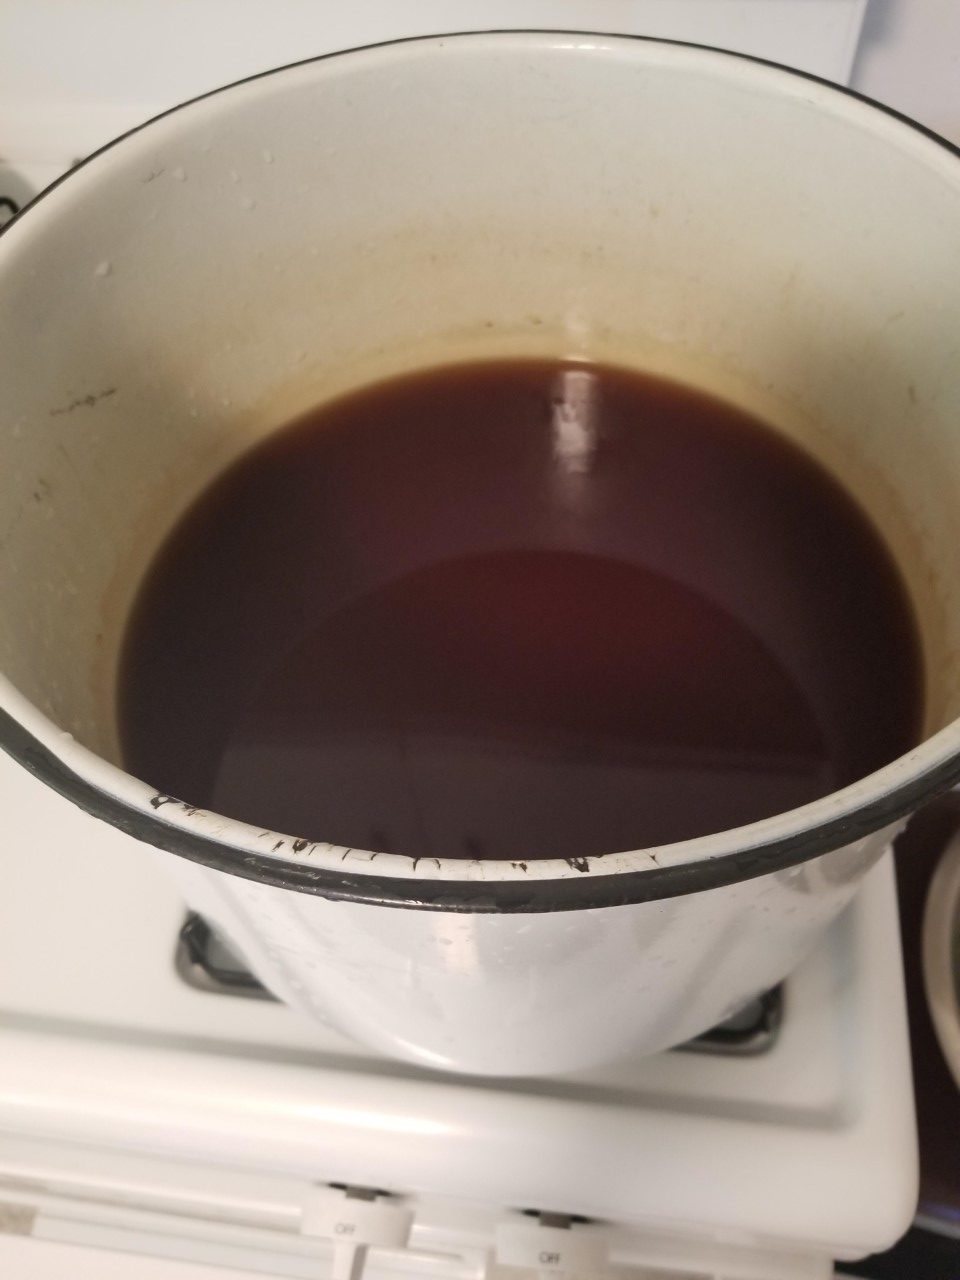
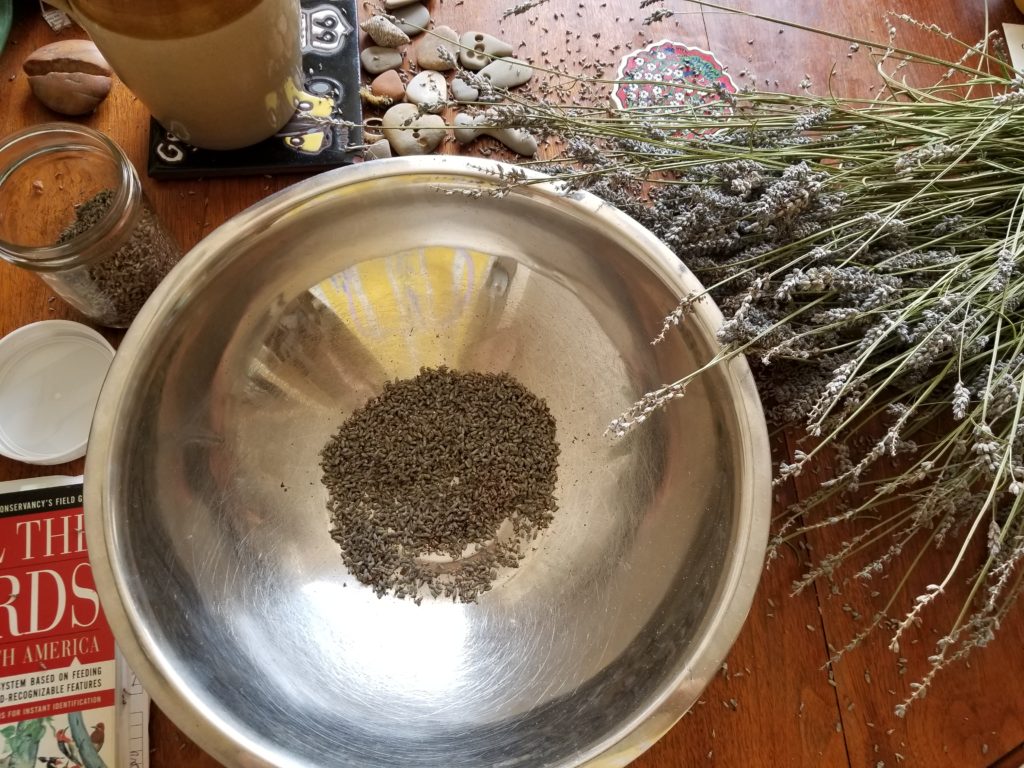
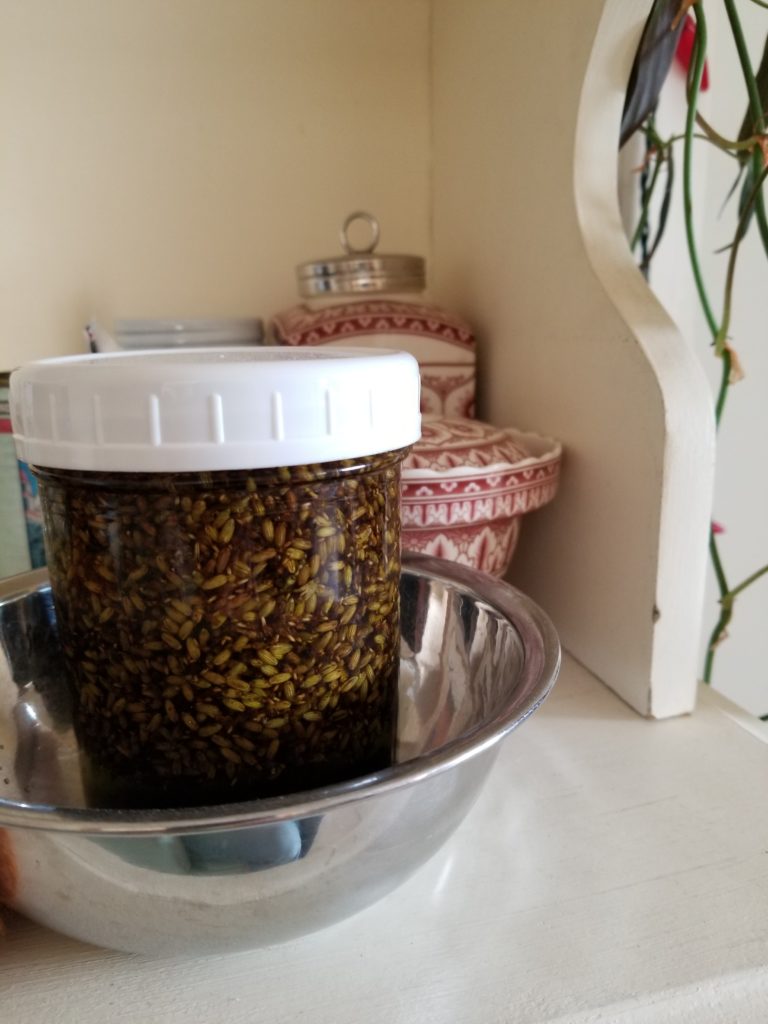
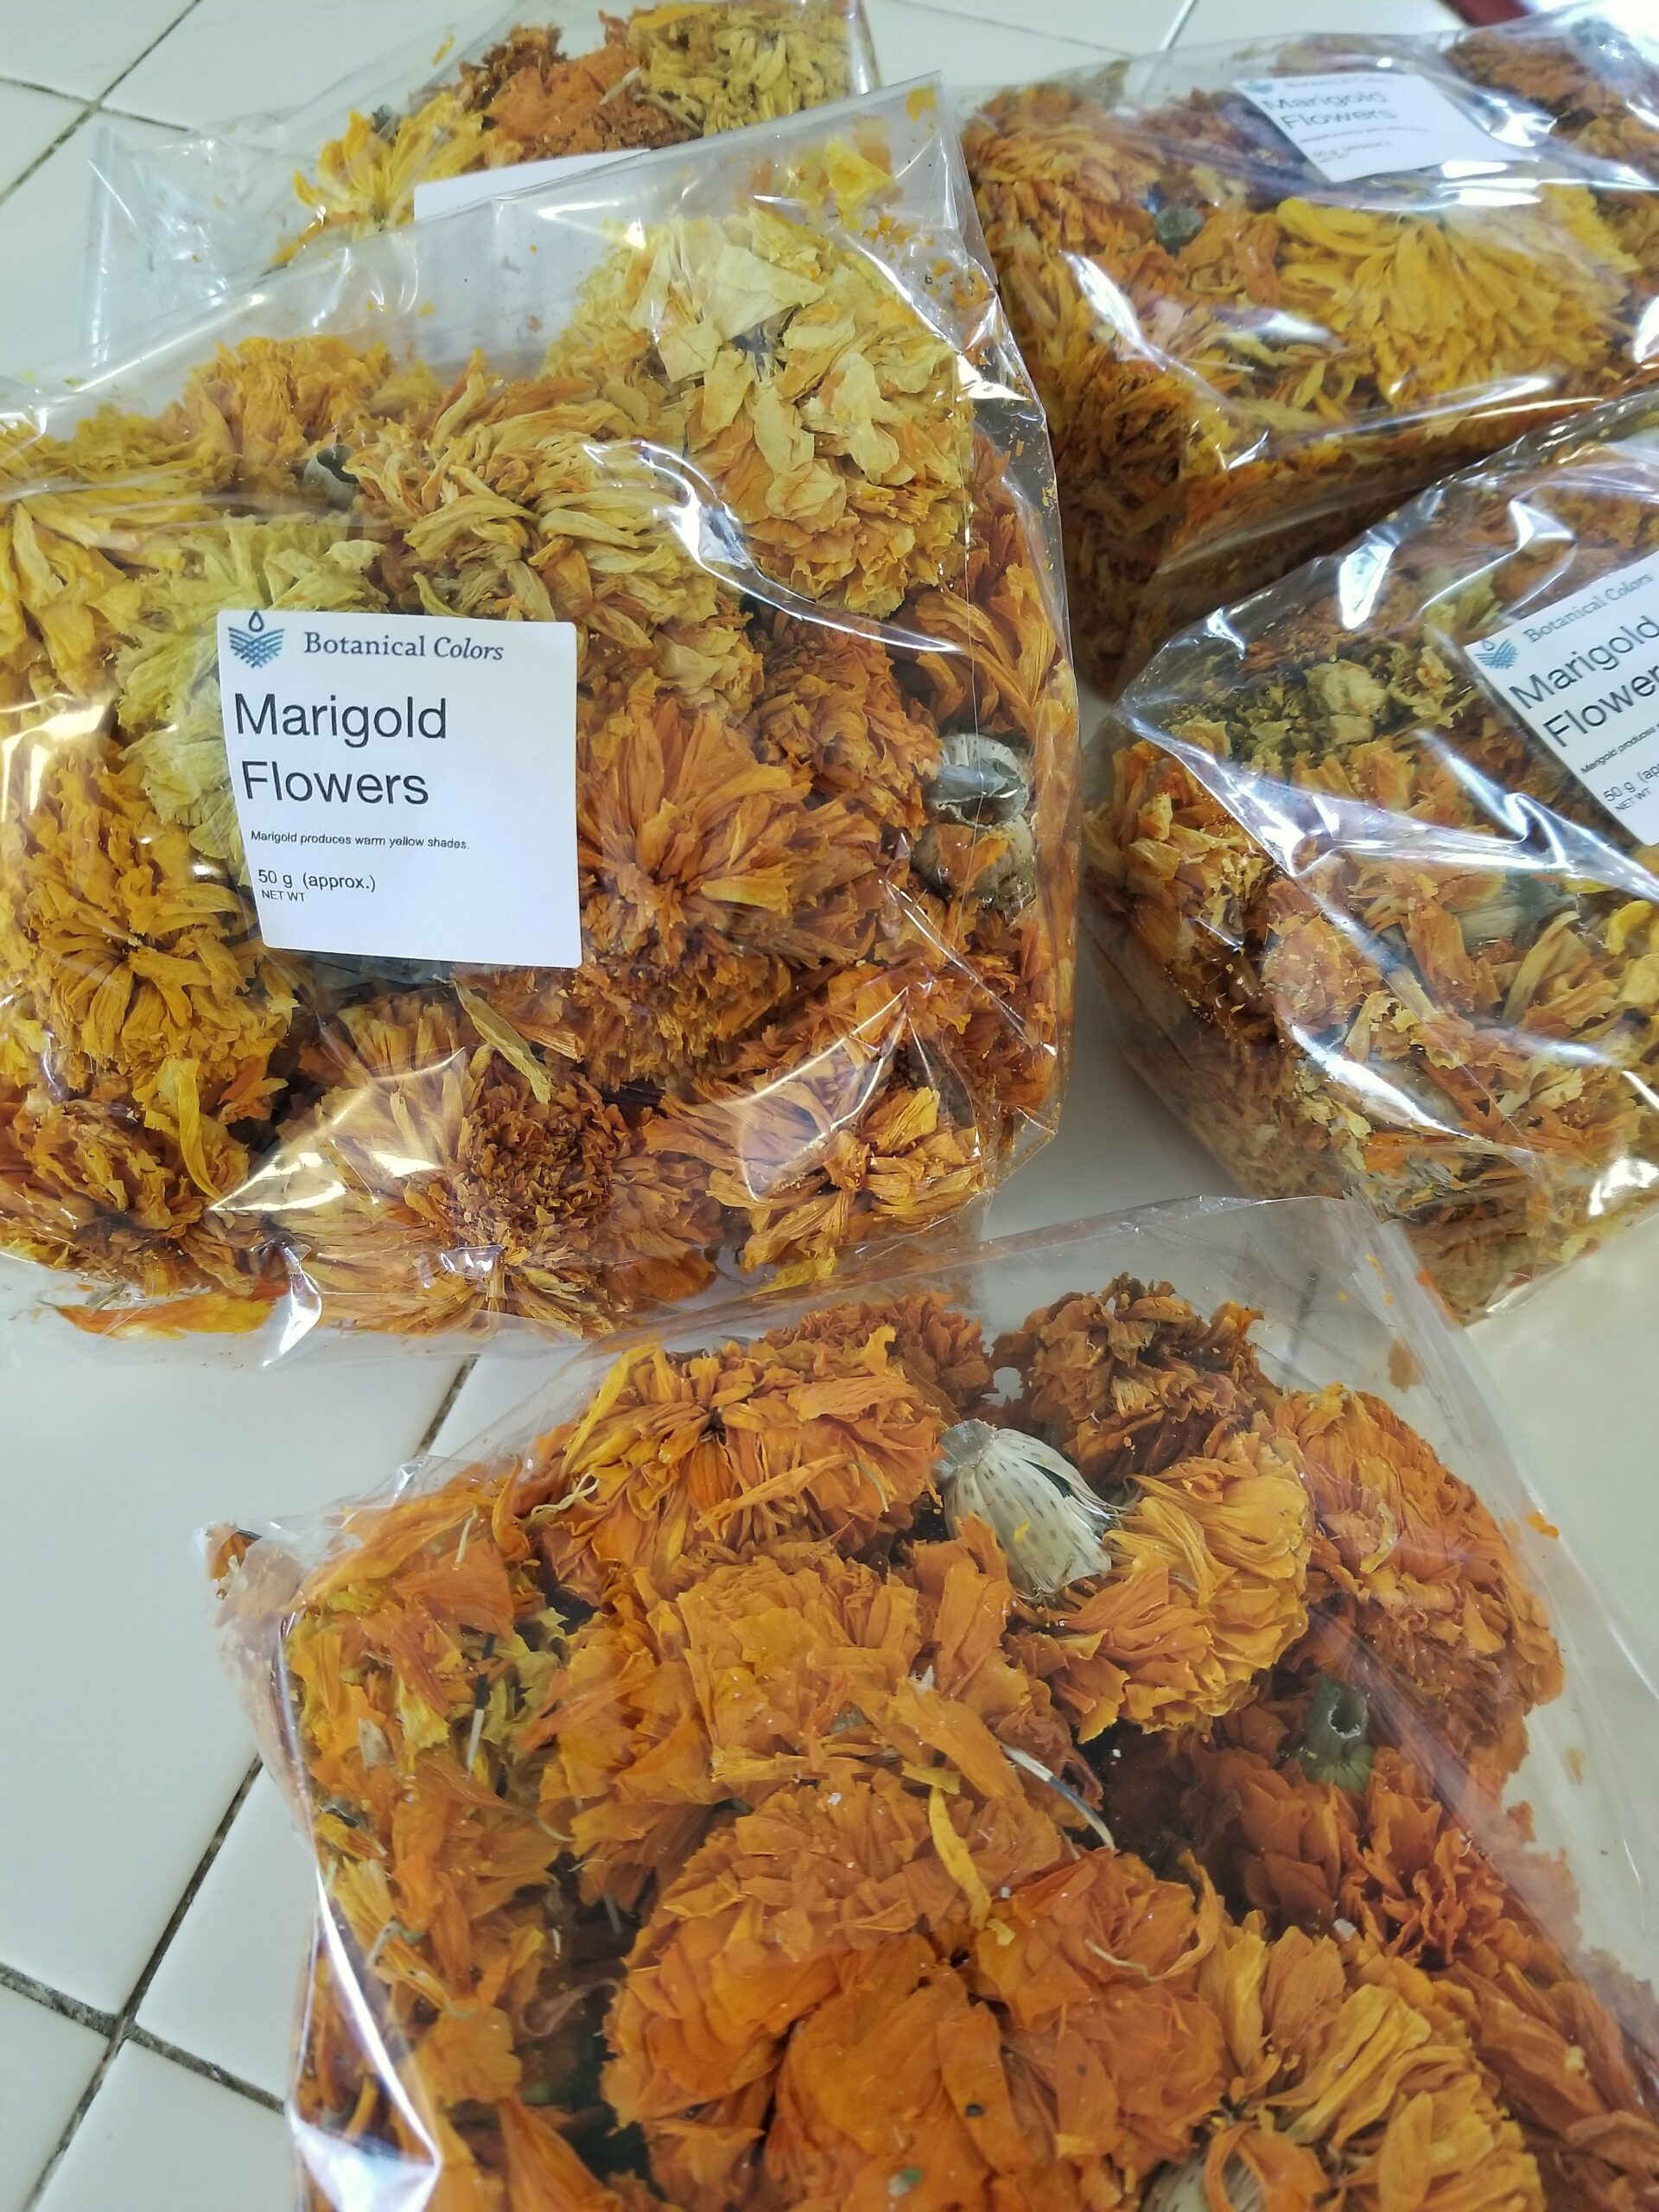
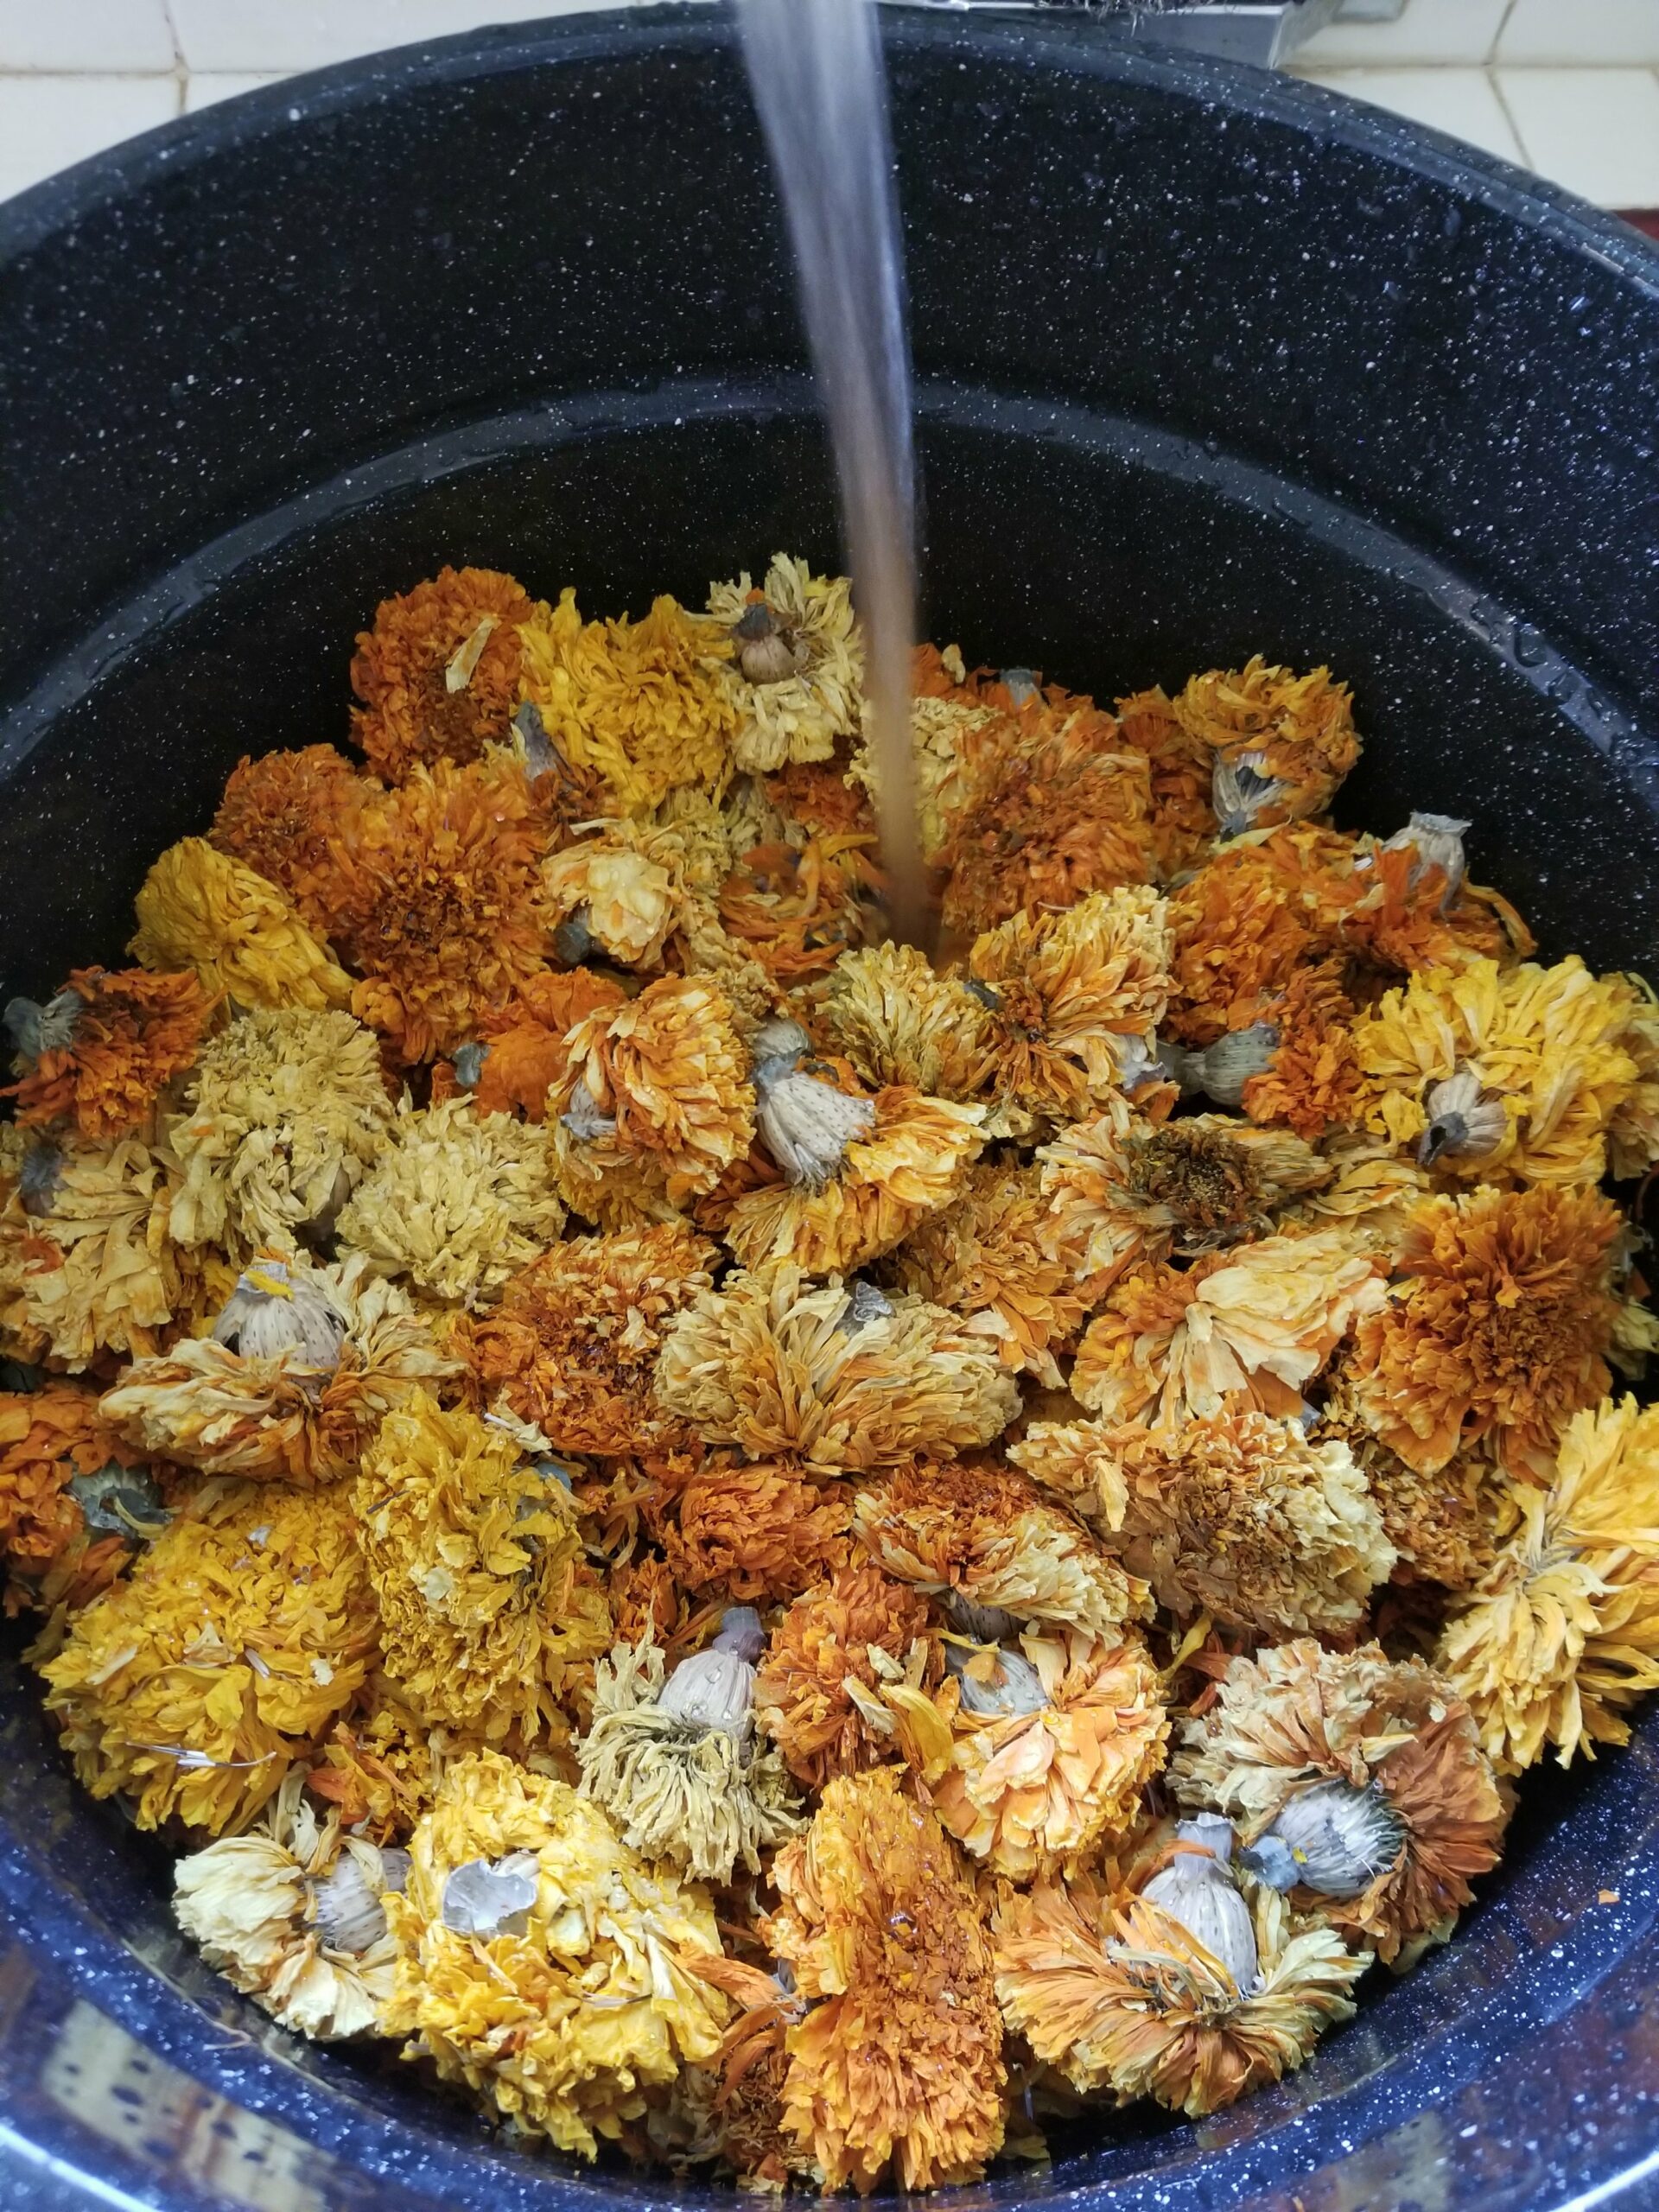
Then making a dye bath with the flowers.
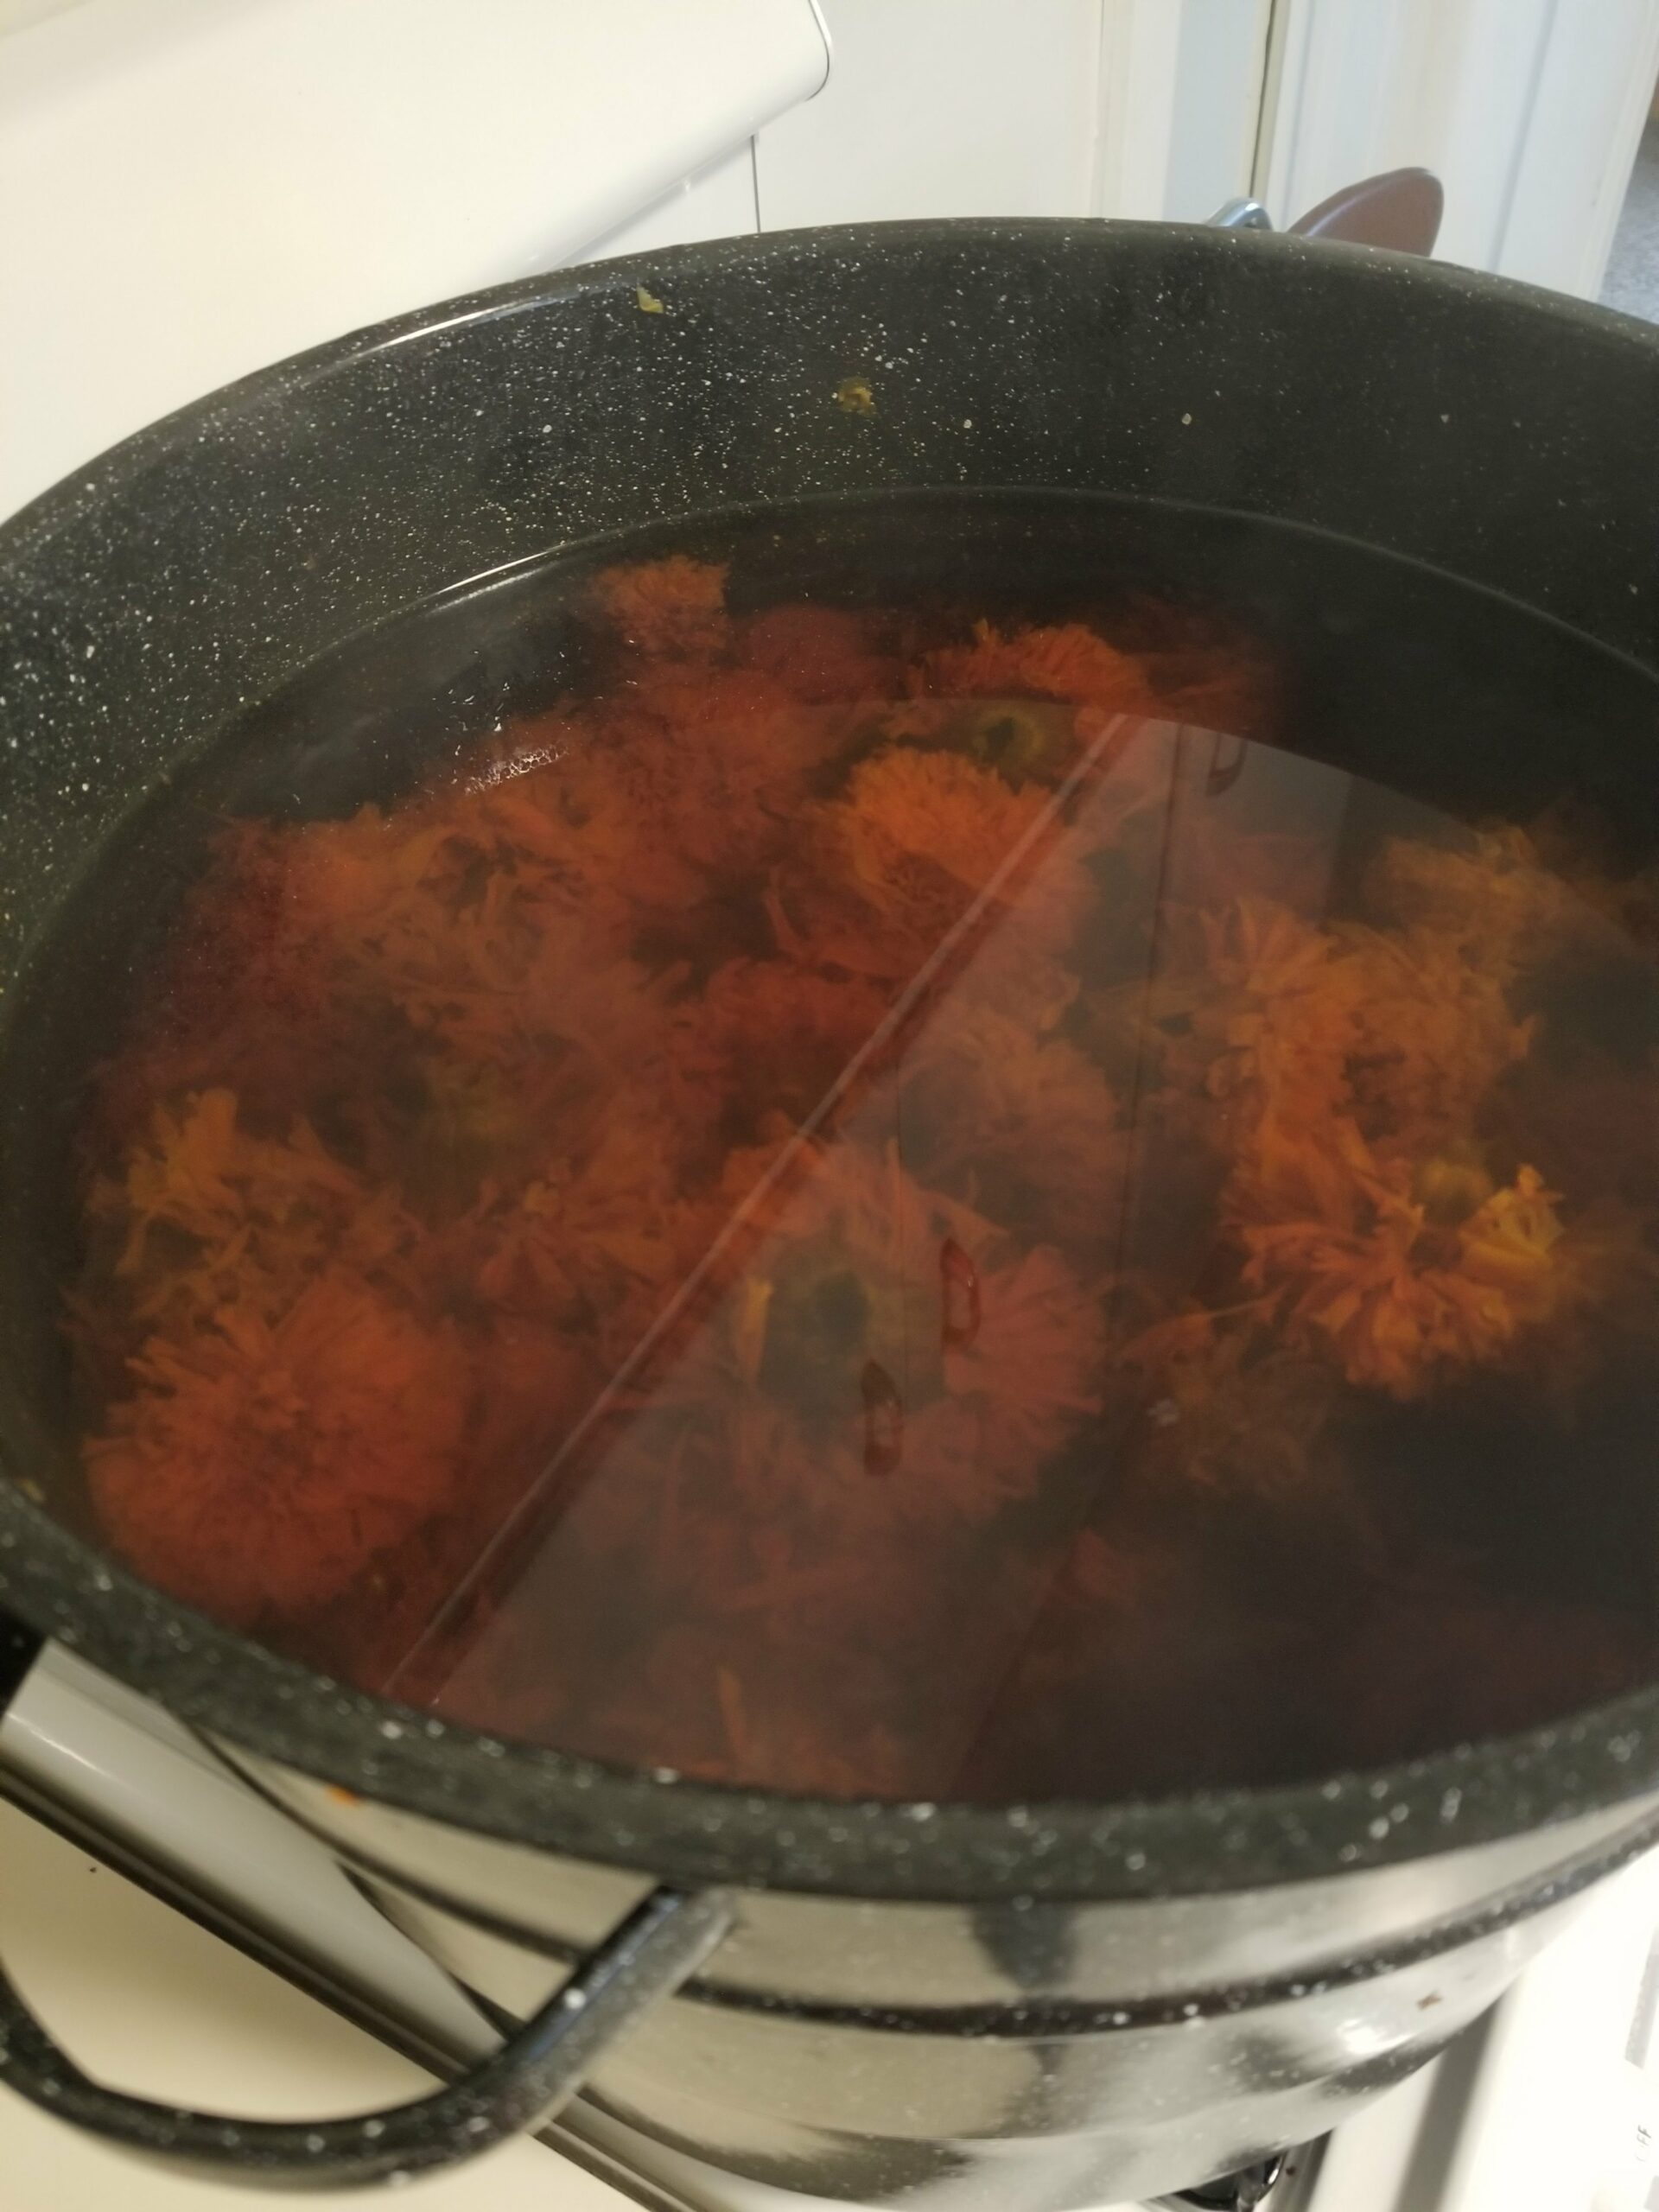

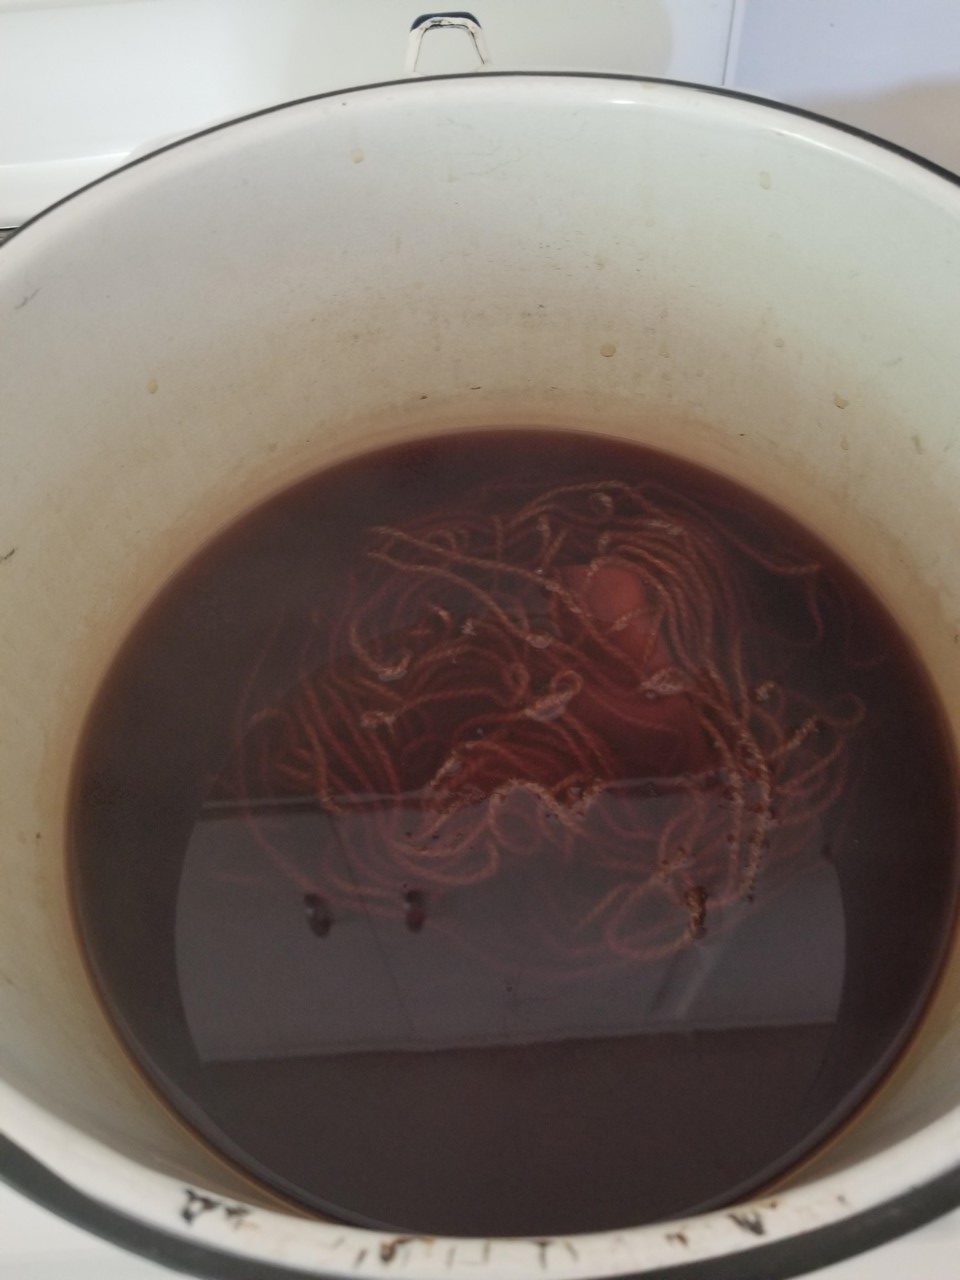
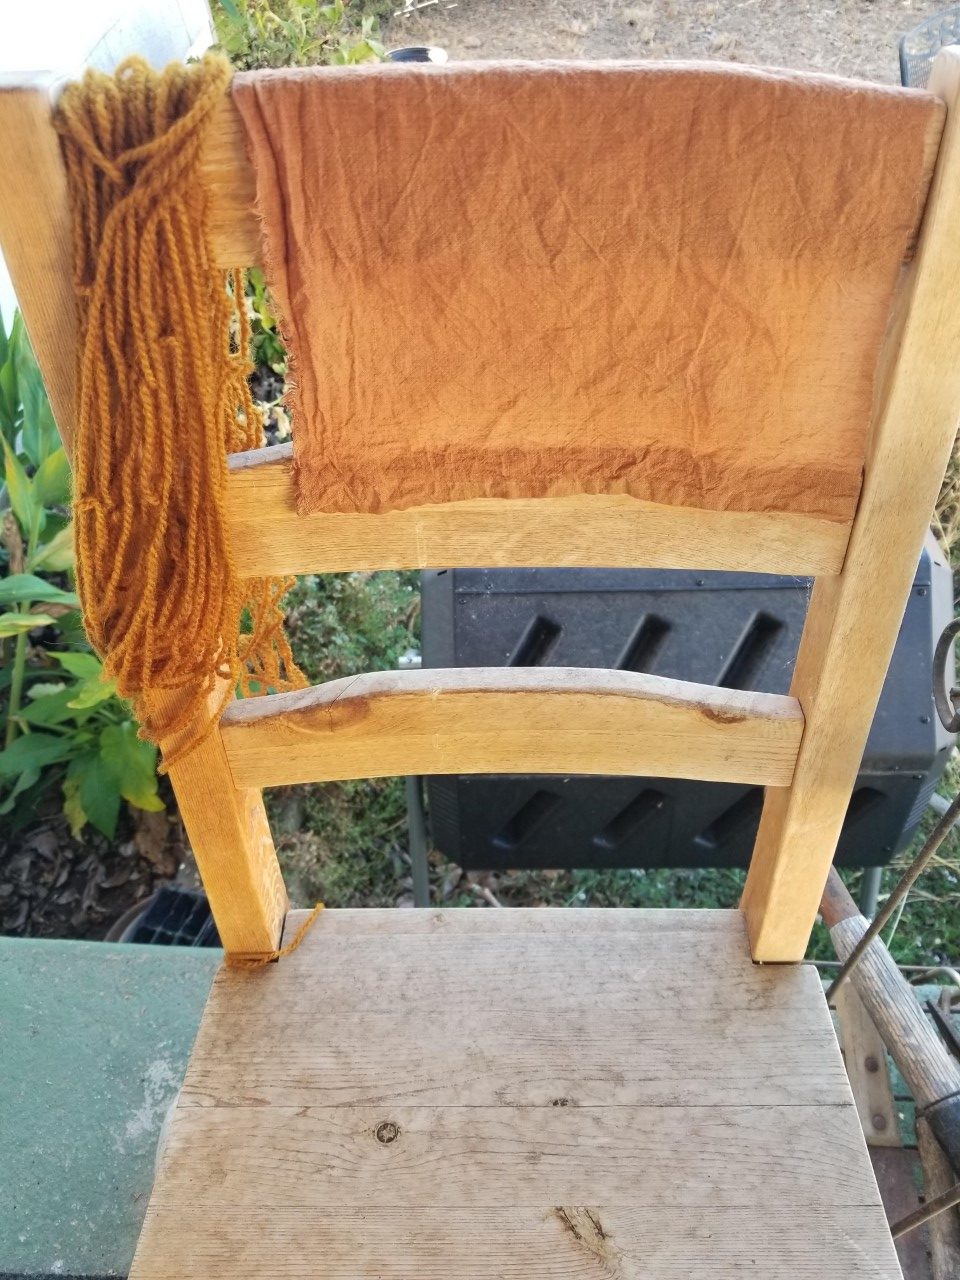
After dying with just marigolds, I did a magic after-dye process by adding just a pinch of iron to the bath to change and darken the color.
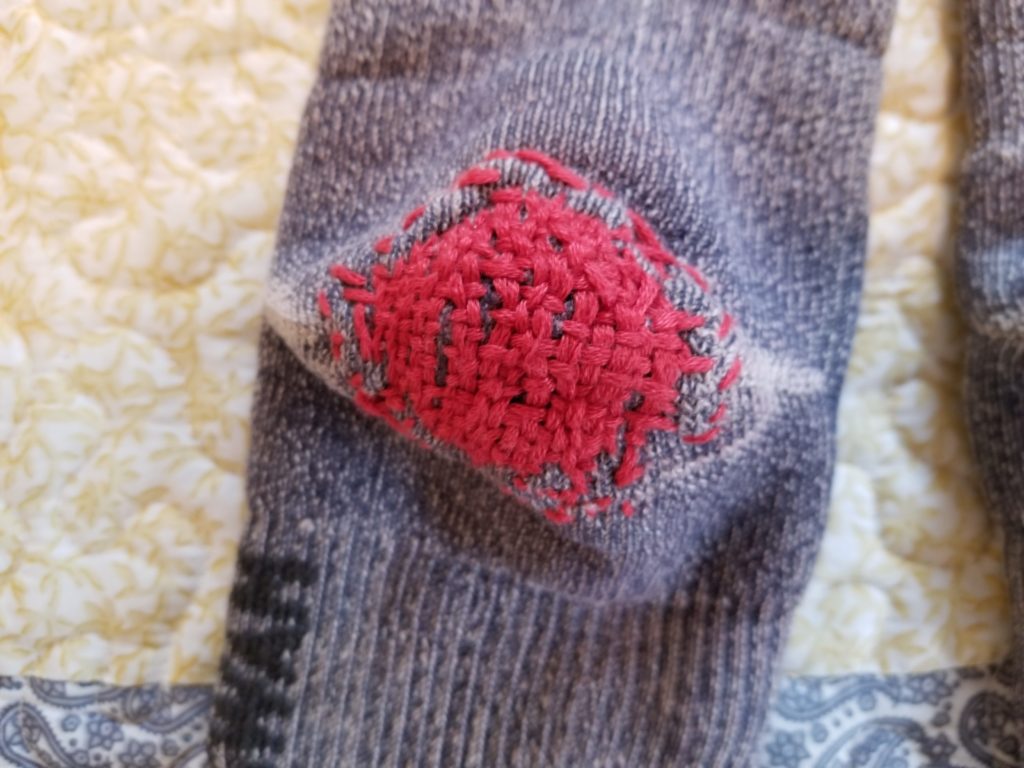
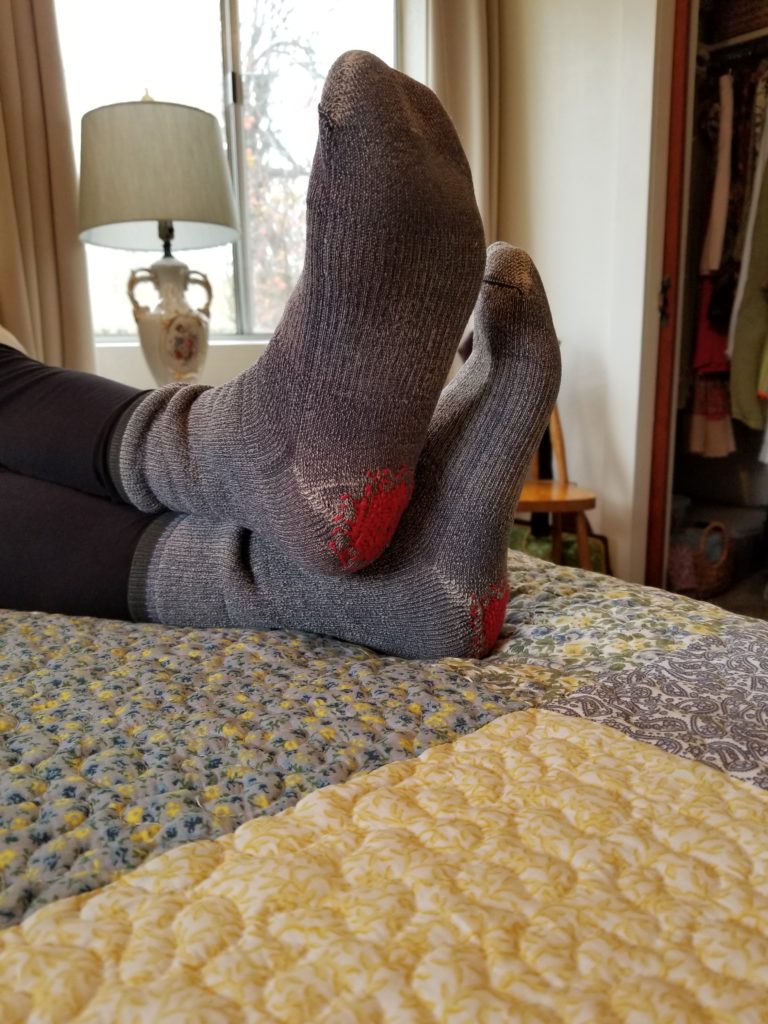
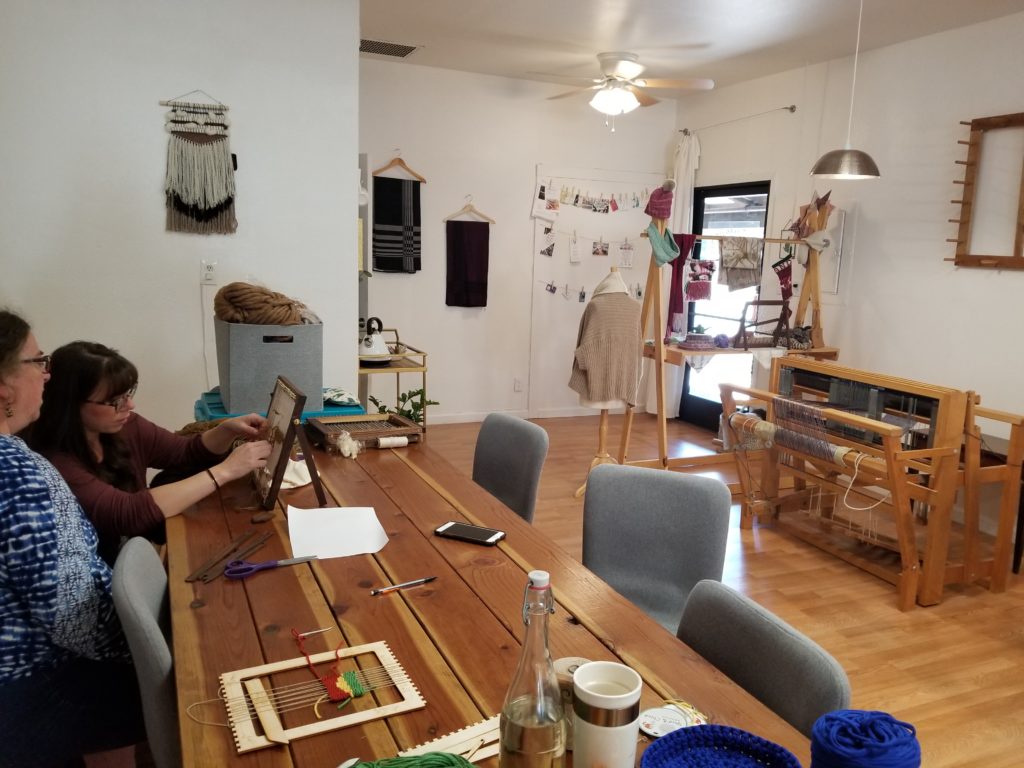
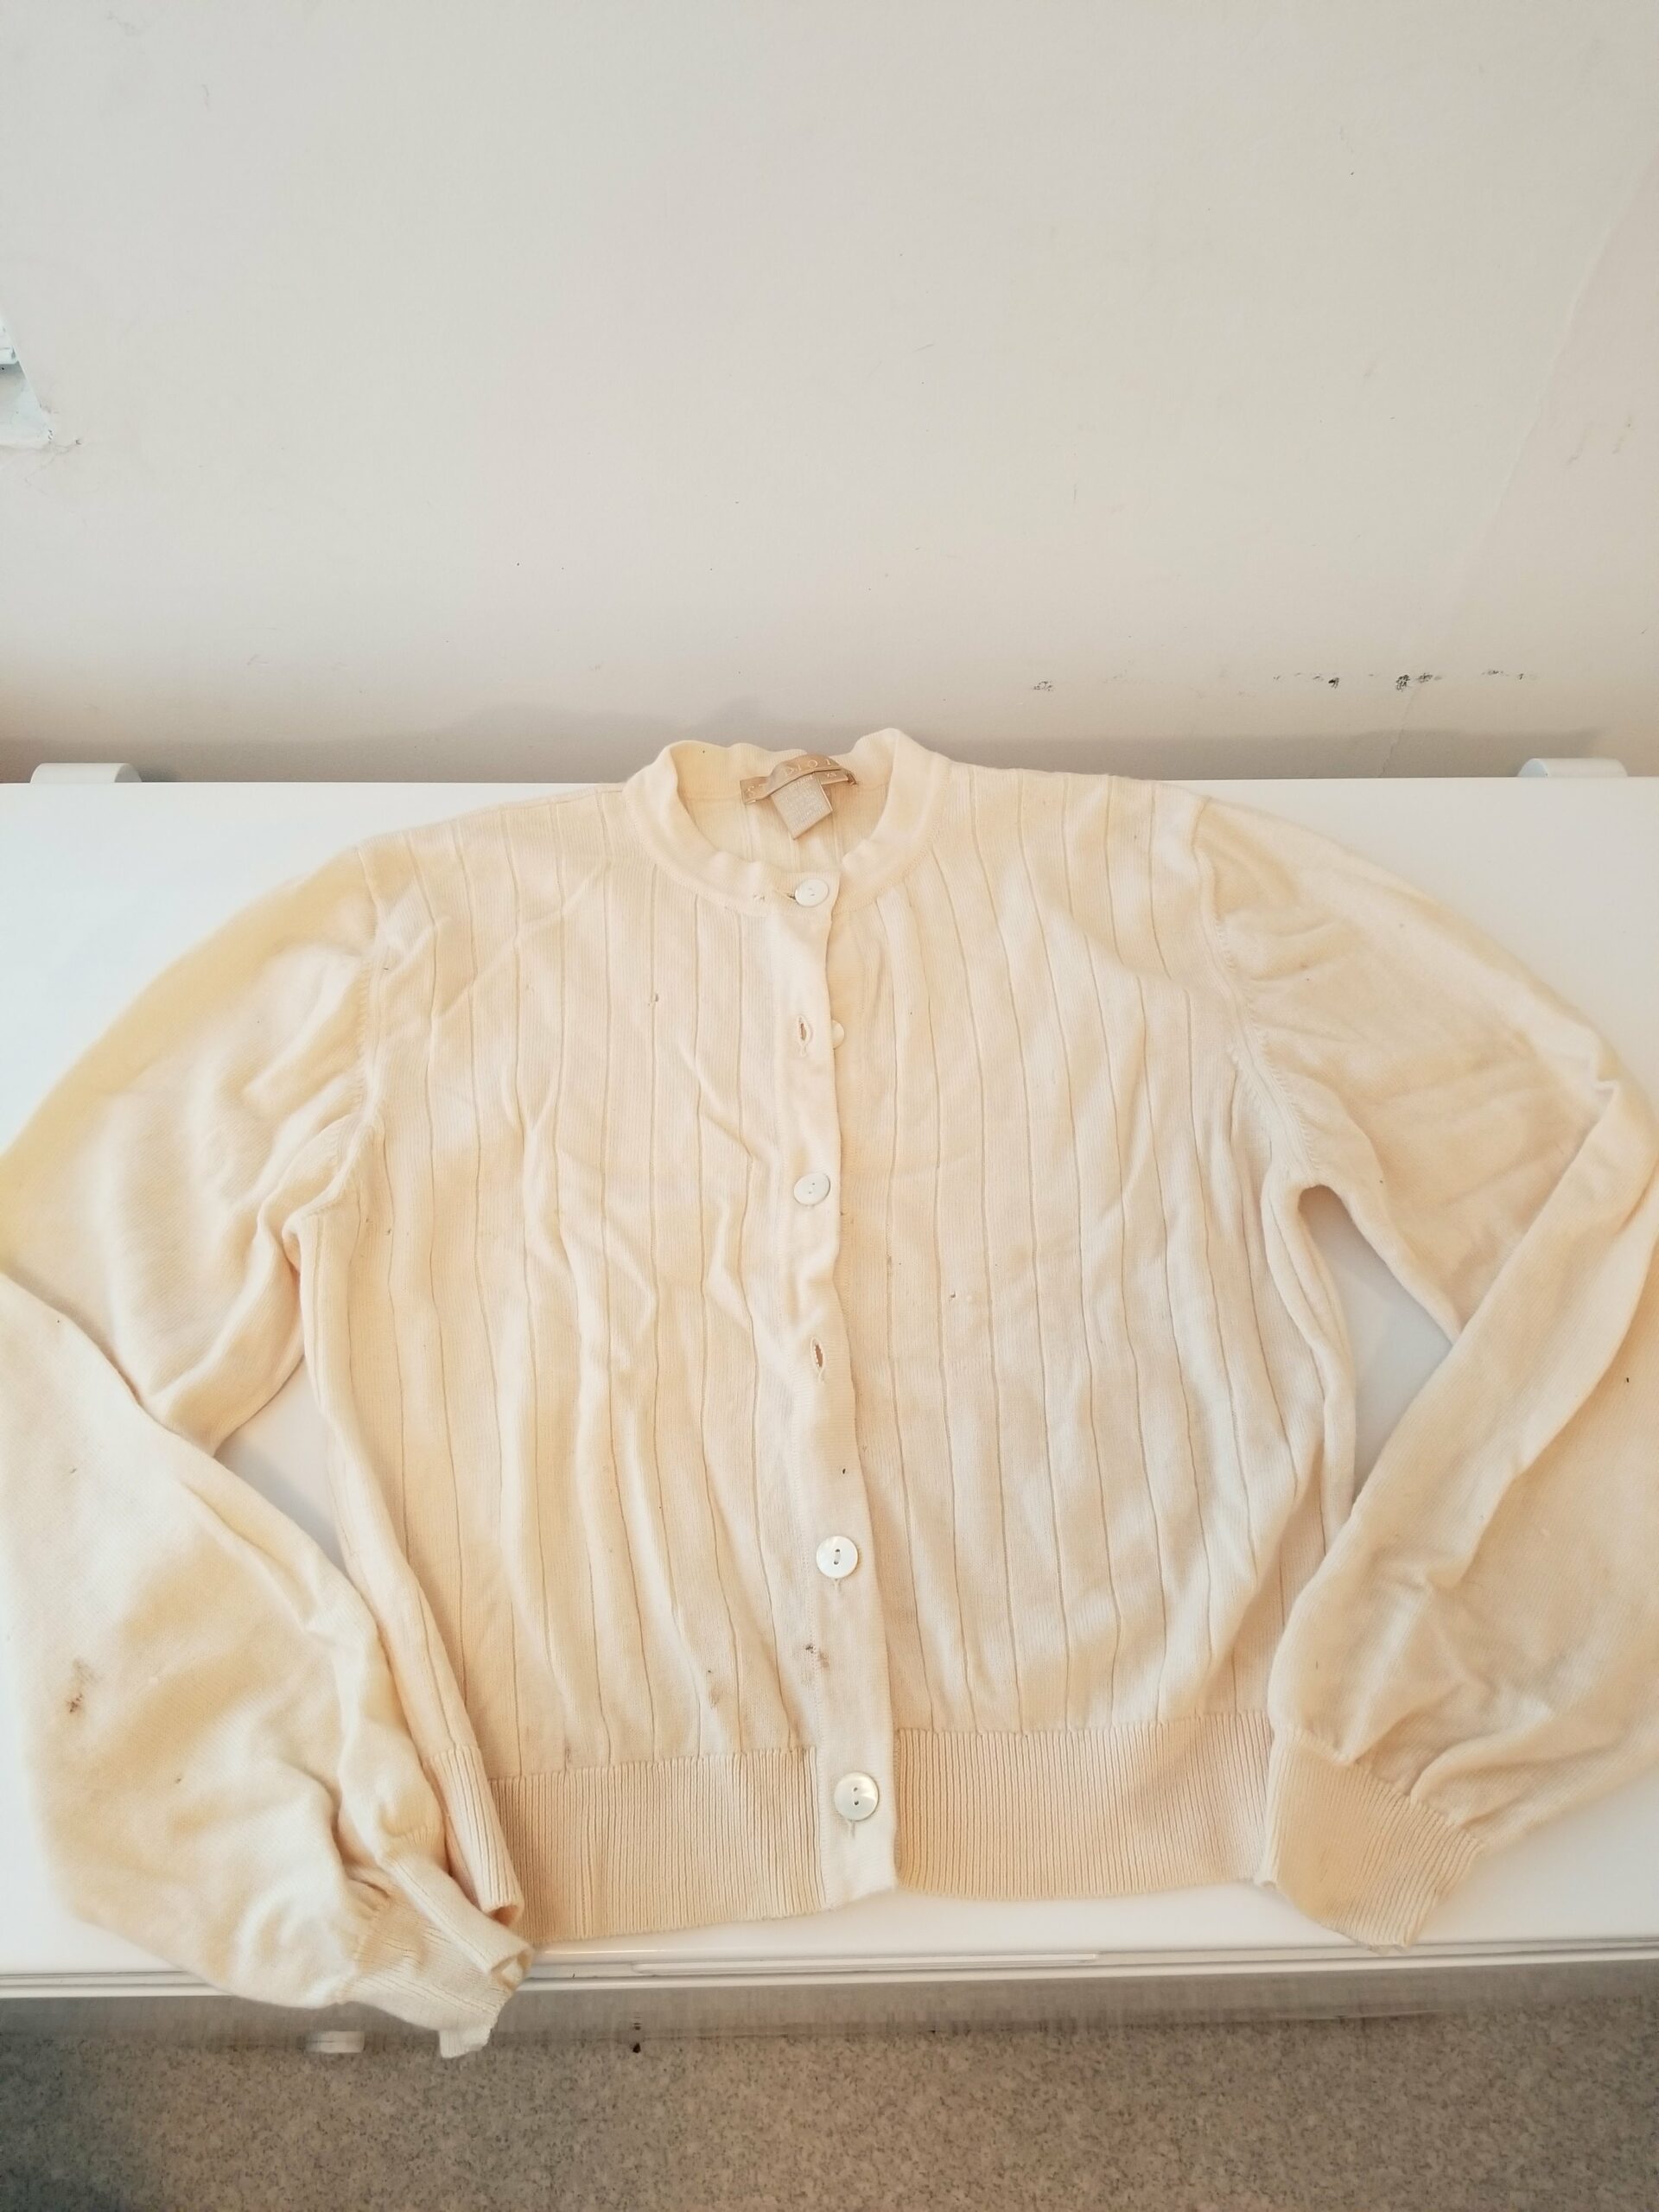
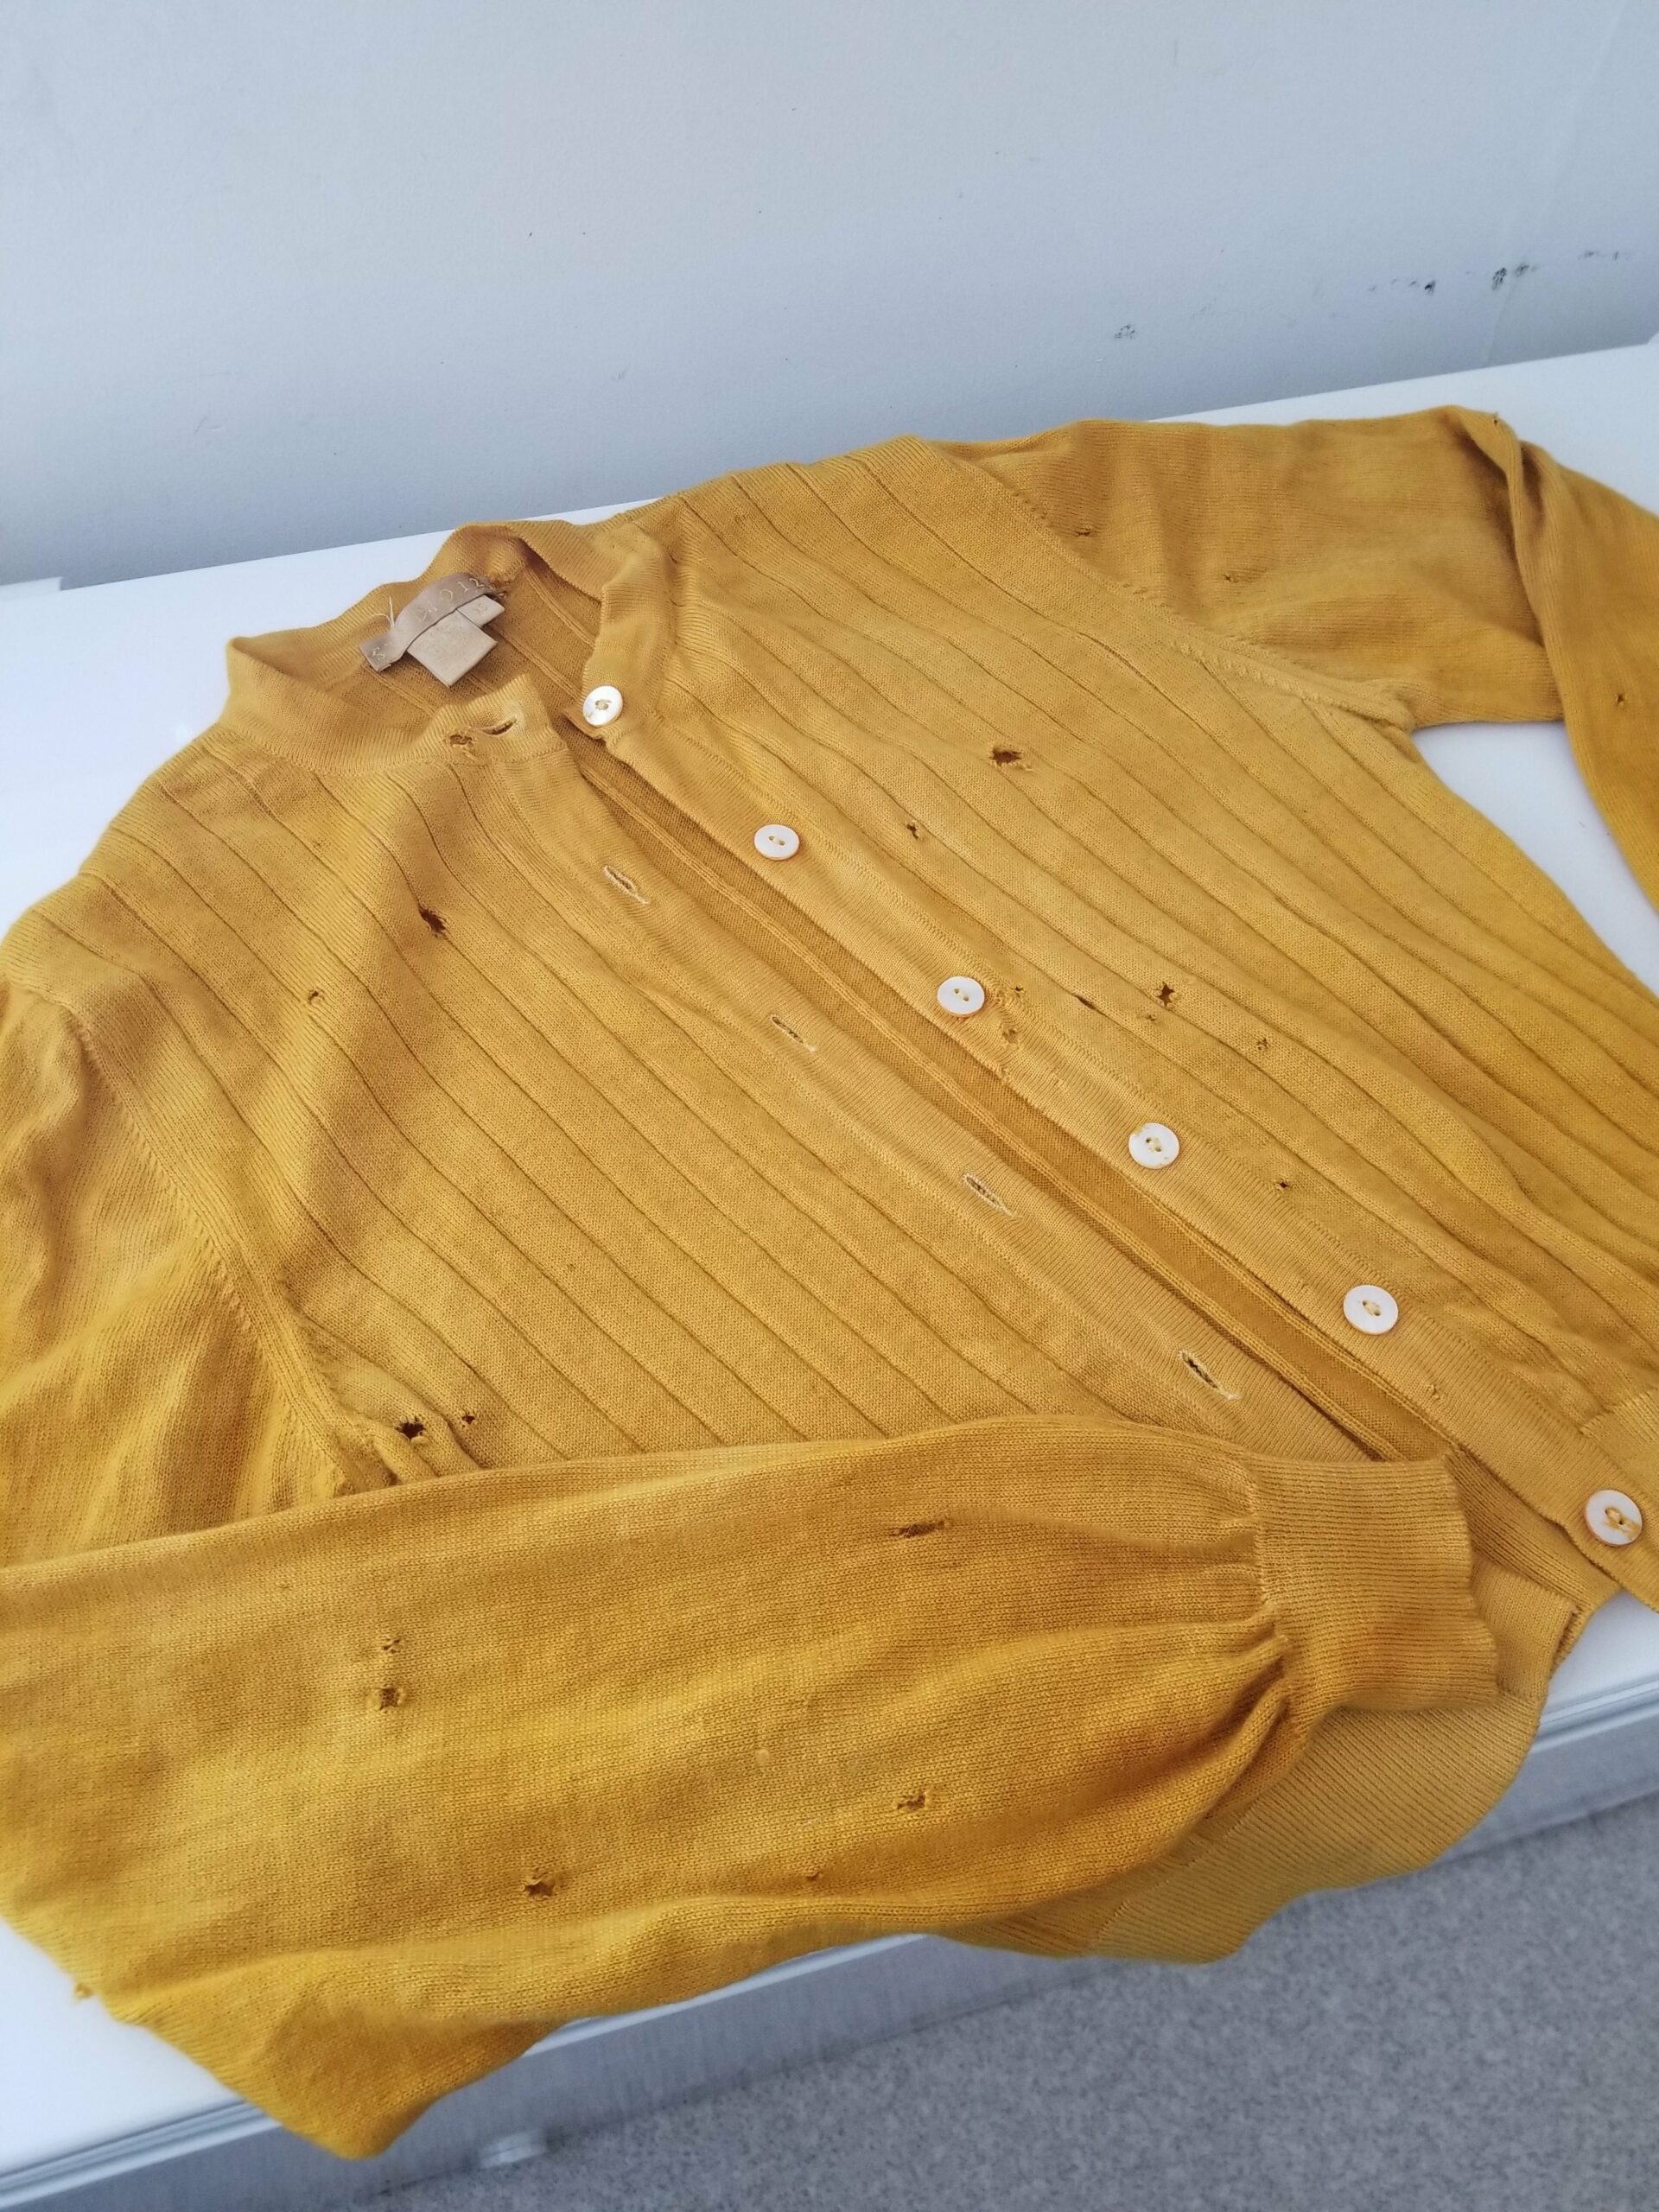
Since I had so much dye, I also dyed an old wool sweater that has a bunch of moth holes. After dying it, eventually I will mend the holes with visible mending and embroidery techniques.
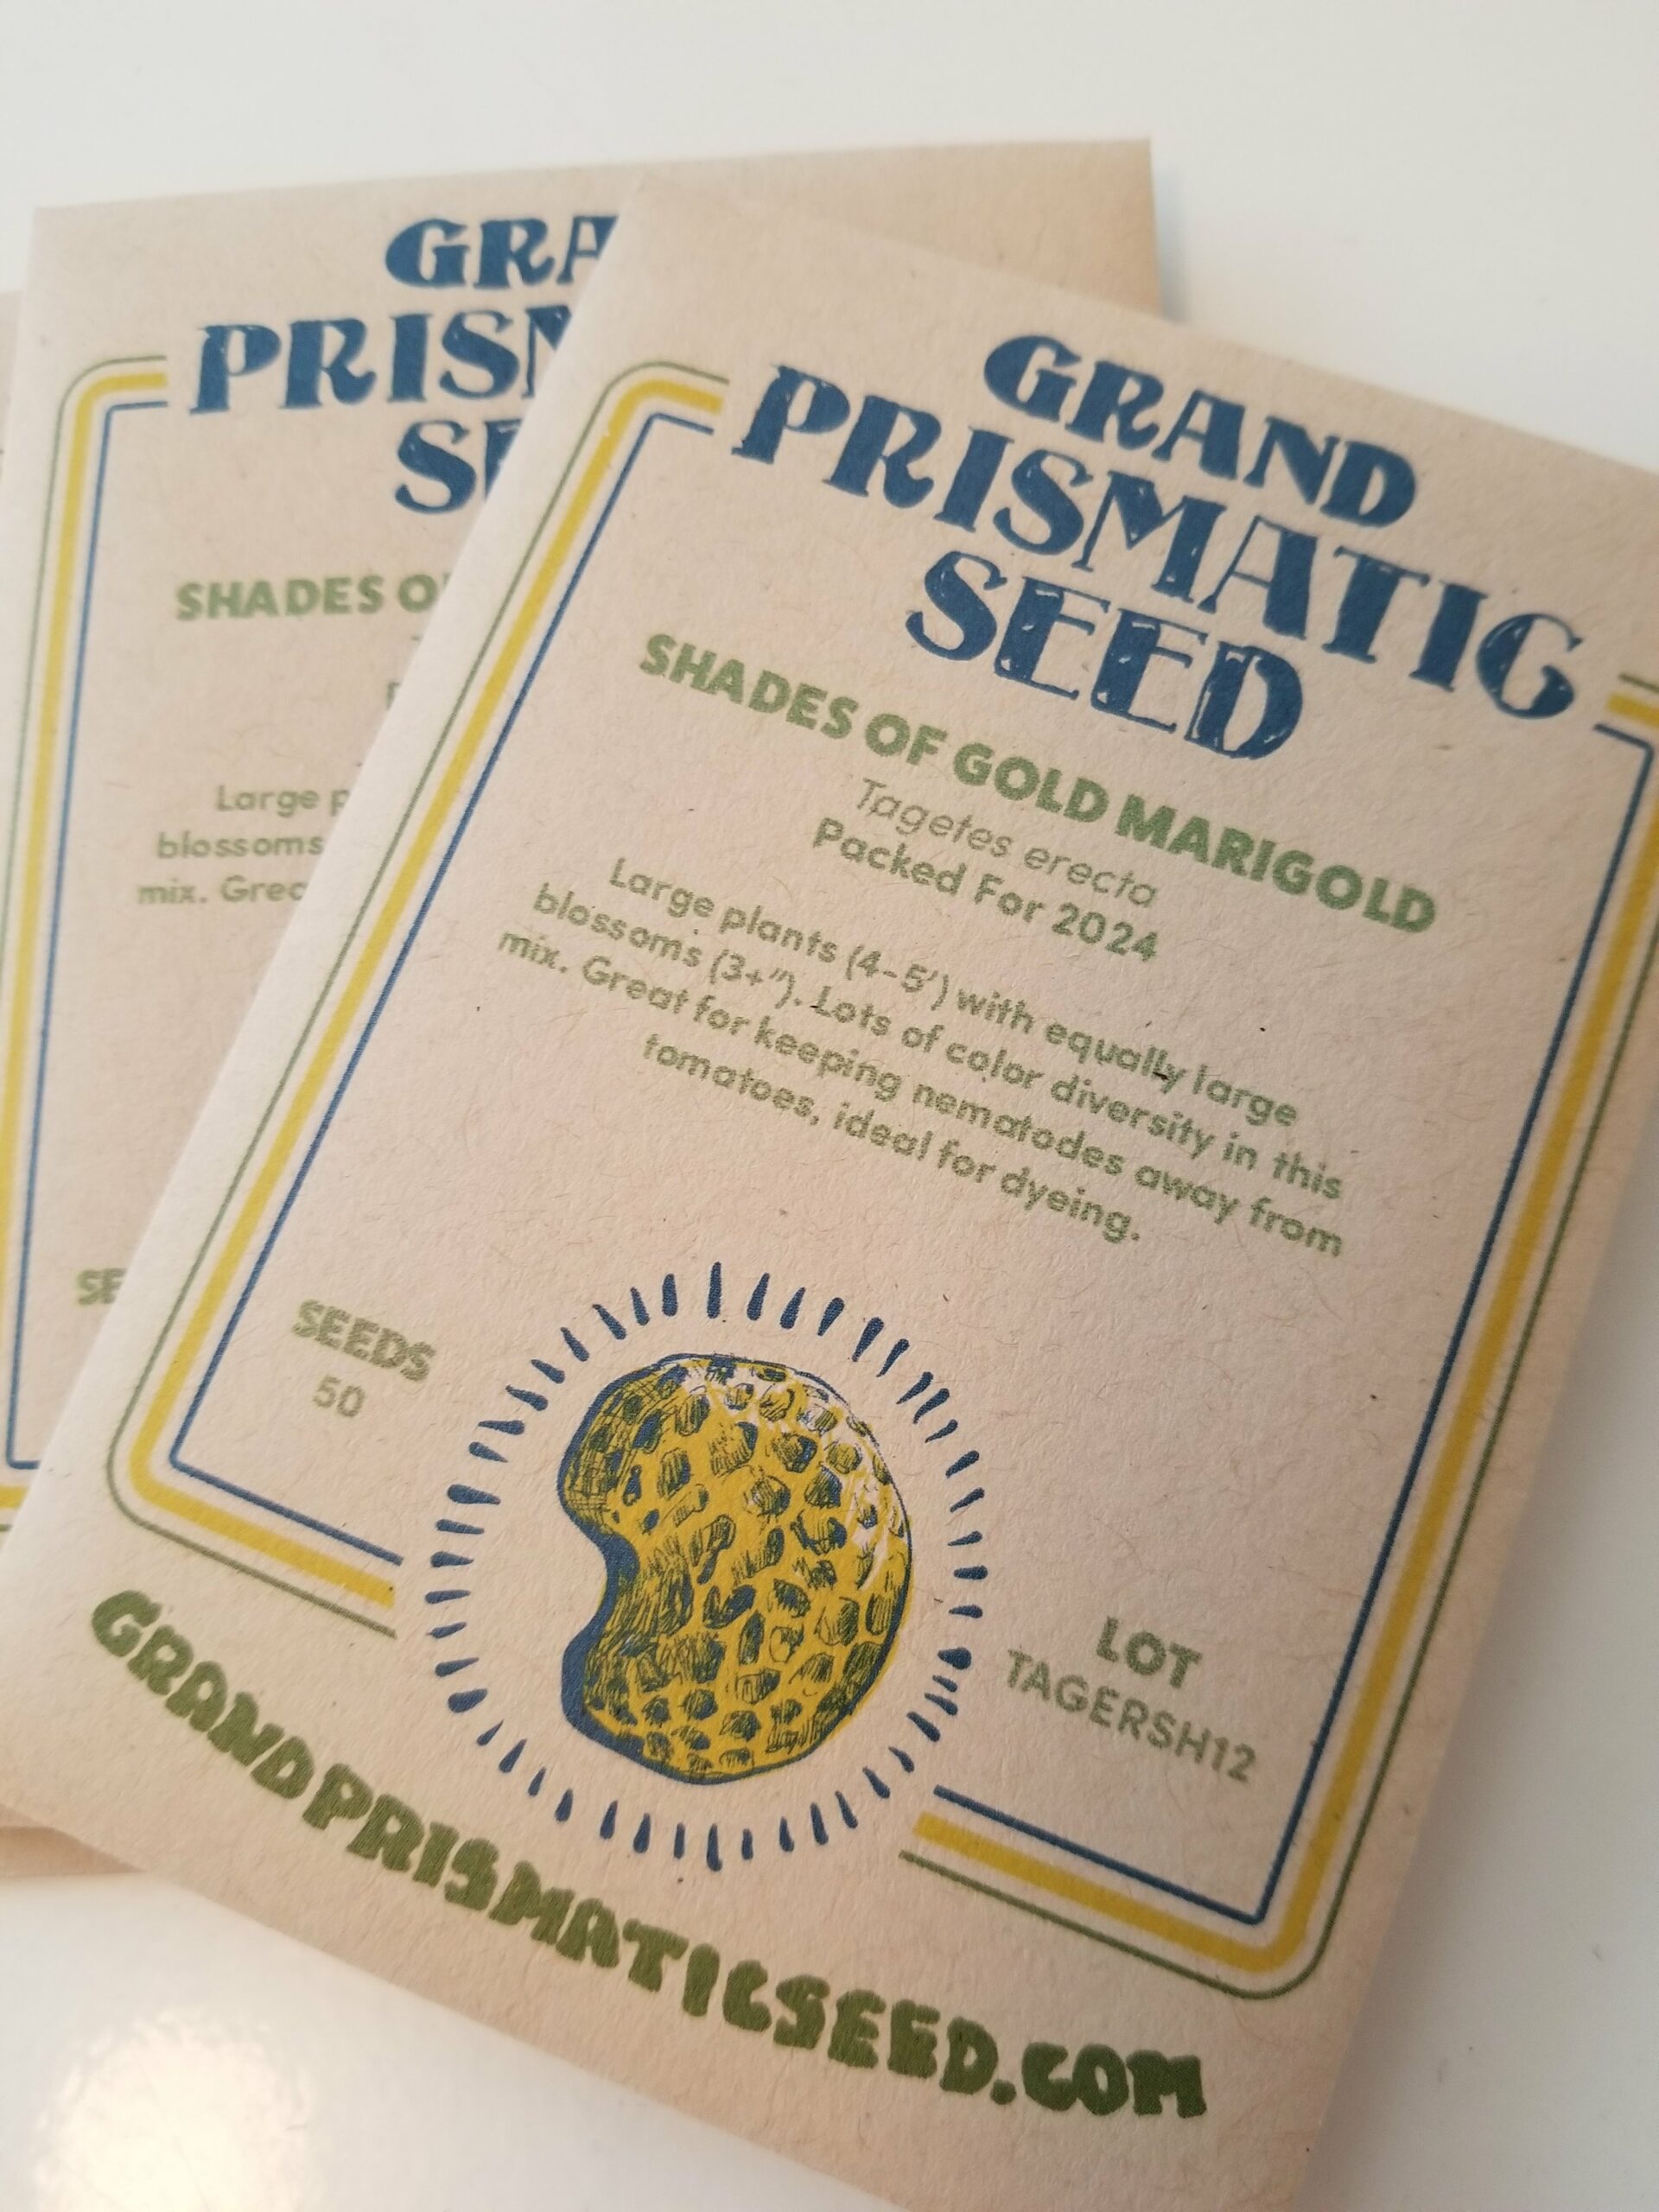
I am also inspired yet again to grow my own flowers for dye projects, with the added bonus of beauty in my garden. This was my source for seed this year – Grand Prismatic Seeds.
Many thanks to Marigold Market and Botanical Colors for all of the inspiration. These are all the tutorial links I used from Botanical Colors…
How to Dye with Marigold Flowers