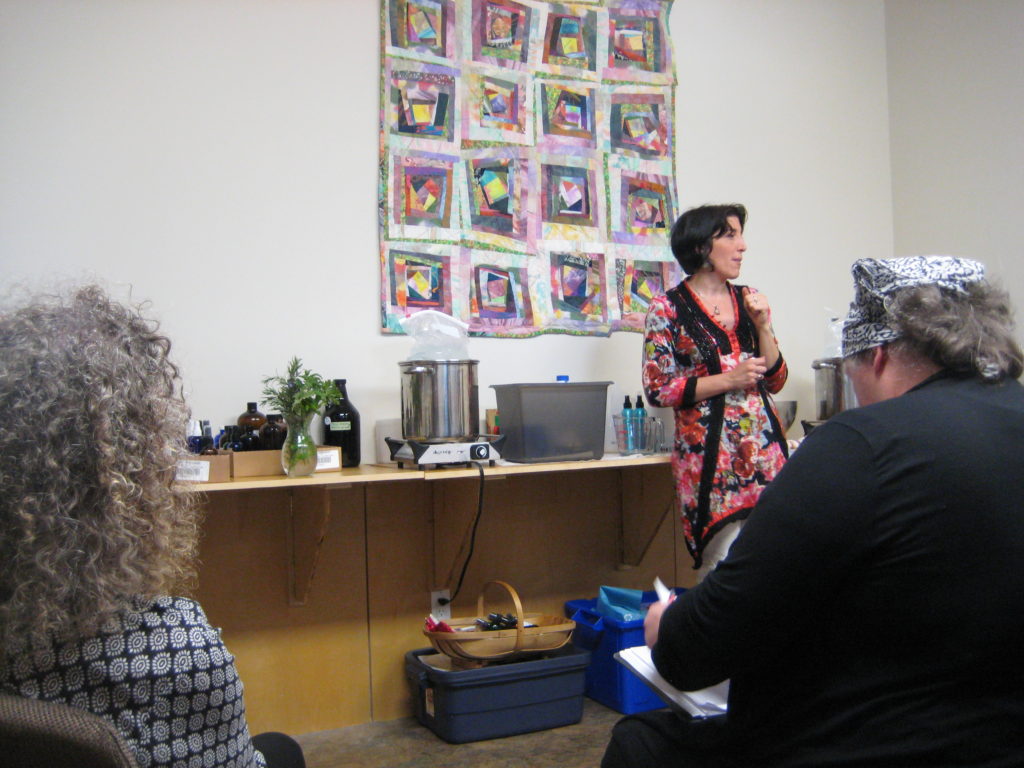
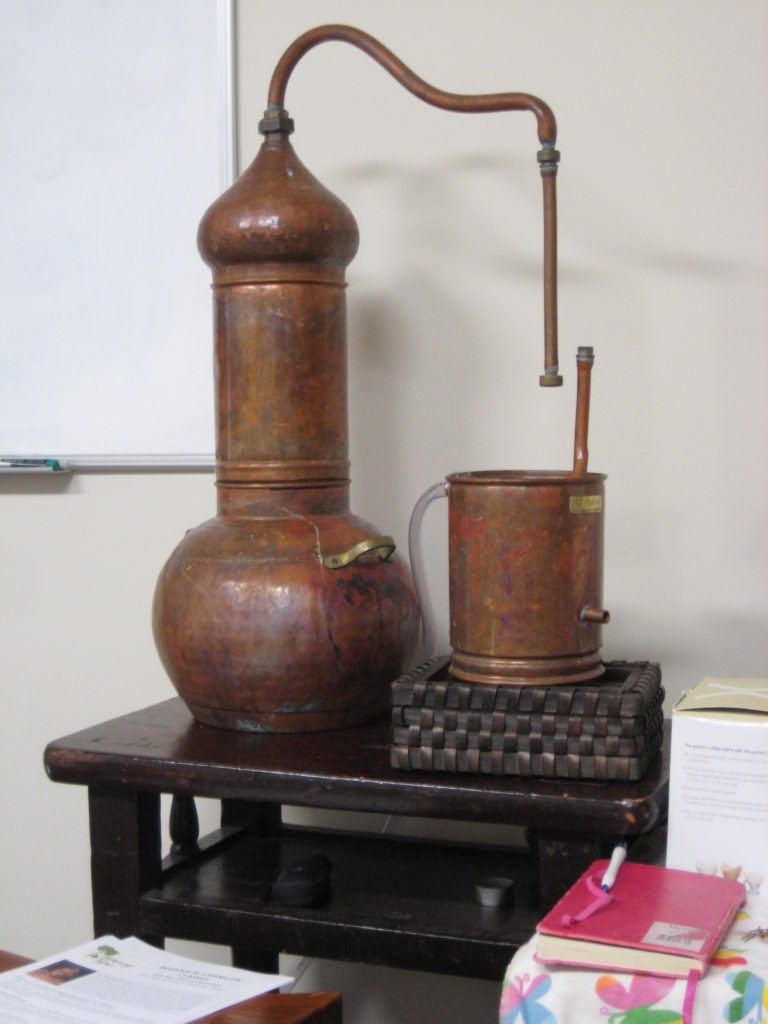
Alice Duvernell is an amazing herbal body-care teacher currently working in the Bay Area. She taught a Handmade Hydrosols workshop at the local herb store Gathering Thyme in San Rafael, Ca. This was truly low-budget DIY distilling in your kitchen. But she did bring a beautiful copper still from Portugal for demonstration purposes.
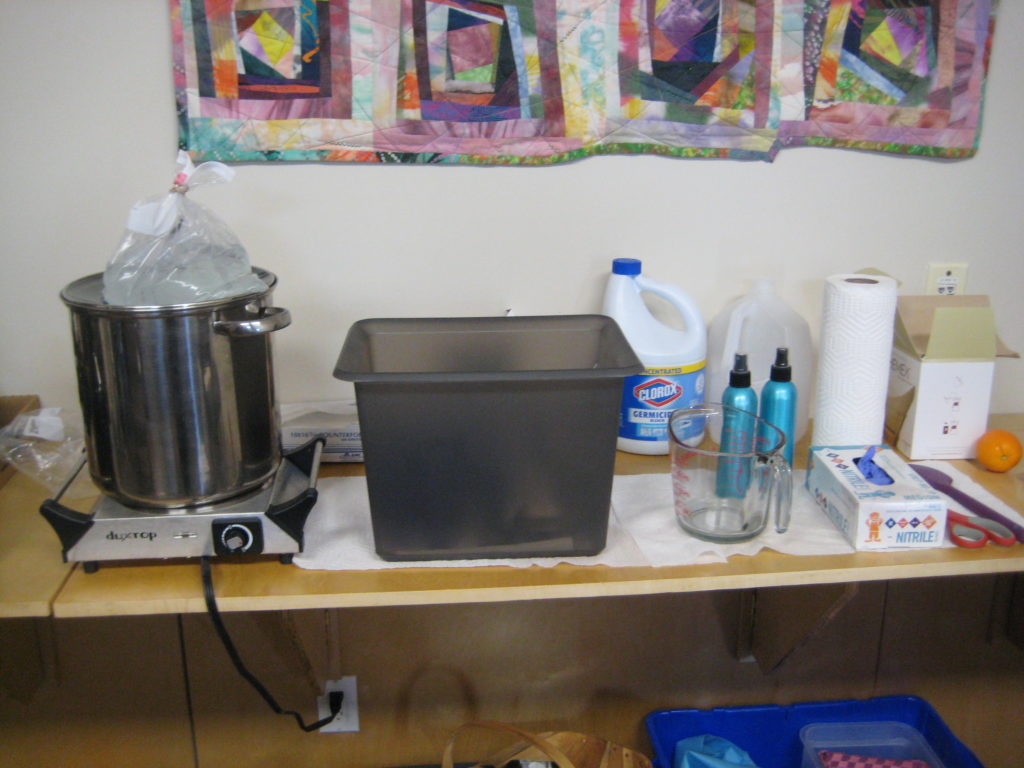
The basic tools were pretty simple.
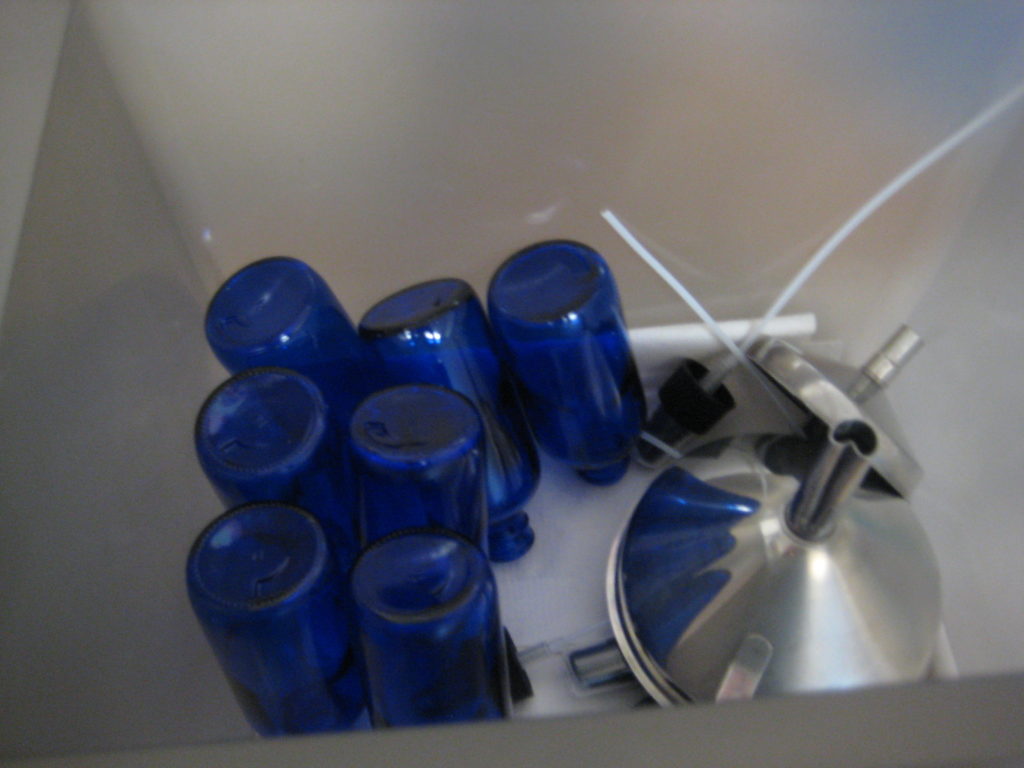
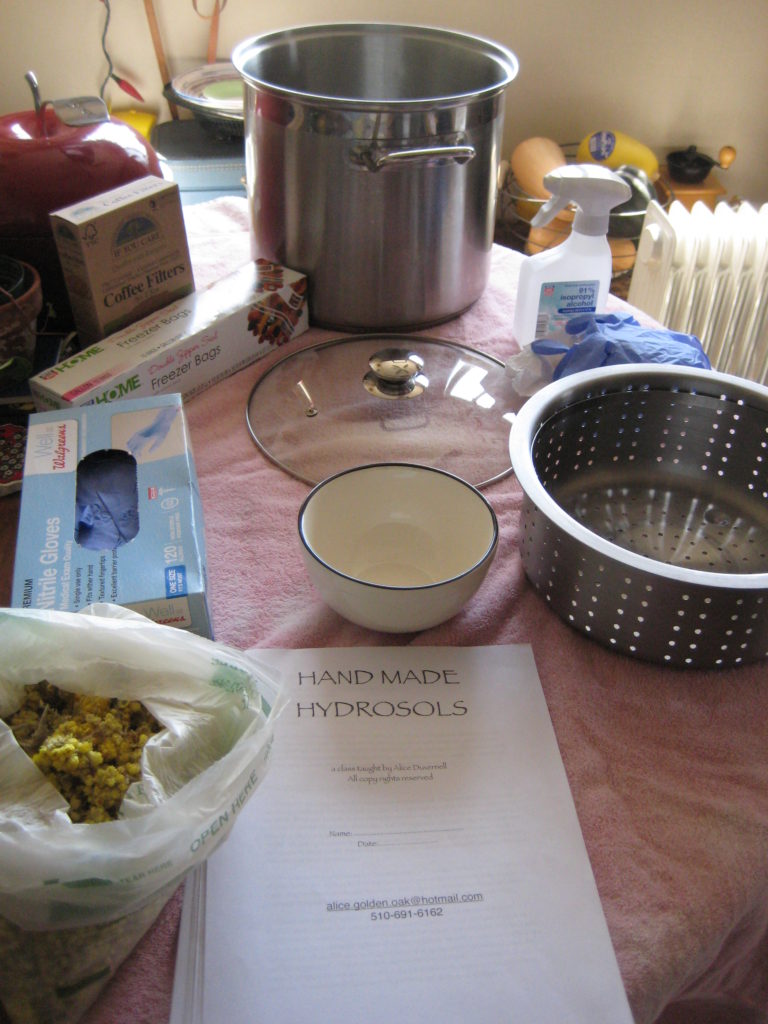
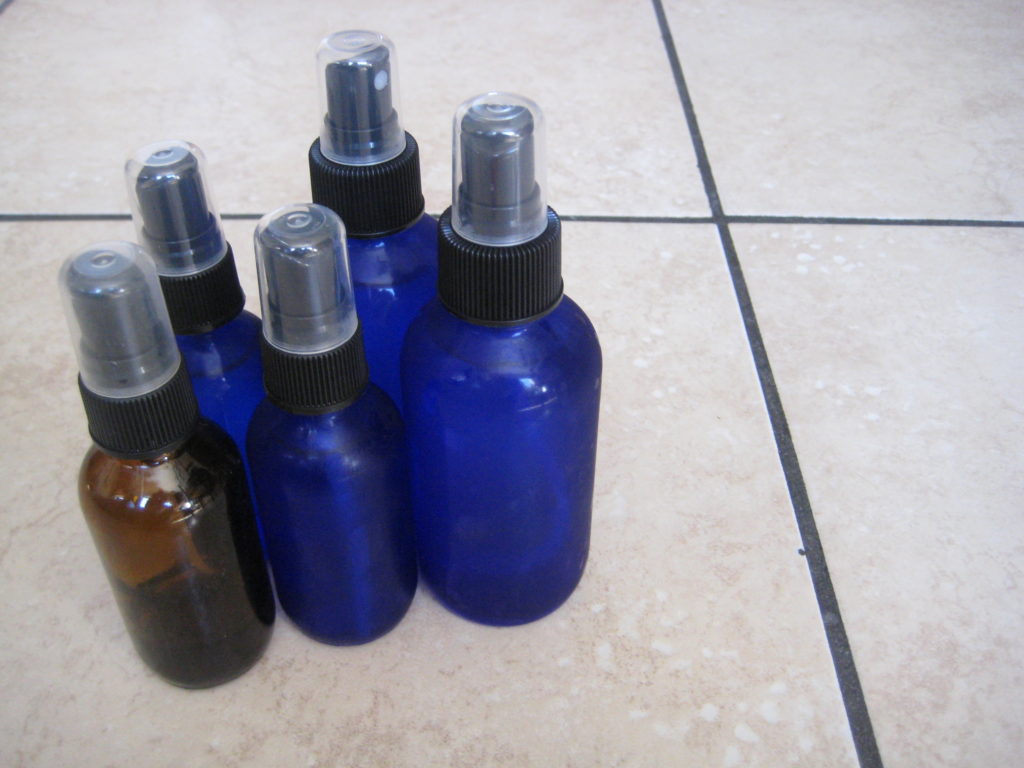
A stainless steel multi-cooker would be the biggest investment, unless you already have one, which I did. But she recommends that you gather supplies that you will use exclusively for making hydrosols because sterility is so very important. Other than that you will need a ceramic or glass bowl to fit in the cooker, a glass Pyrex measuring cup, a stainless steel funnel, ice, zip-loc plastic bags for the ice, and unbleached coffee filters. And you will need 91% rubbing alcohol in a spray bottle to sterilize EVERYTHING. Disposable gloves and paper towels are also necessary. As well as tinted glass spray bottles to contain your hydrosols.
Again, STERILIZE EVERYTHING. I sterilized the spray bottles in the oven at 175 degrees for 45 minutes. Then rubbed everything else down with the alcohol. Make sure your space is well ventilated for this part.
Now I am going to insert my own home-made hydrosol process in my kitchen. I gathered my supplies –
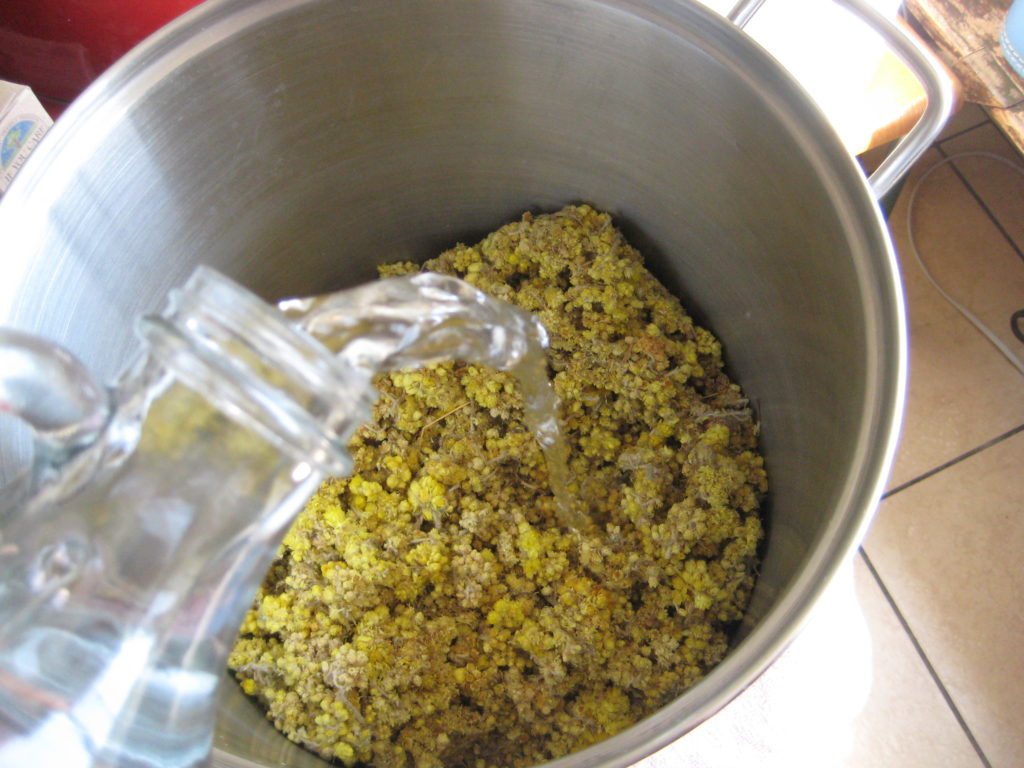
Now the last and most important thing you will need is the plant material. Alice recommends 1/2 to 1 lb. of dry plant material or 2/3 to 1 lb. of fresh. She says using fresh usually gives better results. I ordered a pound of Helichrysum (Immortal or Everlasting) from Mountain Rose Herbs online – a wonderful anti-inflammatory for the skin. You will need about a gallon of distilled water. The herbs go into the bottom of the pot along with the water.
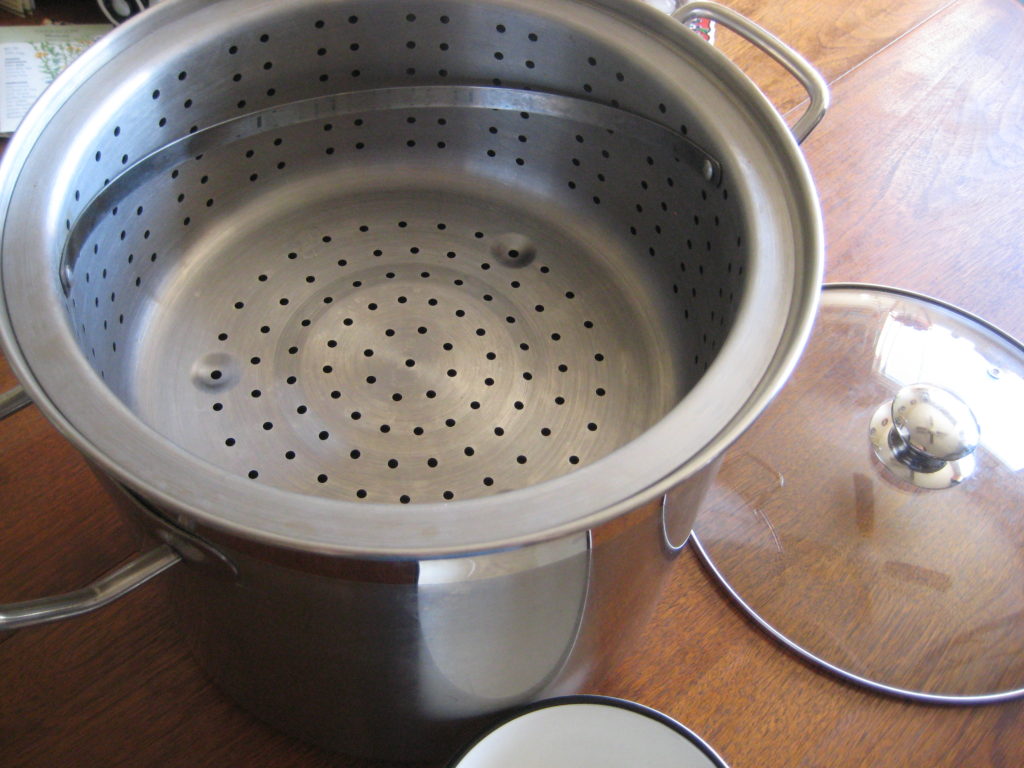
Then you will put in the shallow multi-cooker insert.
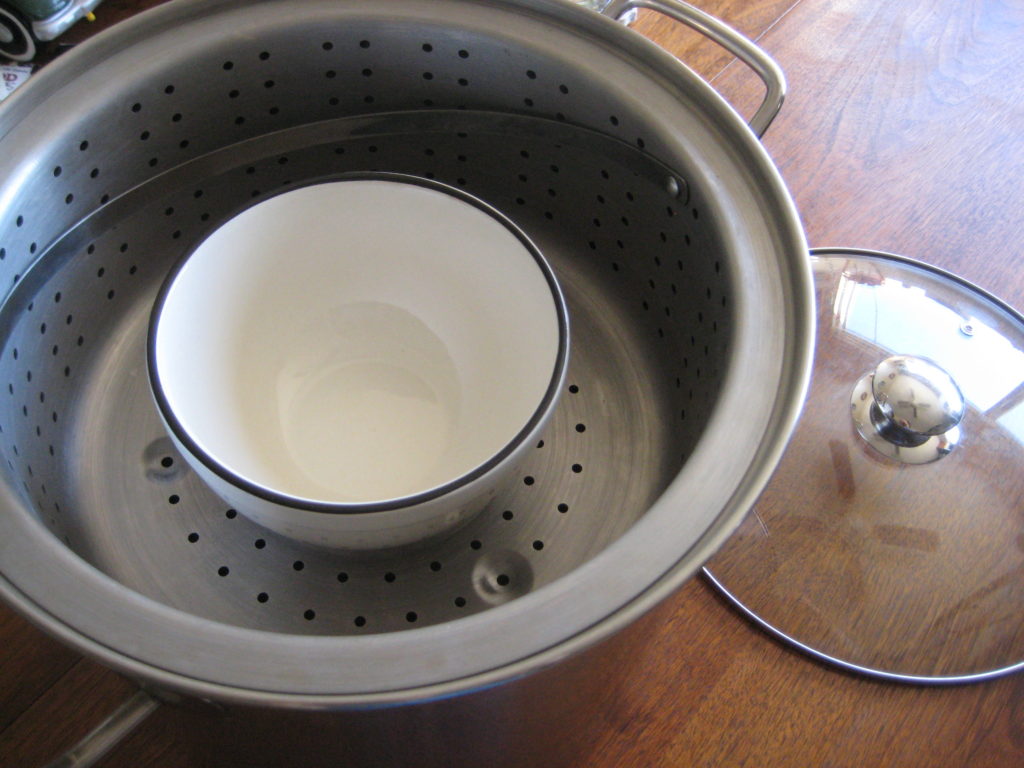
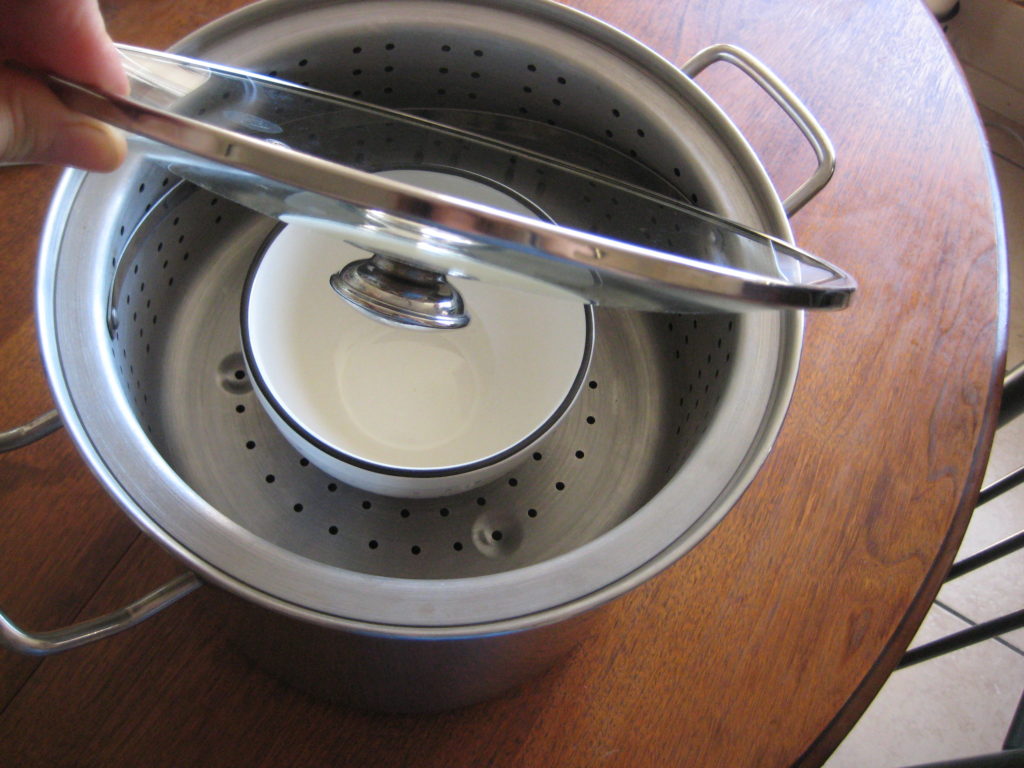
Then place the ceramic dish inside. It needs to be large enough to capture the water, low enough to fit under the lid, and small enough to allow space for the steam to go around it.
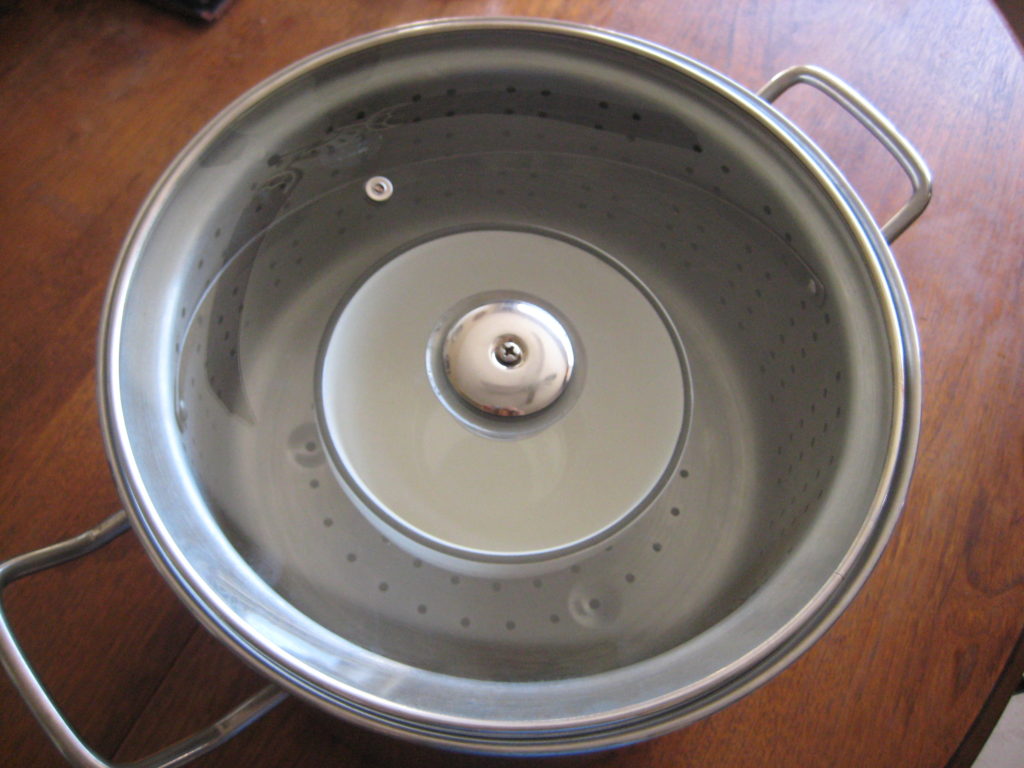
Then you will place the lid on UPSIDE DOWN.
The lid here is acting as the condenser. Once the water comes to a boil you will put a bag of ice on top of it. When the hot steam hits the cold lid it will condense and drip off of the lid into the bowl. The handle of the lid is actually important here. You want the lid to have a heat resistant knob handle, not a long handle handle. This will facilitate the dripping better. Also, if your lid has a tiny hole in it meant to let steam escape, like mine does here, you want to fill it with something. I used a piece of cork from a wine cork. You could also cut off a tiny piece of a silicone spatula. You want the lid to be properly sealed.
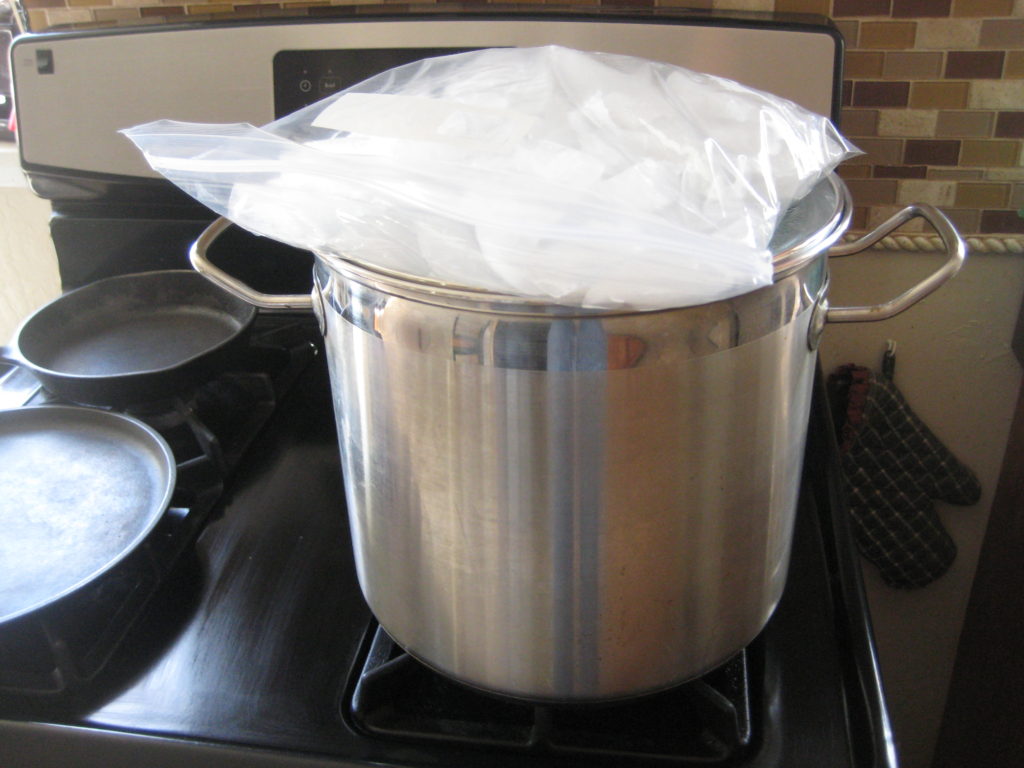
You will then put your pot on the stove and bring the water to a boil. Watch it carefully because as soon as it starts to boil you will place a bag of ice on the lid and turn the heat down to medium-low. Alice says that the softer the distillation process, the better quality of the hydrosol.
Again, you need to keep an eye on things because you will likely need more than one bag of ice. I used four. As one bag melts, add another.
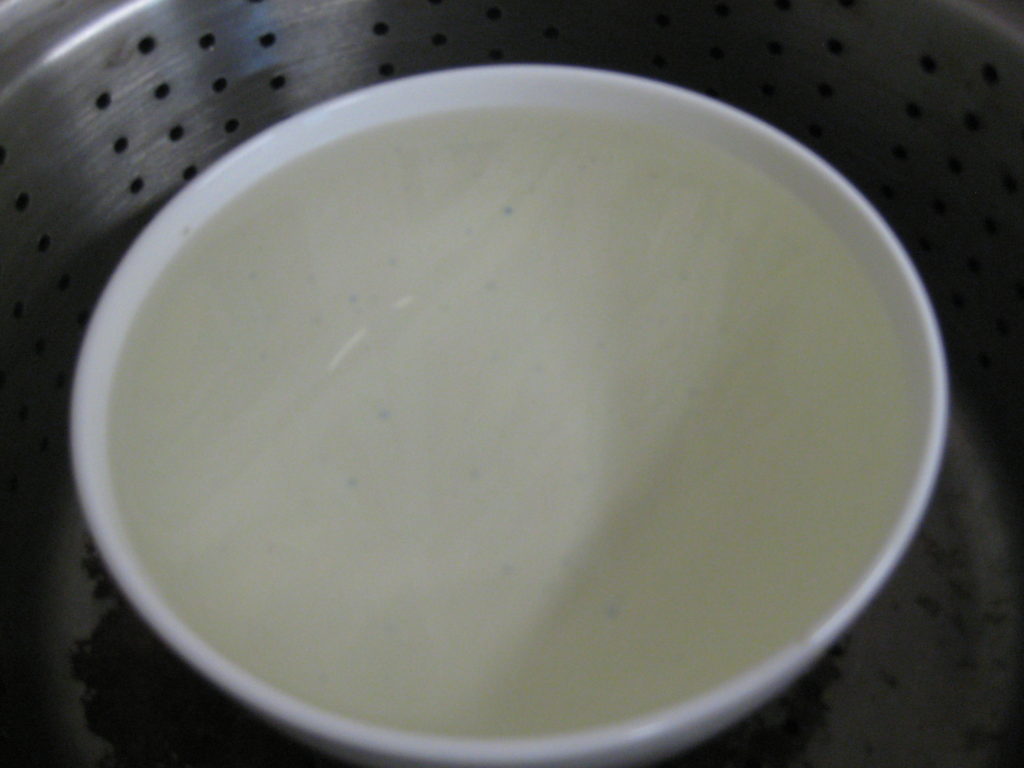
You will know you are done when the ceramic bowl is full of water. Then you will turn off the heat and leave the mixture to cool and gather the final drops.
This process of making a hydrosol is exactly one and the same process of making an essential oil. Essential oils, however, require VAST amounts of plant material. For example, it takes 700 lbs. of rose petals to make 1 oz. of essential oil. That is why it is so expensive. And essential oils certainly have their place and profound usefulness, but hydrosols are, as Suzanne Catty who wrote a book on hydrosols calls them, “The Next Aromatherapy”, meaning an aromatherapy that is economical and conservative of precious plant material and one that is safe and doesn’t carry most of the health concerns with using pure essential oils (see this article for further discussion). It also has unique therapeutic qualities all it’s own. Hydrosols are slightly acidic, with a PH of 4.5 – 5.5. This matches the slightly acidic mantle of our skin, which makes it very bio-assimiliable, and particularly hydrating for our skin. It is a great alternative to incense for those who do not want to breathe in smoke. Hydrosols can also be used in plant propagation because plant roots really like water that is slightly acidic.
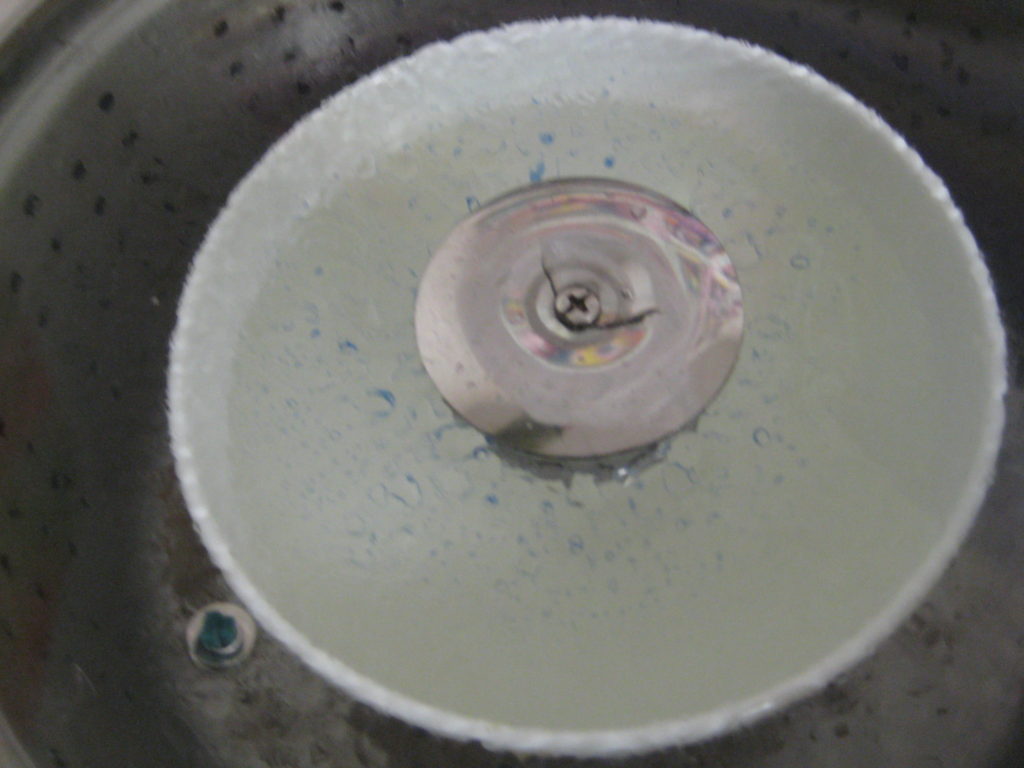
So here we are back in the classroom with our chamomile hydrosol. You can see the blue essential oil forming on the lid:
and the drops forming on top of the water:
You can use a dropper to try to extract some of the oil, but it is usually in such a small amount that it is often not worth the effort. At this point you will pour your water through a coffee filter nestled in your funnel into your measuring cup. The oils will soak into the filter. If you want you can throw the coffee filter into your bath or a foot soak to use those oils. Then you will pour your hydrosol into your prepared spray bottles. Voila!
Because we were so good about sterilizing everything, then we should not need any preservatives. Keep any unused hydrosol in the fridge to extend freshness.
A hydrosol mist can be a relaxing or stimulating self-care routine. Mist, sit and breathe.
Leave a Reply